Wall stencil tutorial…
When we sectioned off our old family room into an office/guest room we created a new wall and hallway. It is a good sized hallway which will eventually fit a random piece of furniture. More on that later.
The wall is visible when you come down the stairs from the foyer. It is the first thing you see when you come up the stairs from the basement. It needed something. I chose to end the board and batten at the top of the stairs since on the opposite side of the wall we have the painted pine panelling.
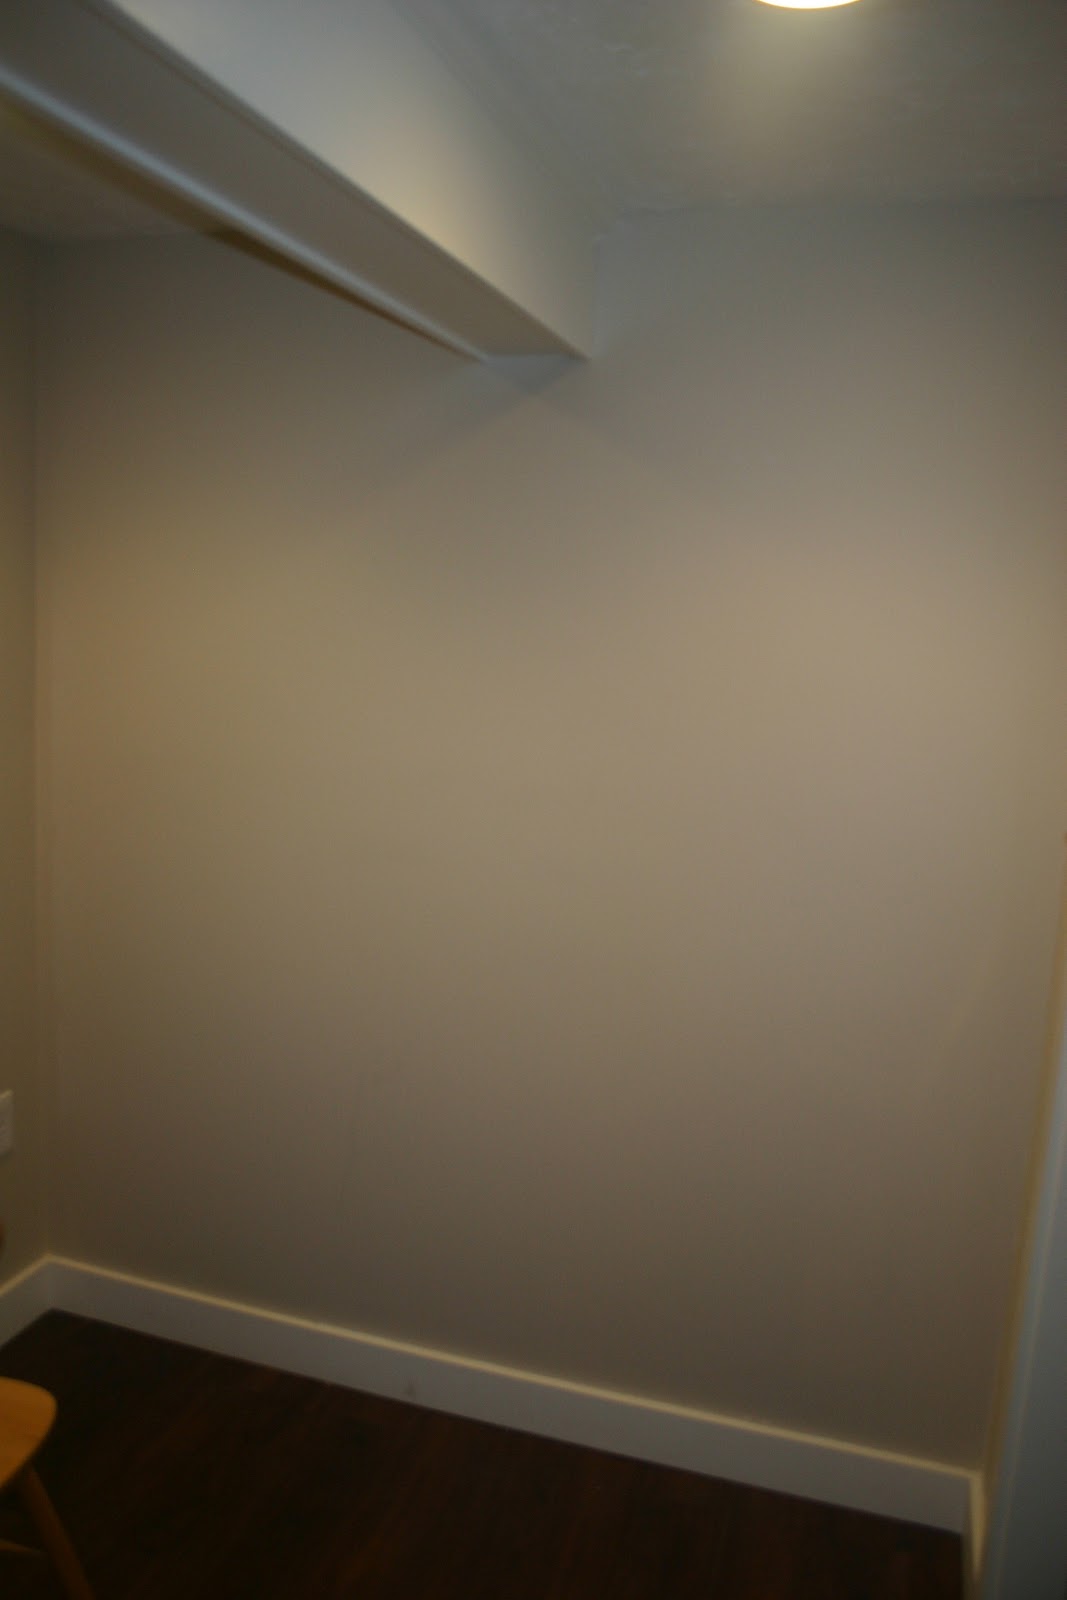
This wall needed to stand out. I’d never used a stencil before, so when I was asked by Royal Design Studios to review a stencil of my choice, I jumped at the chance!
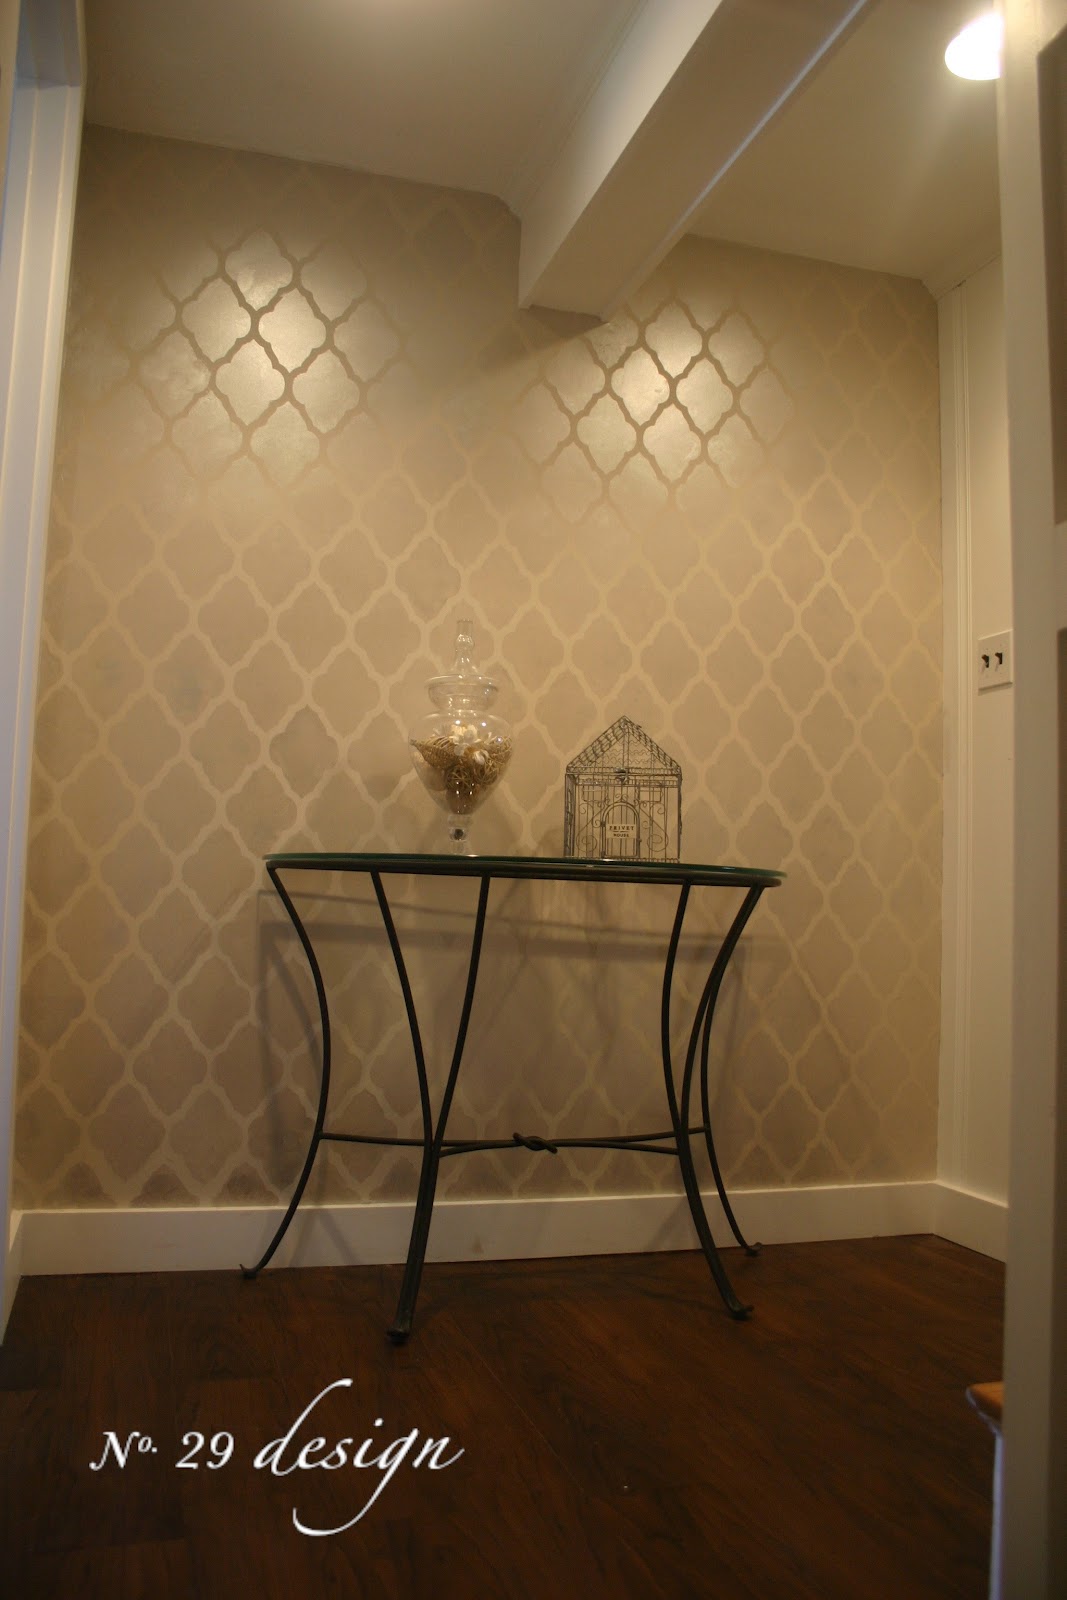
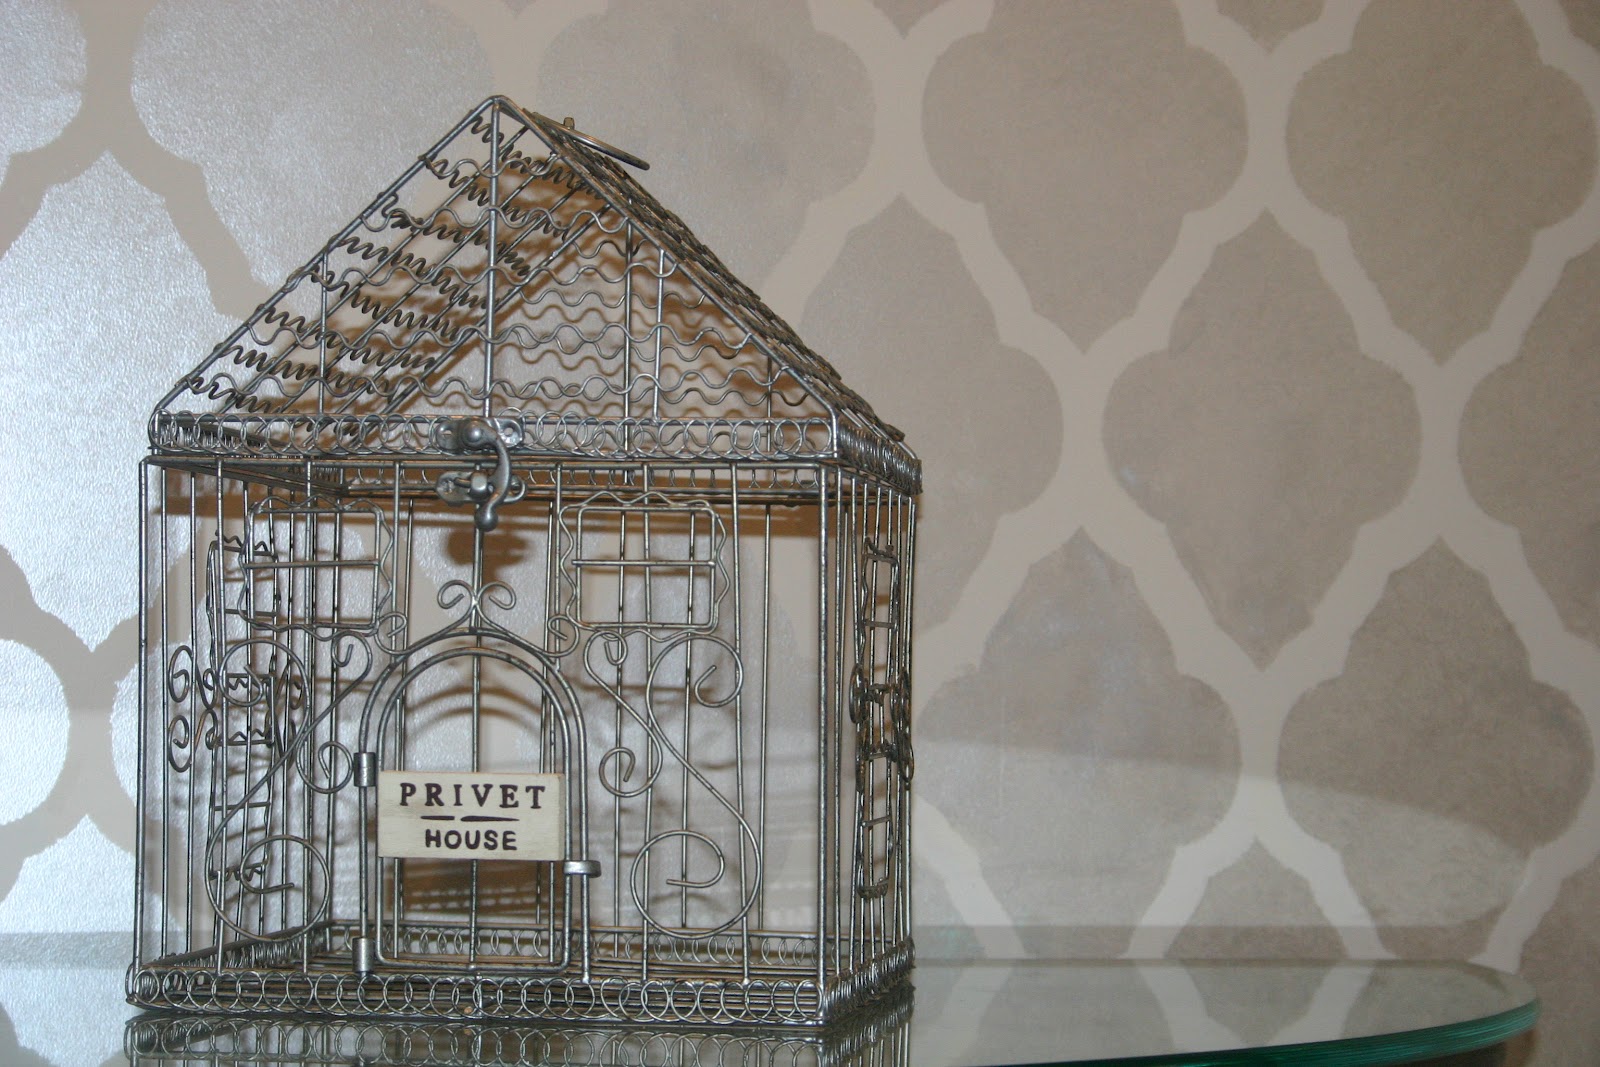
I chose the Large Marrakesh Trellis Moroccan Stencil.

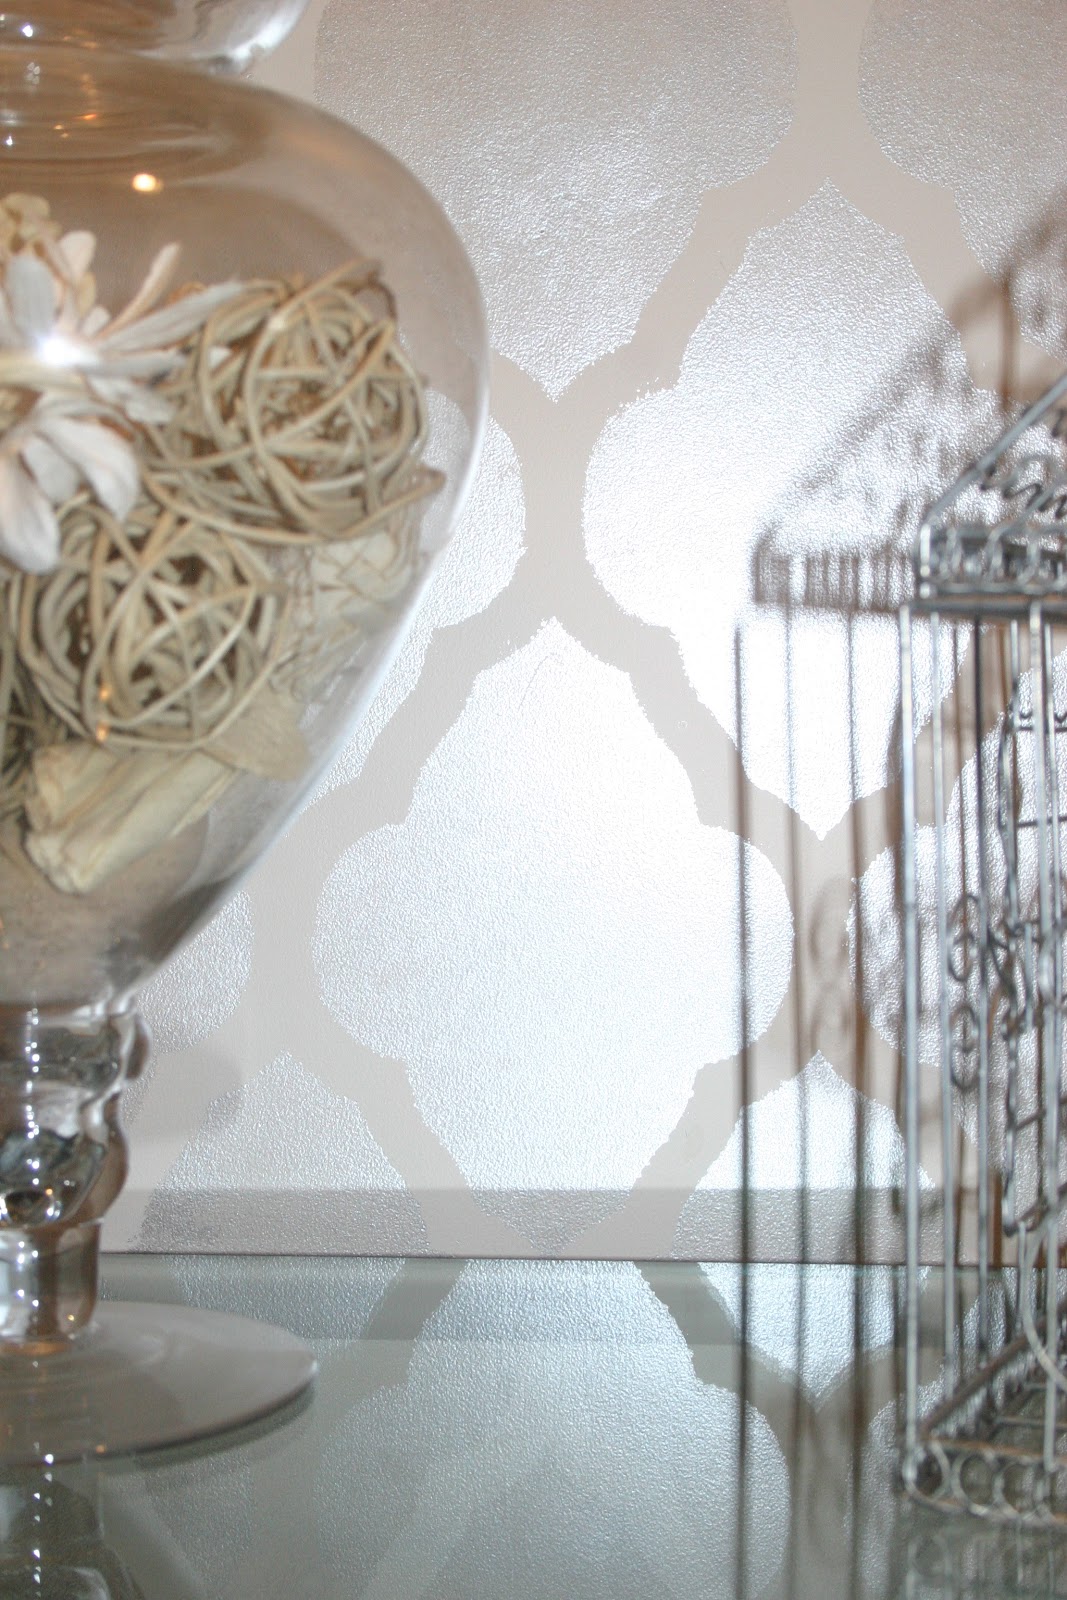
The wall was already painted with Benjamin Moore Brandy Cream. Trying to figure out what color to paint the stencil was the hardest part of this whole process. That is a good thing! I looked through Royal Design Studio’s site and decided I preferred the stencils where the outlines were a lighter color, as in the image above. In other words, I needed to go a couple shades darker than Brandy Cream for my stencil. I tested out Benjamin Moore’s Shabby Chic but felt it was too flat. I was looking for a statement. Subtle, yet still a statement, and no, that is not asking for too much!
I went to the stenciling section at Home Depot and found some items from Martha Stewart’s line. There were a lot of different options to choose from and I selected the Metallic Glaze in Mercury. In the sample it showed that it was a translucent glaze with a metallic finish.

After doing some research, I decided to use a mini roller and chose the Martha Stewart Living 4 in. x 3/4 in. Polyamide Specialty Mini Roller Covers, which comes in a 2-pack. I only used one for my wall, which is about 7 feet by 7 feet.
-HD+MR+8752-4+at+The+Home+Depot.jpg)
I also had a small stencil sponge on hand as well as a tiny paint brush, for touch ups. I began by measuring my wall and placing my stencil in the center. The stencil comes in two pieces, the large stencil for the main sections and a small stencil to finish off the tops and bottoms of the wall. The smaller stencil came in handy for all those little spaces.


I poured some glaze on a plate and got to work. Once the roller was totally covered I rolled it onto a paper towel two or three times to make sure the absorption was even.

I covered the first section, took my stencil off and checked my work. It was exactly what I wanted! Subtle color with a sheen. It is hard to see in photographs, but it is shiny without the sparkle. I got to work and finished up the entire wall except the edges in about 1 hour.


The edges of the wall were the trickiest. I ended up lightly tracing the stencil and painting those areas in. I also used a stencil sponge brush for touch ups. Once the stencil sections were done I went back in with a small paint brush and touched up using my original wall paint. The stencil was so easy to use and durable that this was barely necessary.

That was it. By the time I was done my hands looked like the mime in Times Square, but my wall looked like this….

This wall will eventually gets its own furniture. I’m thinking an etagere in the corner with maybe a bench. I knew I had achieved my goal when my nine year old told me it looked like wallpaper. She might be only nine, but I decided to believe her.


So the stencil was a success. Easy to use and gorgeous results. I’m looking around my house now for another blank wall crying out for some style!
come see me here…

Share this:


Subscribe to Posts
Featured On...


 |
Blog Policies
For more information on all blog policies regarding comments, advertising, copyright, sponsored links, guest submissions, and other matters, please look here.