Pelmet Box Tutorial
My fabric came in, two of my kids are off to school, so me and my 2 year old sidekick made a pelmet box. It took me a total of 30 minutes or half of Sesame Street. That’s counting the time it took to stop and take pictures. So here is my pelmet box tutorial you’ve been waiting for. I’ll go step by step to show you how to do this for your own space.
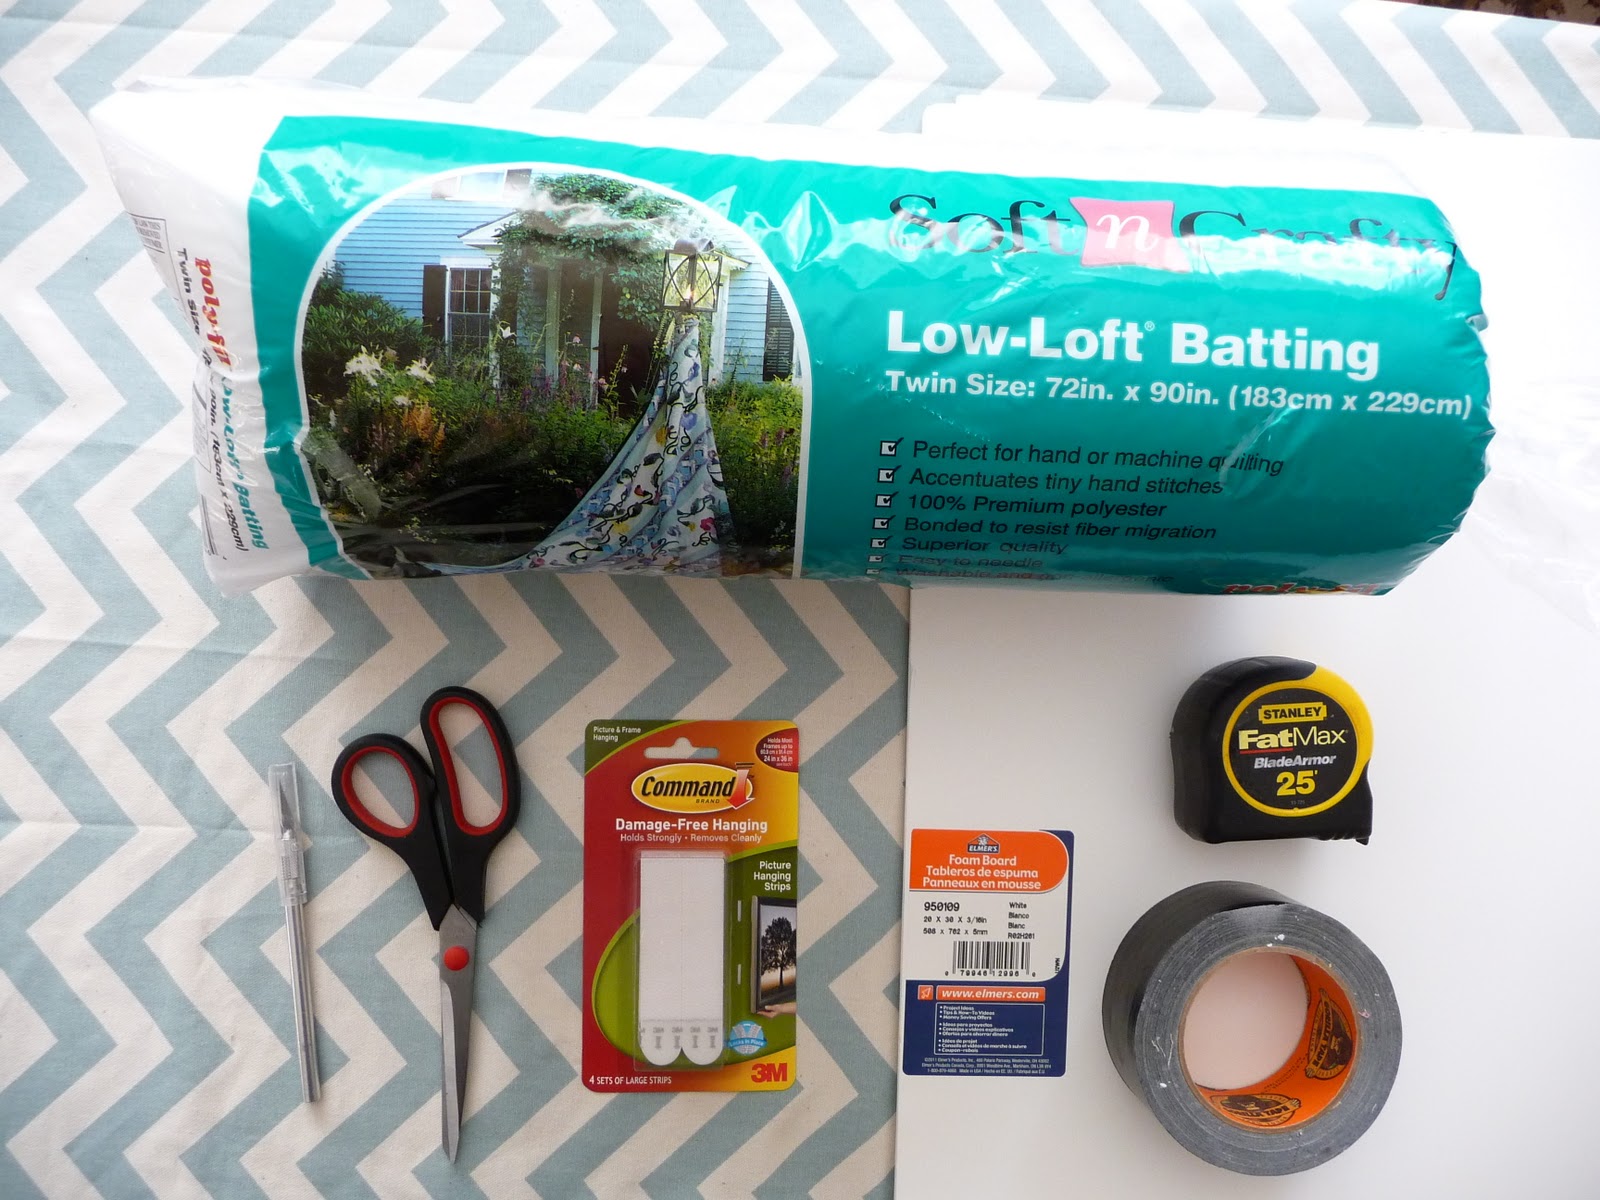
{Supplies needed}
fabric (I used one yard for a 37 inch by 20 inch box)
foam core (I used two boards)
batting (low loft batting)
duct tape
upholstery staple gun
3M strips
Scissors
Exacto knife
measuring tape
 |
| {supplies} |
1. Measure your window from one edge of the window frame to the other. I always cut my pelmet boxes so they sit just outside the window frame. Mine measured 37 inches wide. My pelmet box will be 20 inches in length. I also measured the side piece. I wanted this to be about 1 inch. This will be the depth of the pelmet box.
2. Lay out your foam core. You may need to duct tape some pieces together to get the right width. Each board is 30 inches wide so I needed to cut another 7 inch wide piece and duct tape it together. Don’t worry how this looks at this point. It will all be covered by the batting and fabric.
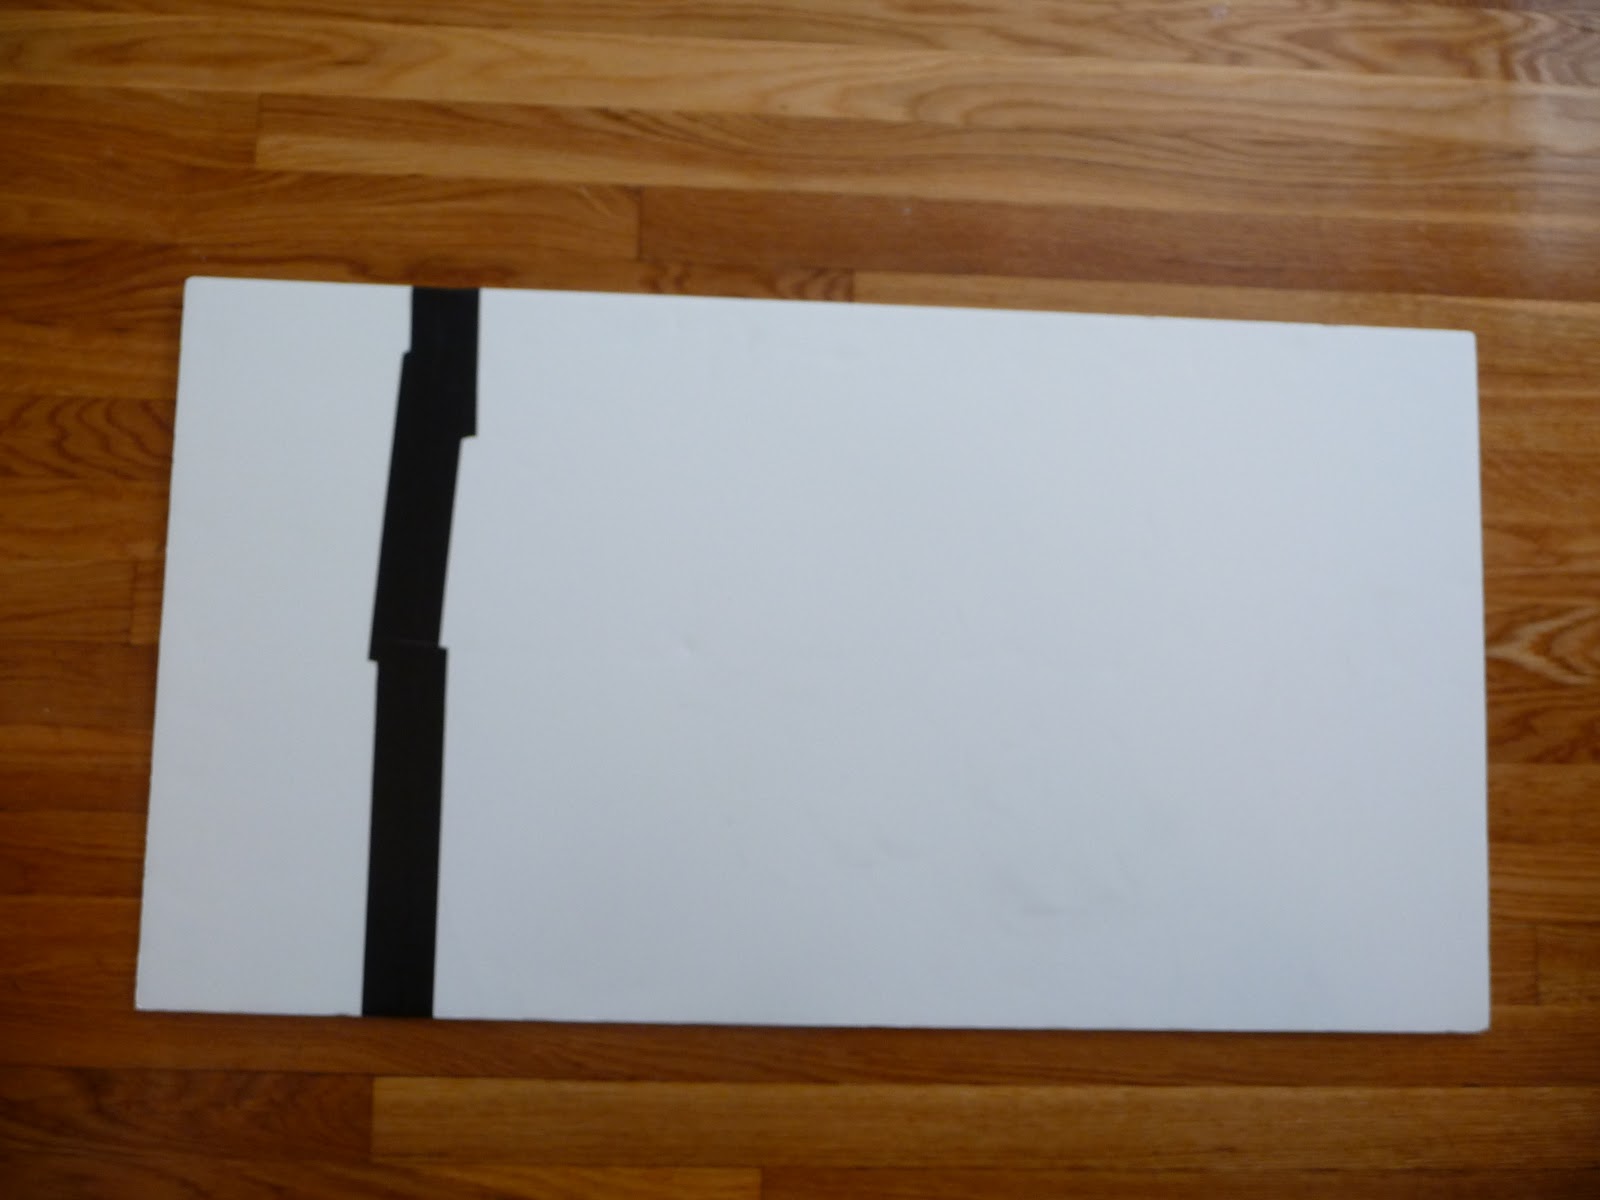 |
| {use duct tape and additional foam core to get the right width} |
3. Next cut out the side pieces. Mine were 1 inch by 20 inches. Duct tape these to the other piece at 90 degree angles. You will now have this. I am only doing the side piece on one side since the box will sit flush with the wall on the left.
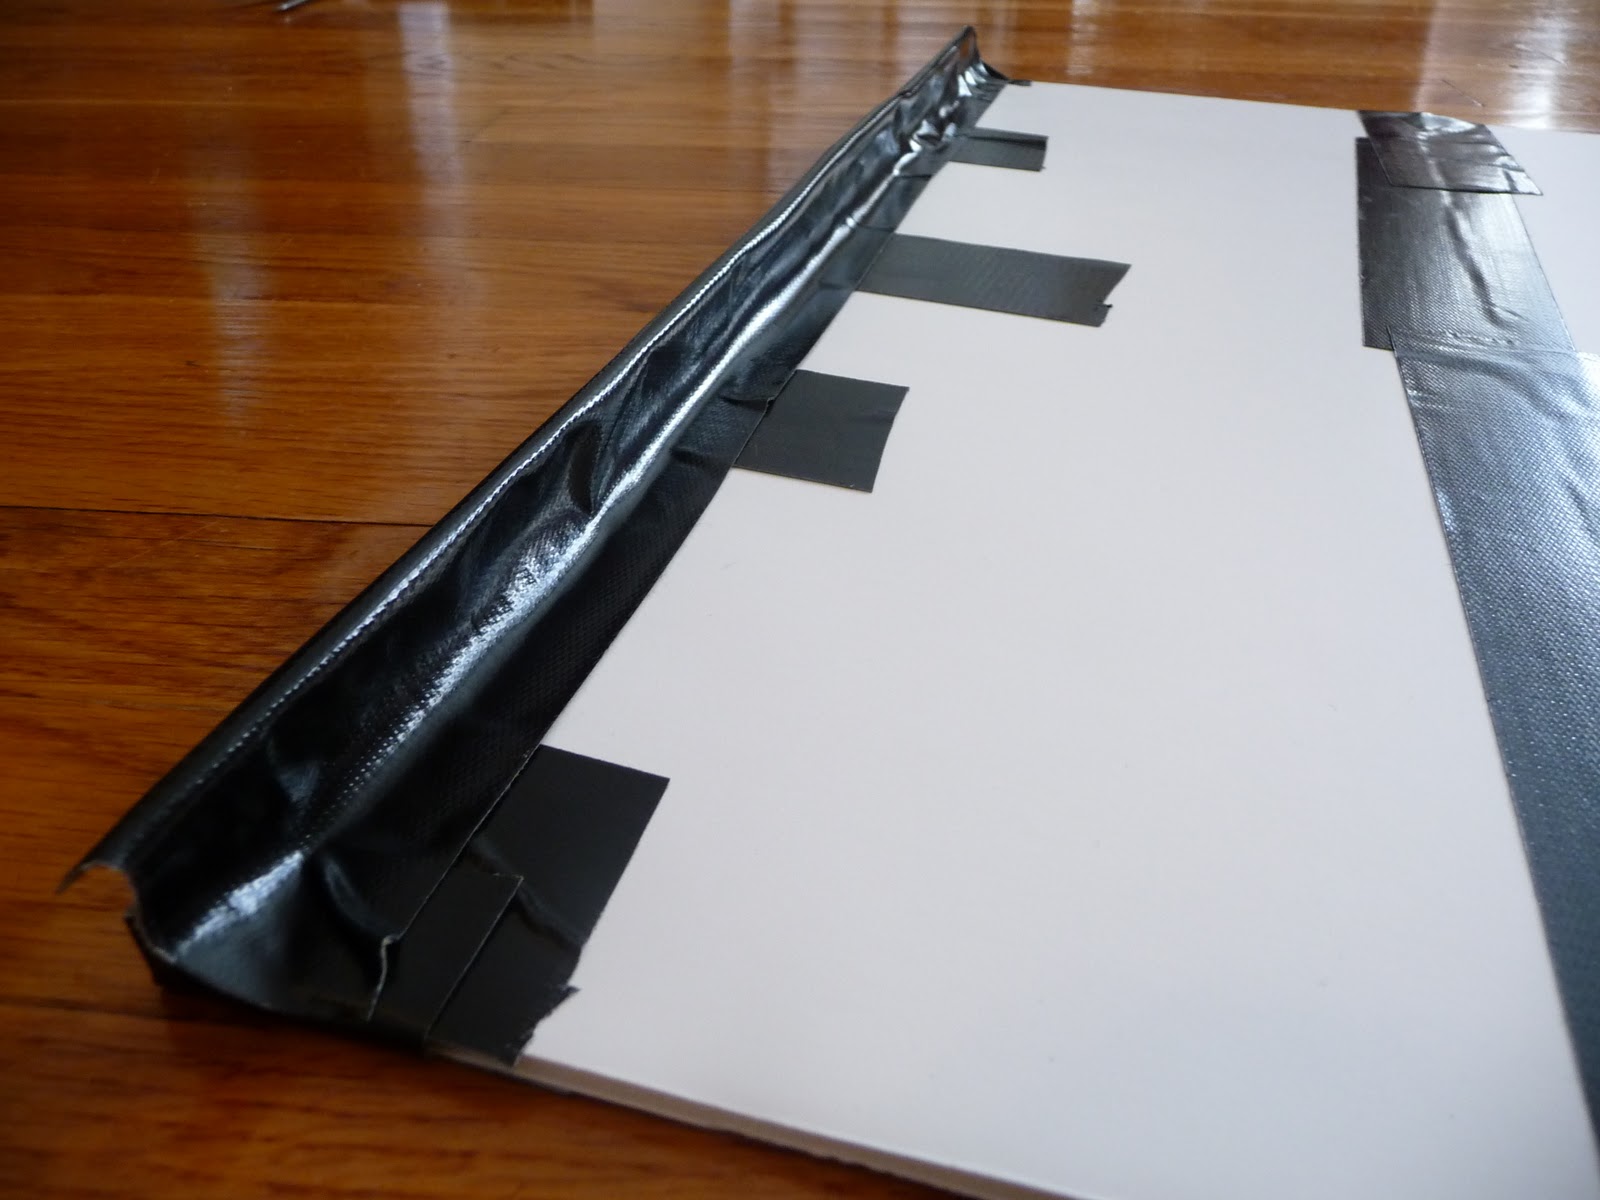 |
| {one side ready for batting} |
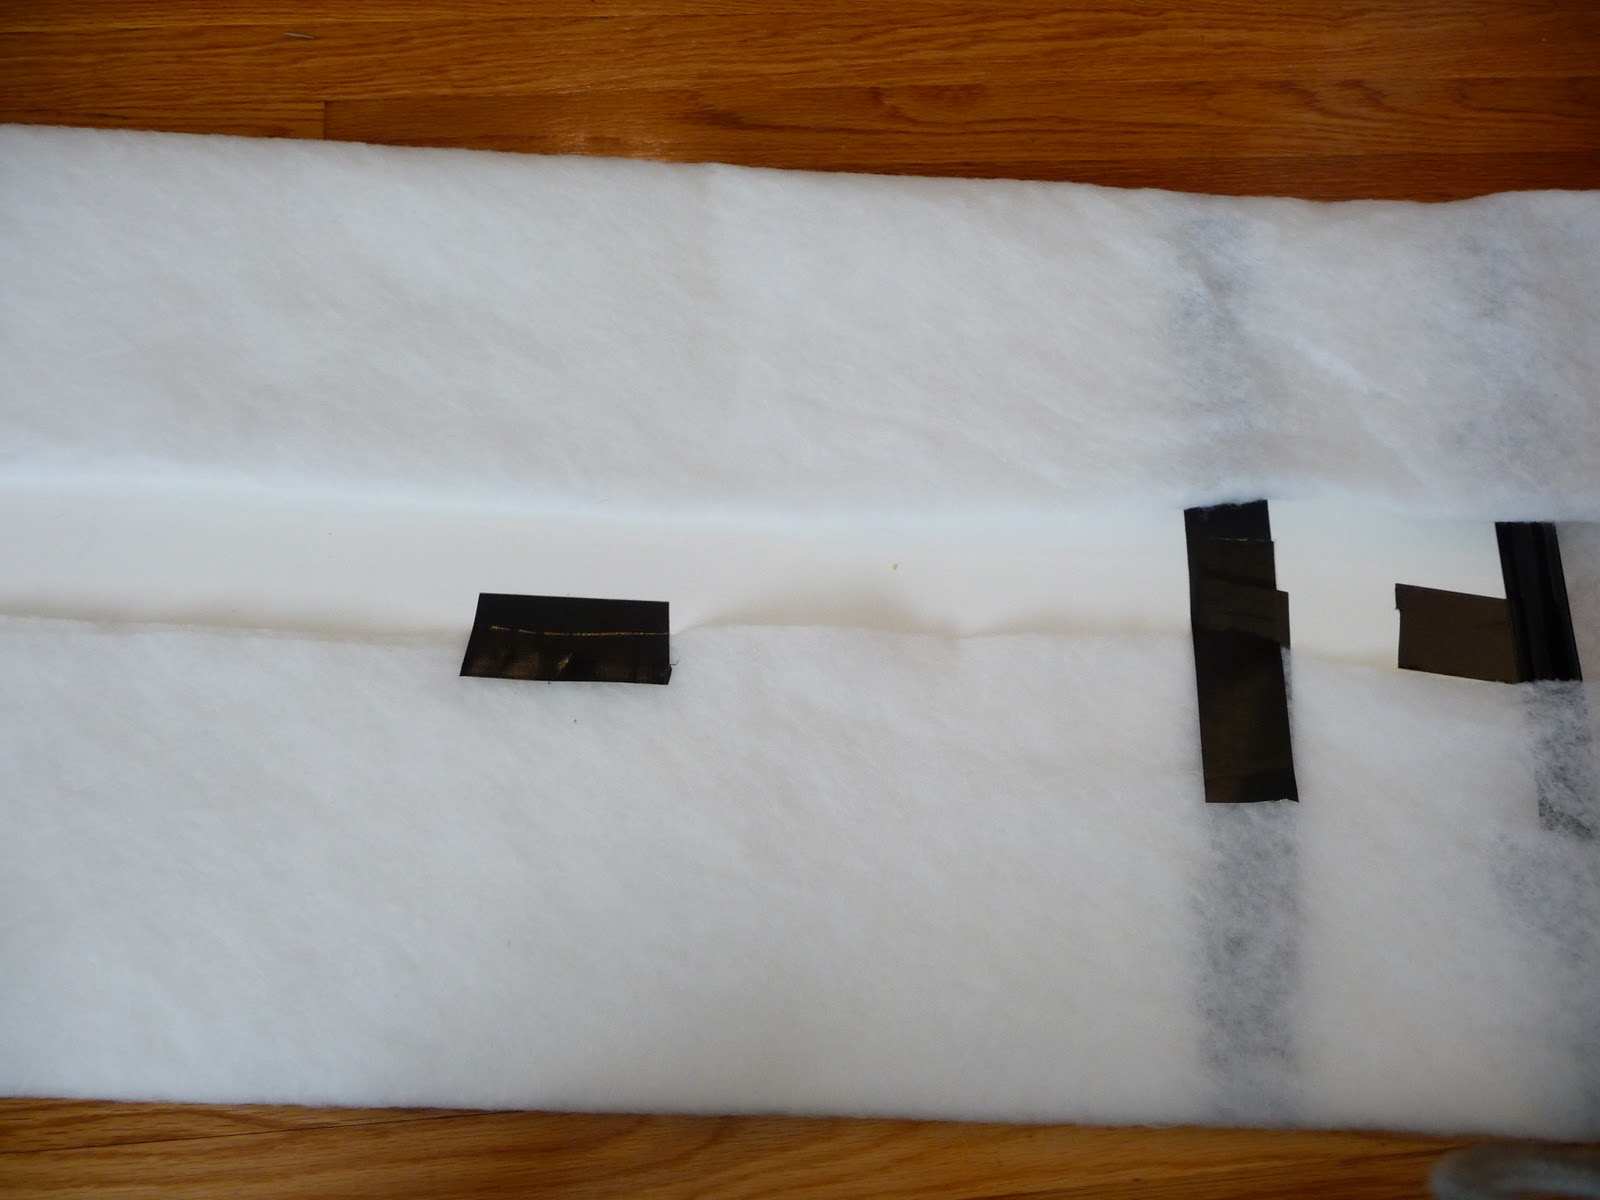
4. Roll out the batting and lay your foam core piece on top of it. All you are doing for this is covering the front and sides with batting. Use a layer of tape to attach it to the back. I find that the staples tend to pop out of the foam core unless you have a layer of tape first. I alternate between the two. Take care to pull tight and keep the corners neat. These will be visible from the front and bottom.
 |
| {lay foam core on top of batting and trim} |
 |
| {start taping} |
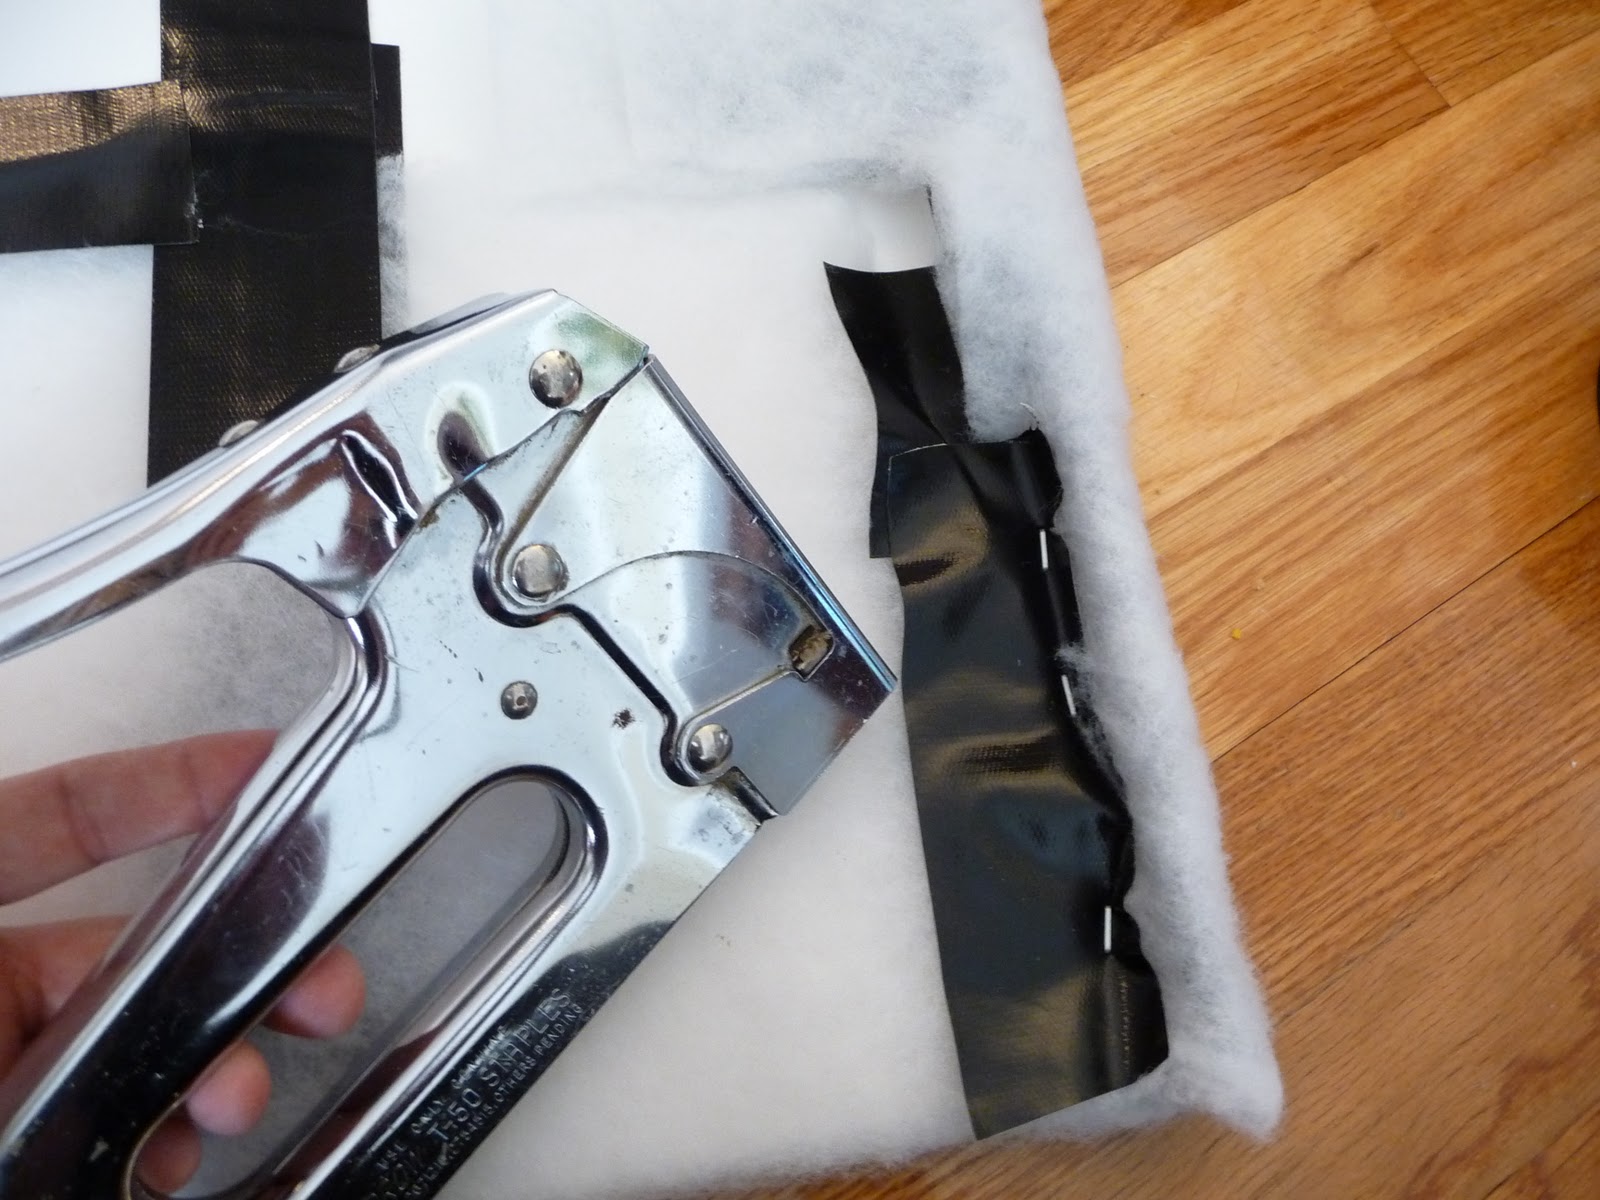 |
| {reinforce with upholstery staples} |
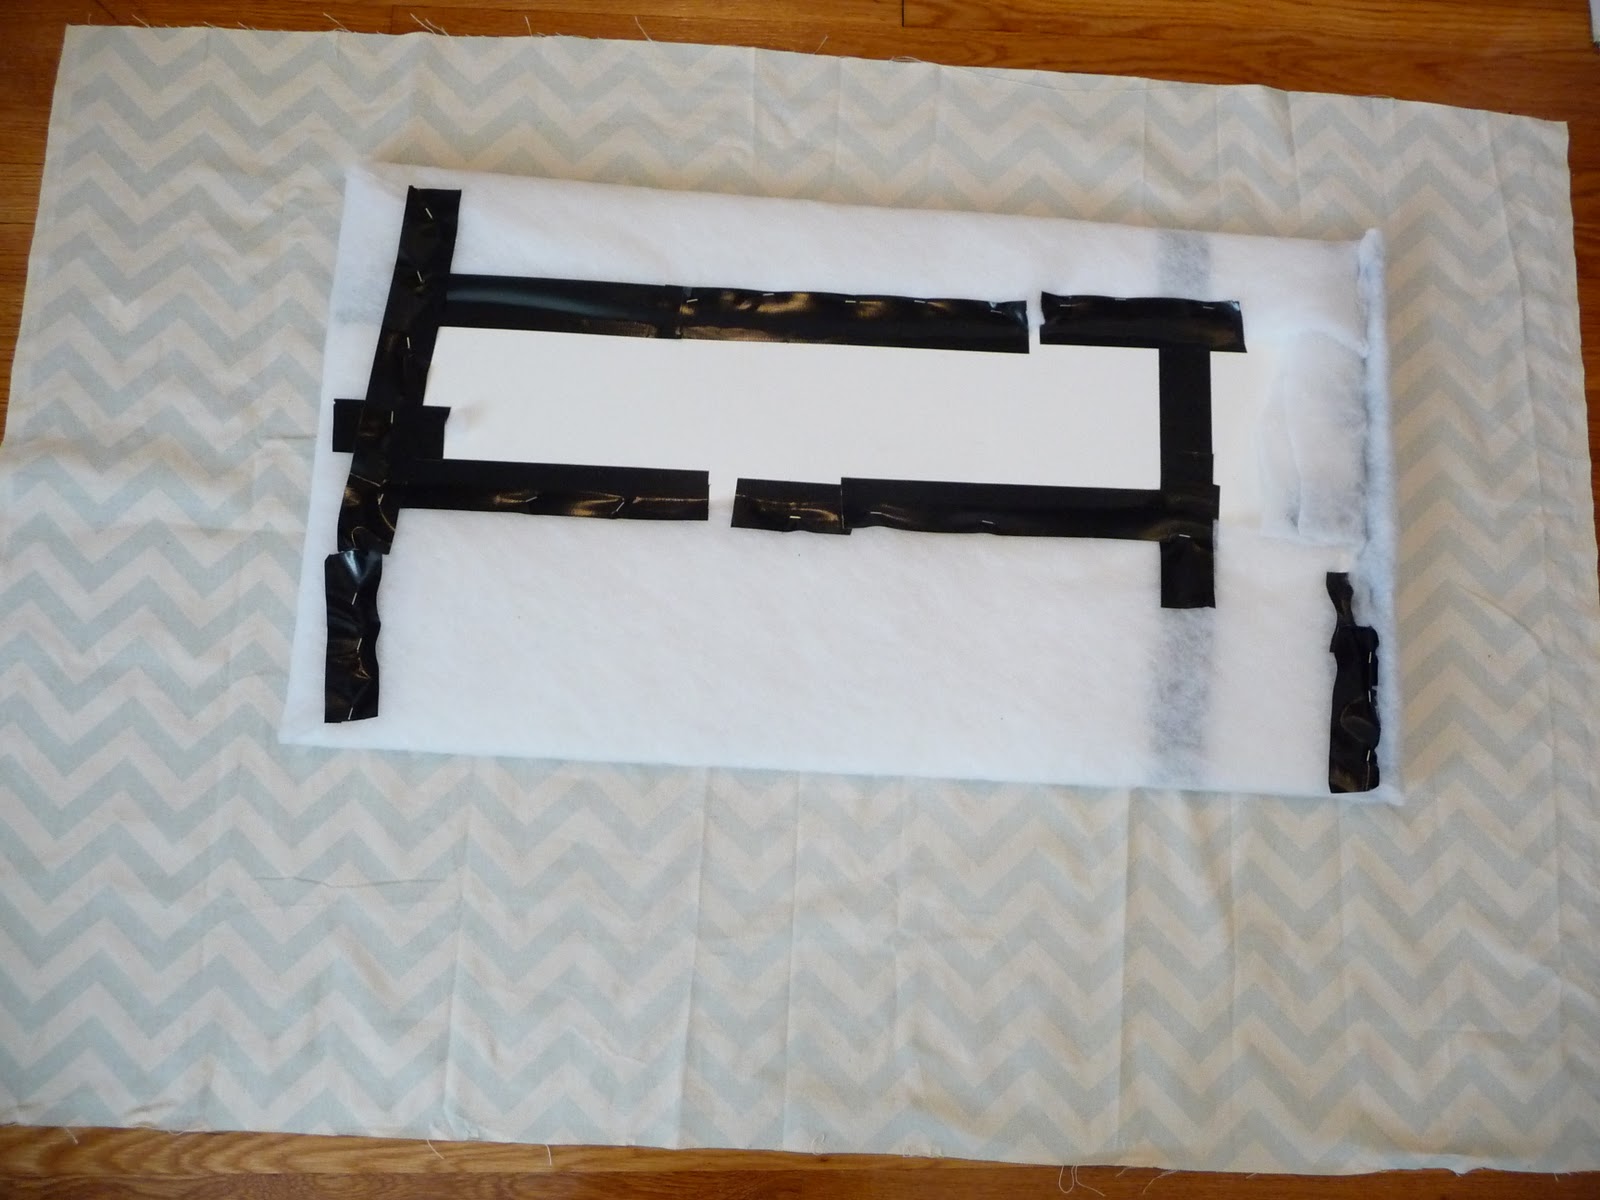
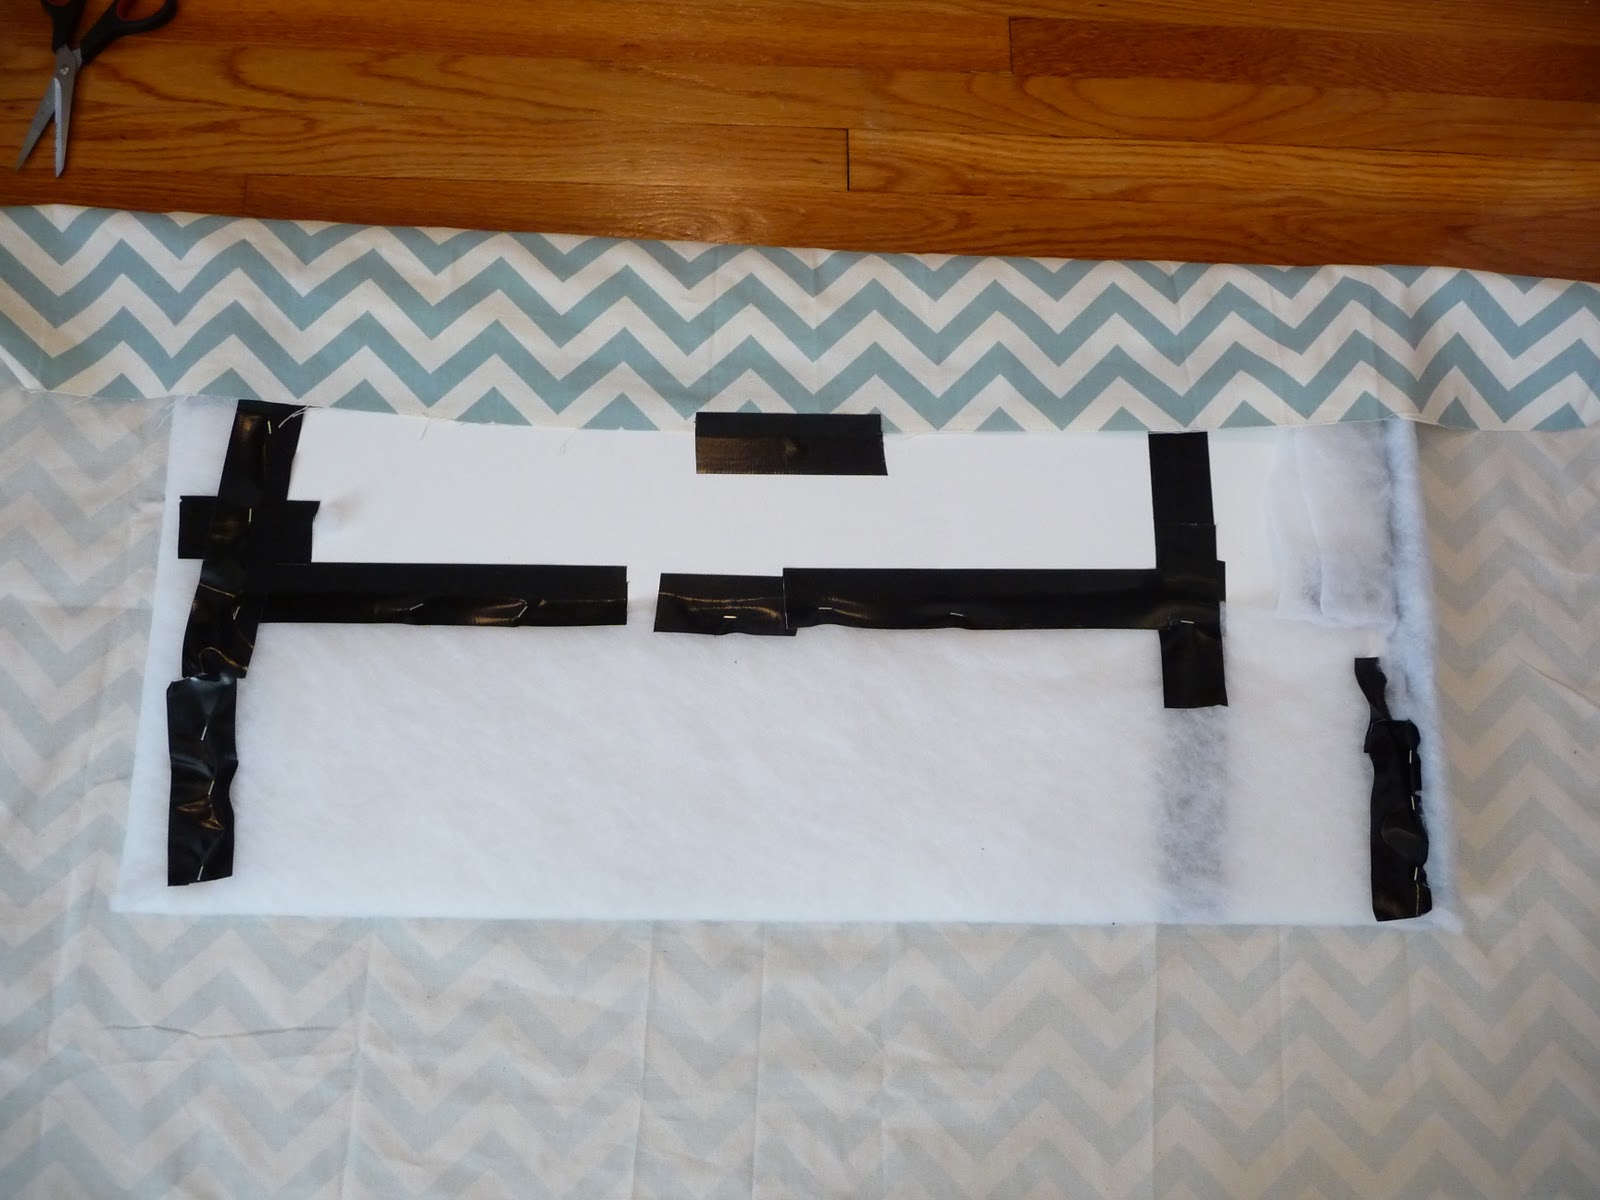
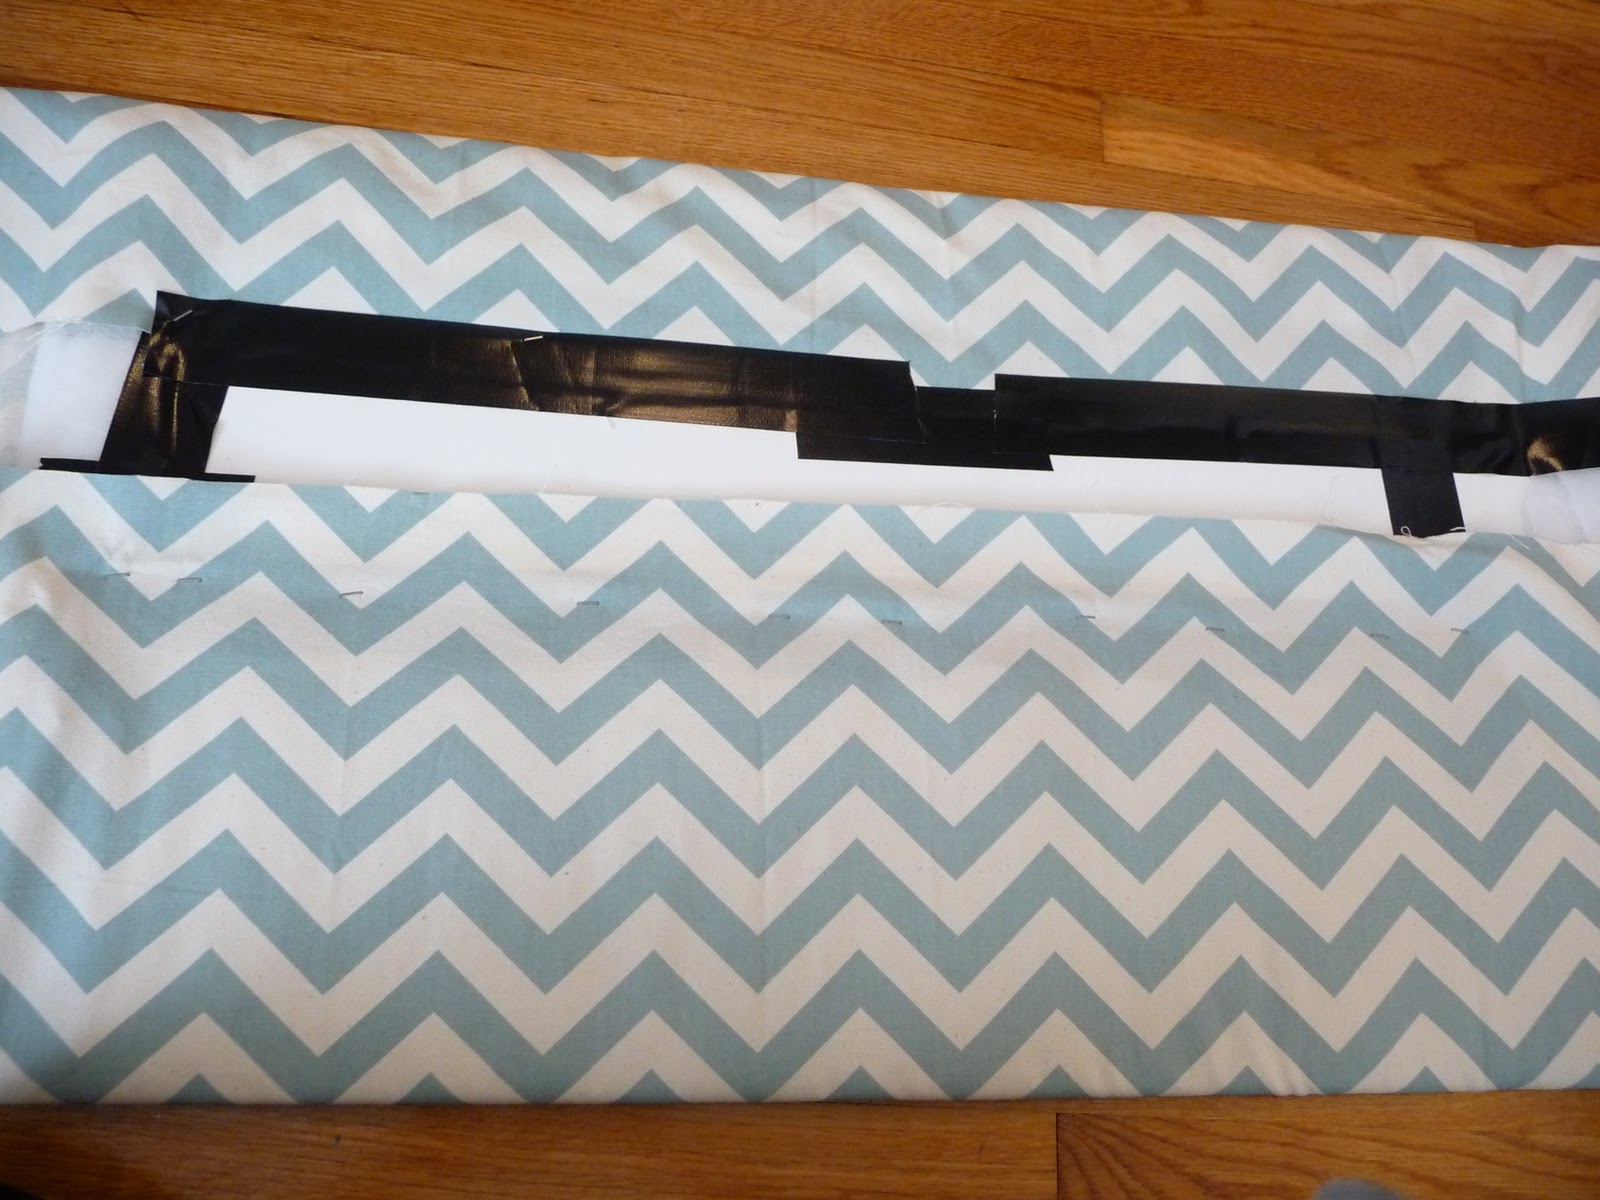
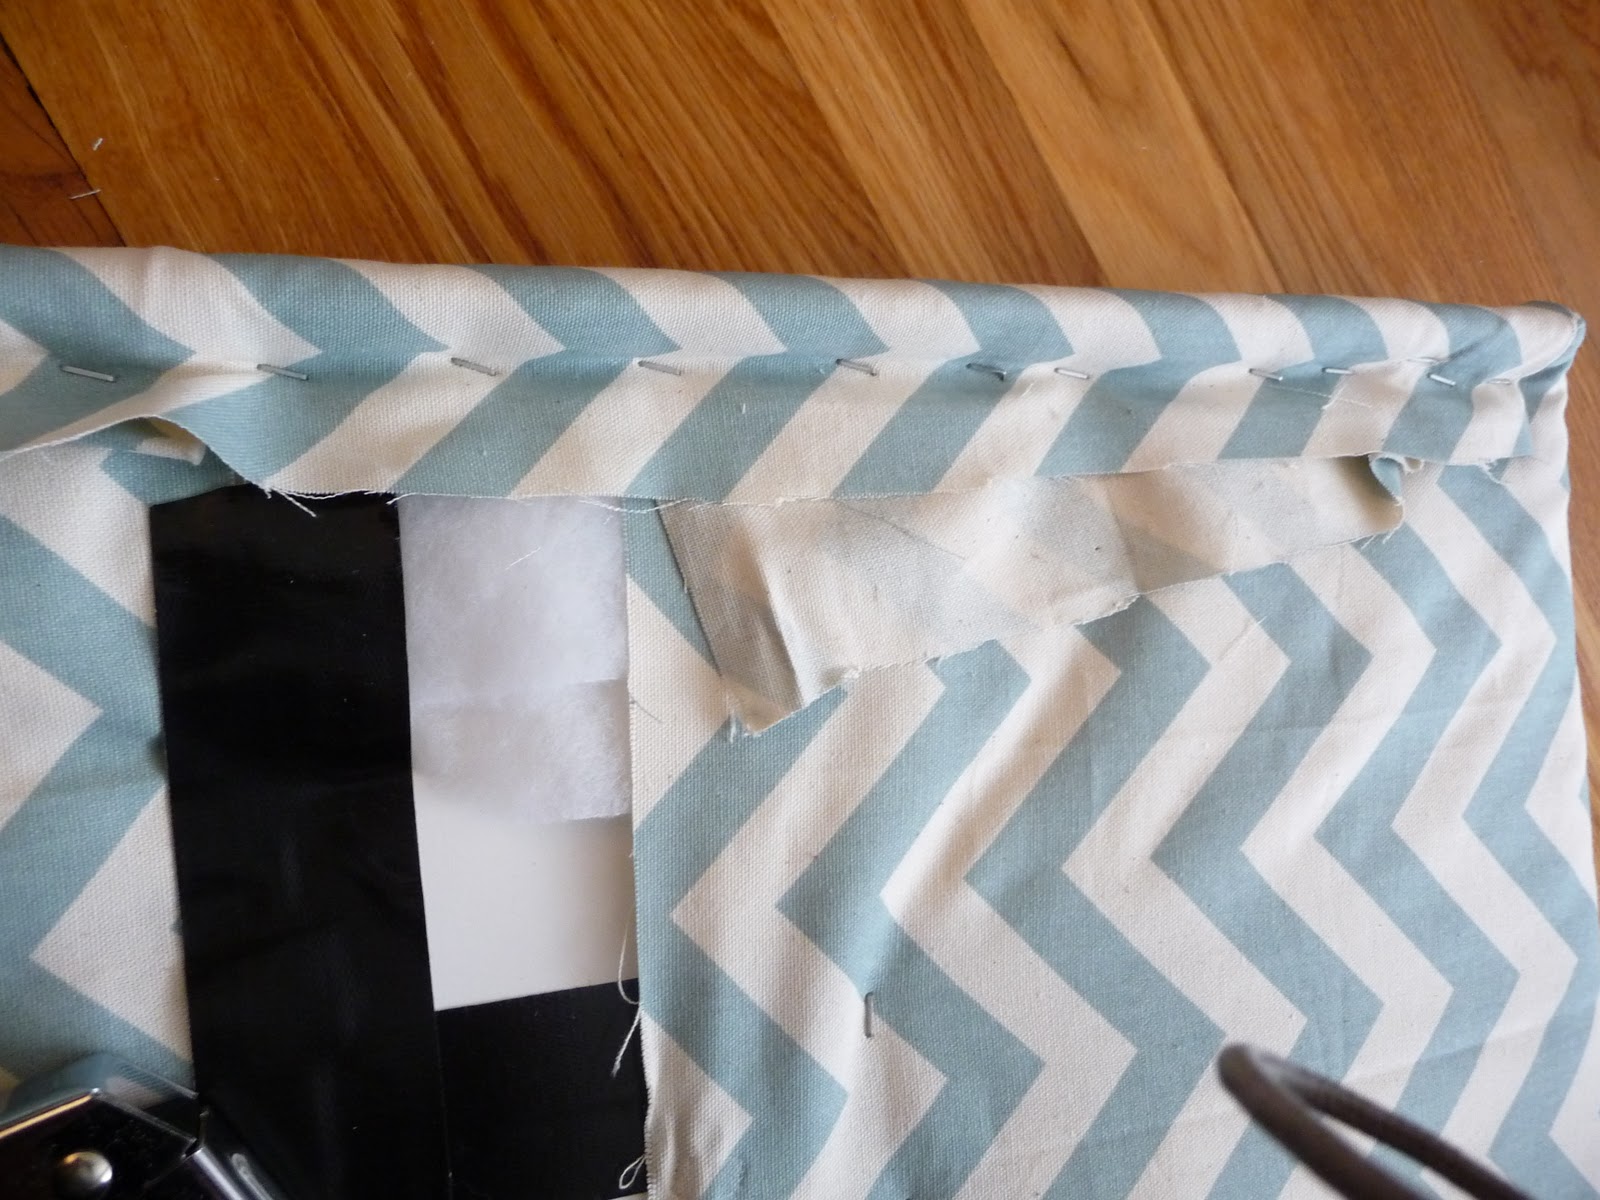
5. Once the batting is wrapped do the same thing with the fabric. I lay this out and make sure it is lined up correctly. Then I start wrapping and taping. Once you are done you’ll have this. I admit is looks horrible from the back, but once up on your window you won’t see any of this.
 |
| {lay out fabric} |
 |
| {start taping fabric to foam core} |
 |
| {reinforce with some staples} |
 |
| {keep the corners as tight and clean as possible} |
 |
| {staple and/or tape the sides} |
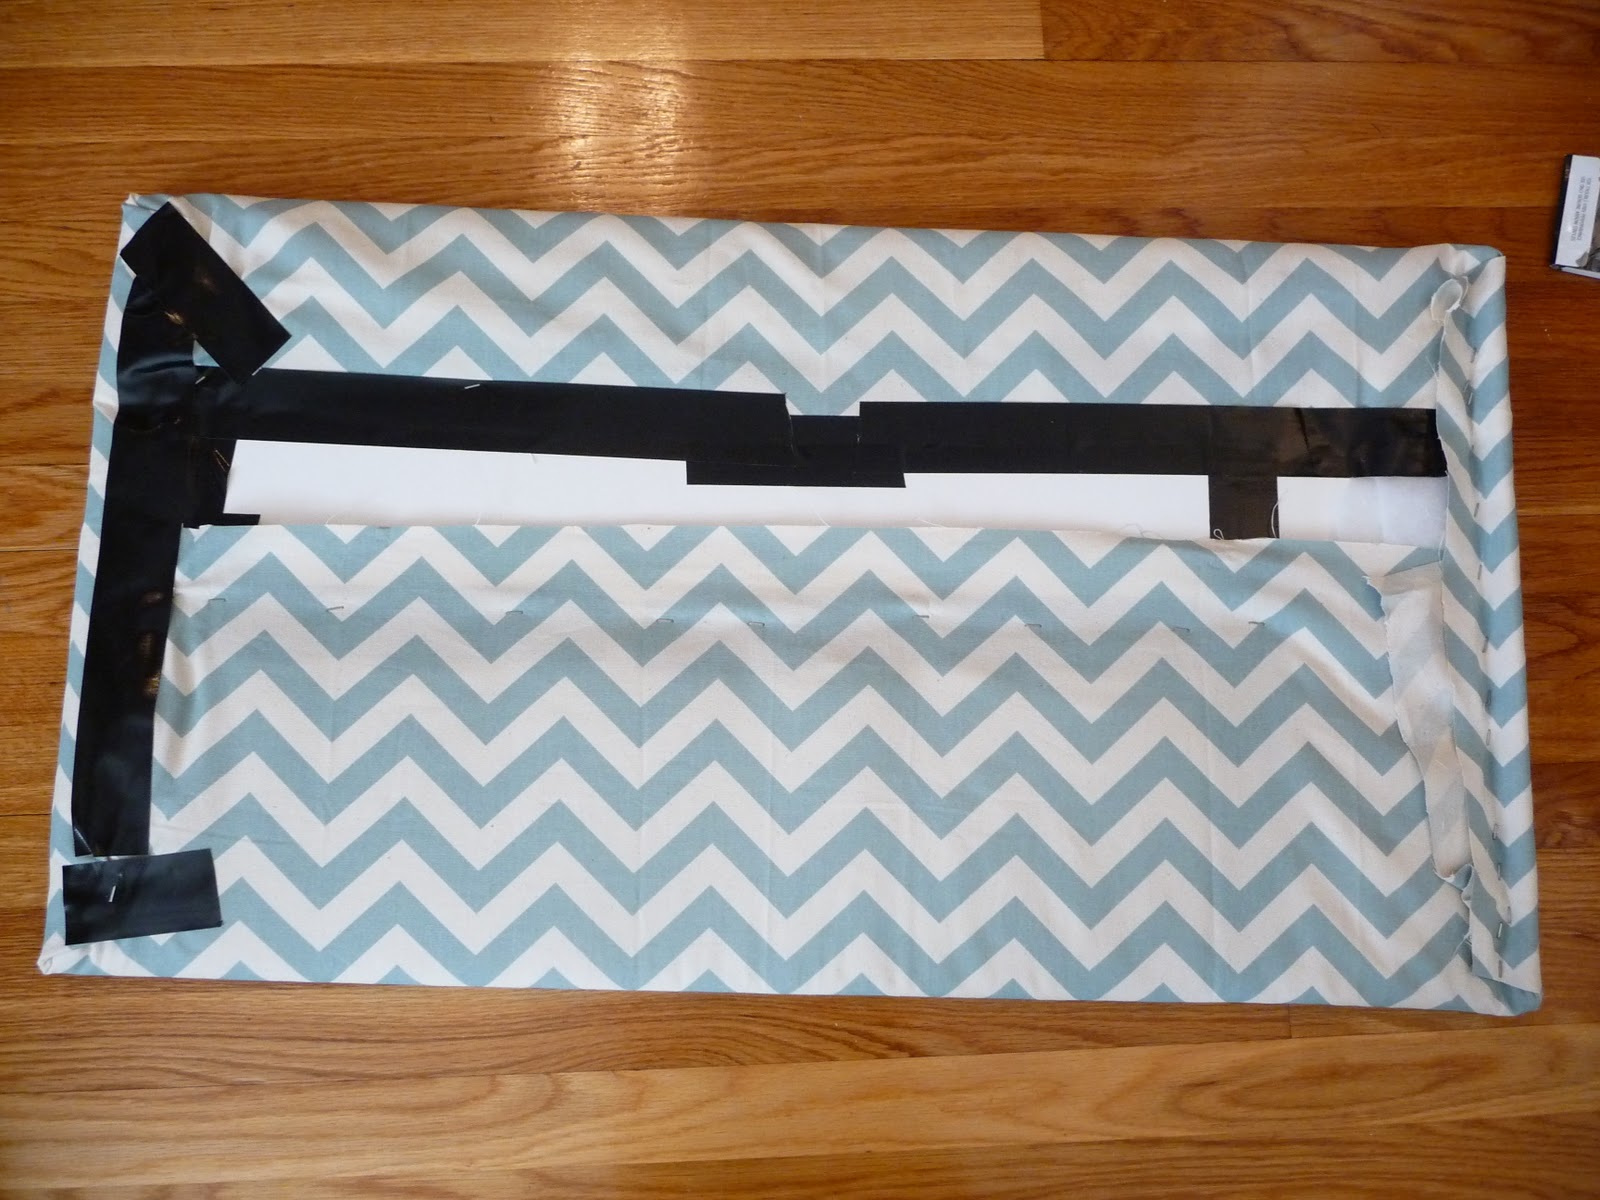 |
| {back of pelmet box once completed} |
6. The next step is hanging it up. There are lots of different ways to do this. I’ve always used L brackets but have wanted to try the 3M strips to see if it would work. It does! Line up the 3M strips on the top of the window frame. Then position your pelmet box in front, making sure it is straight, and attach by pushing it against the already attached 3M strips.
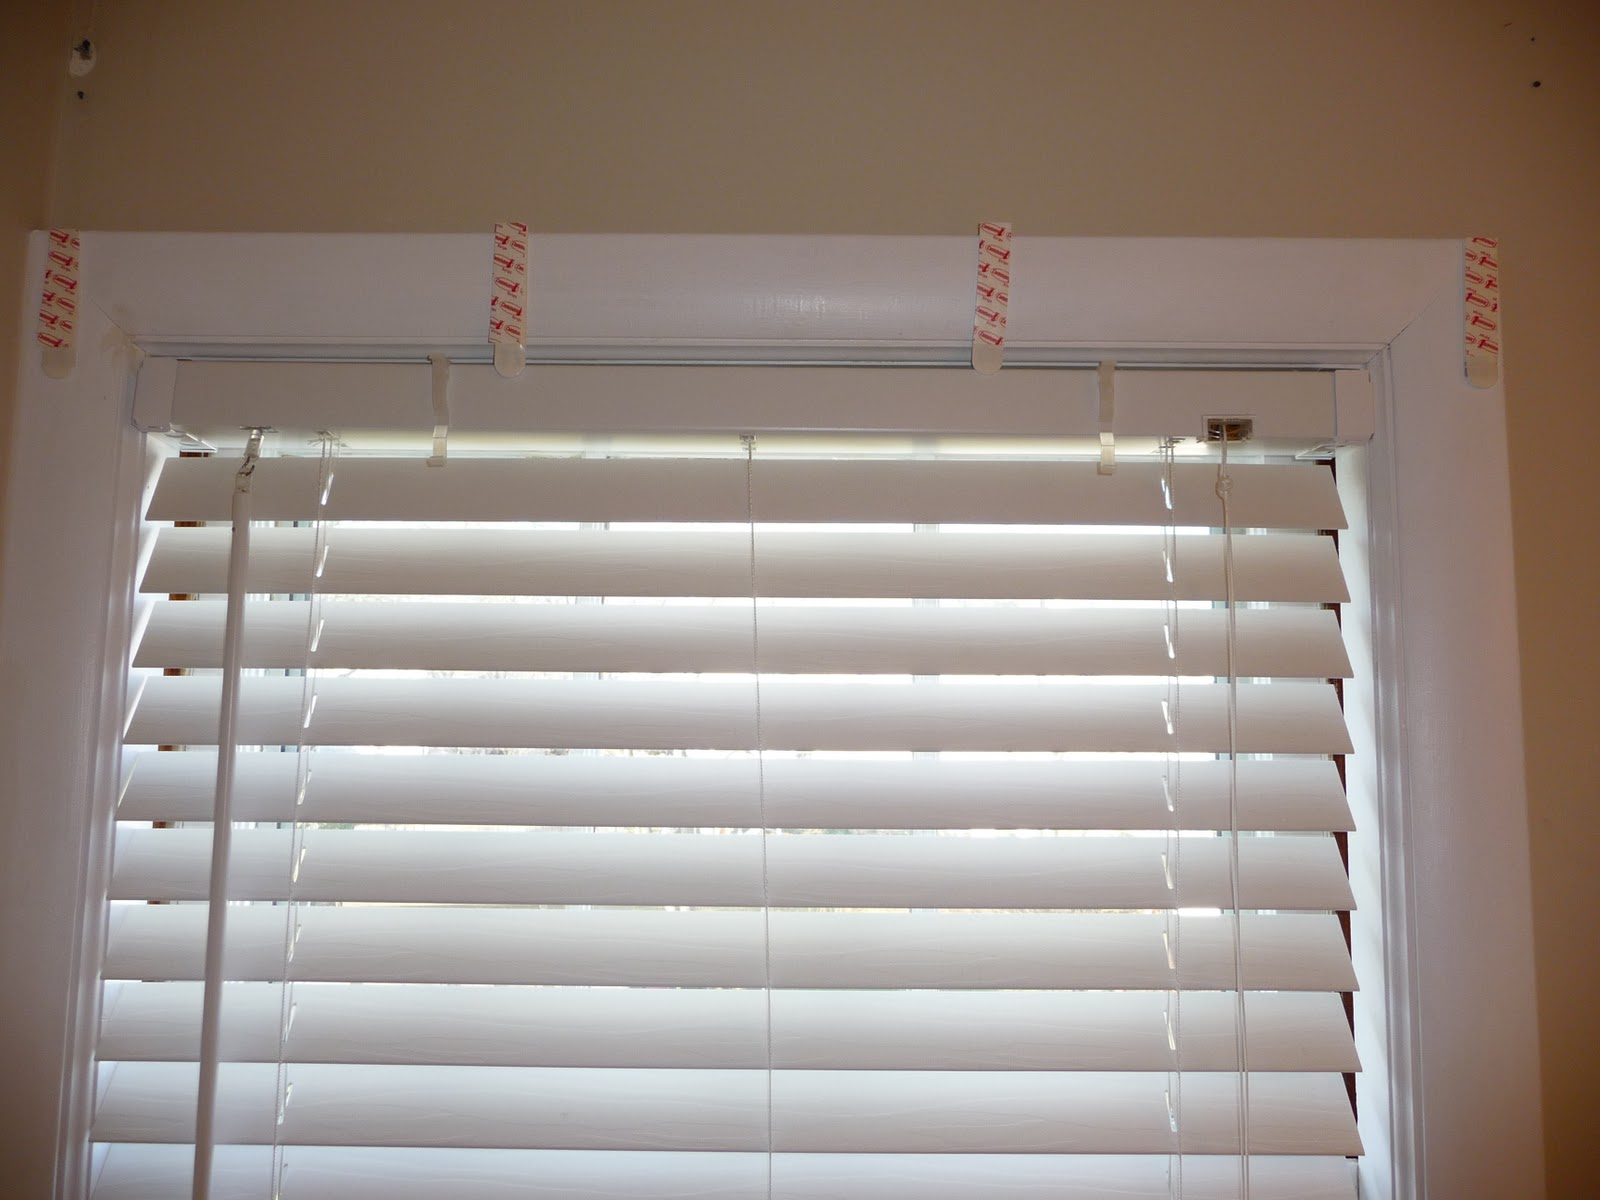 |
| {position 3M strips on window frame} |
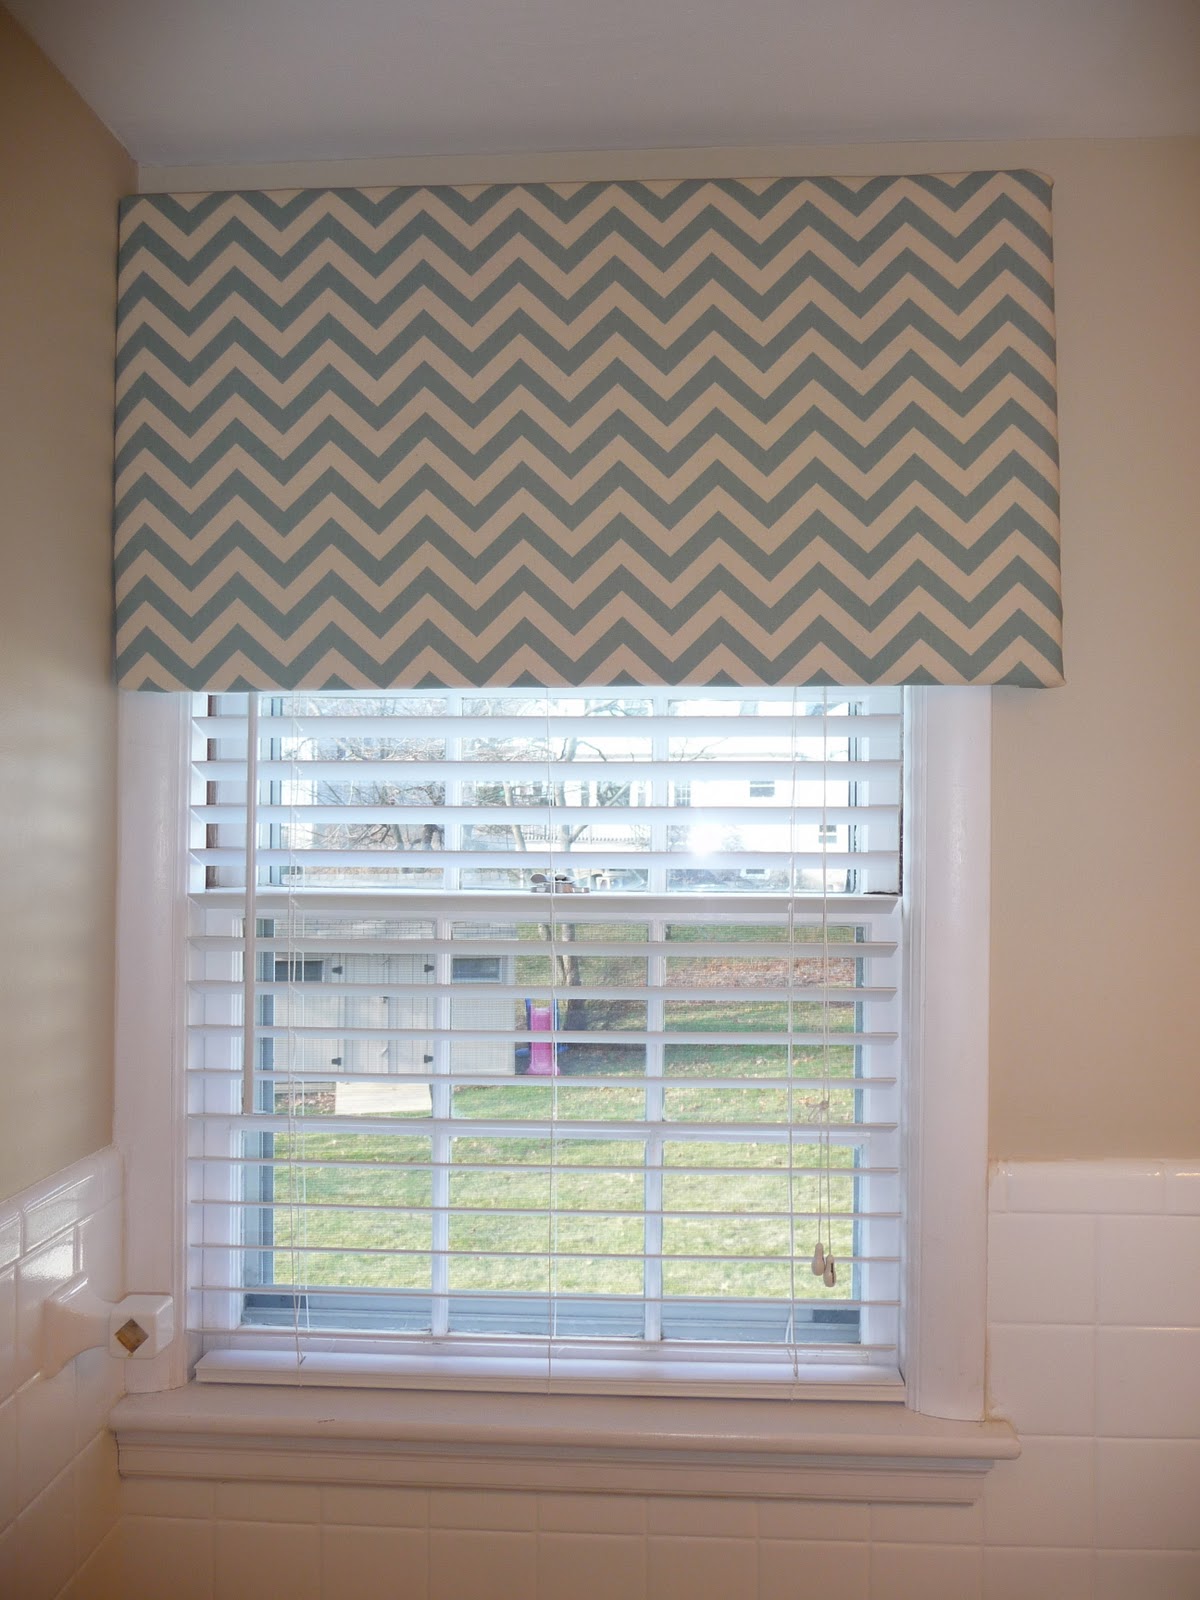 |
| {the end result} |

Here is the end result. It cost me a less than $30 to make from start to finish. I went online how much something like this would cost to custom order. They were asking $355 for the same dimensions!
What do you think? Try it for yourself, get your camera out and send me pictures of your very own pelmet boxes.
What do you think? Try it for yourself, get your camera out and send me pictures of your very own pelmet boxes.
Share this:


Subscribe to Posts
Featured On...


 |
Blog Policies
For more information on all blog policies regarding comments, advertising, copyright, sponsored links, guest submissions, and other matters, please look here.