patching a floor…
A couple weeks ago I removed the cabinets from one section of my kitchen. It was used only for office type storage, not kitchen storage at all. It was becoming a dumping ground so I wanted to try to use this space better. Brighter, whiter and more open was the look I was going for. I started by removing the cabinets which then left me with this nice hole in my flooring.


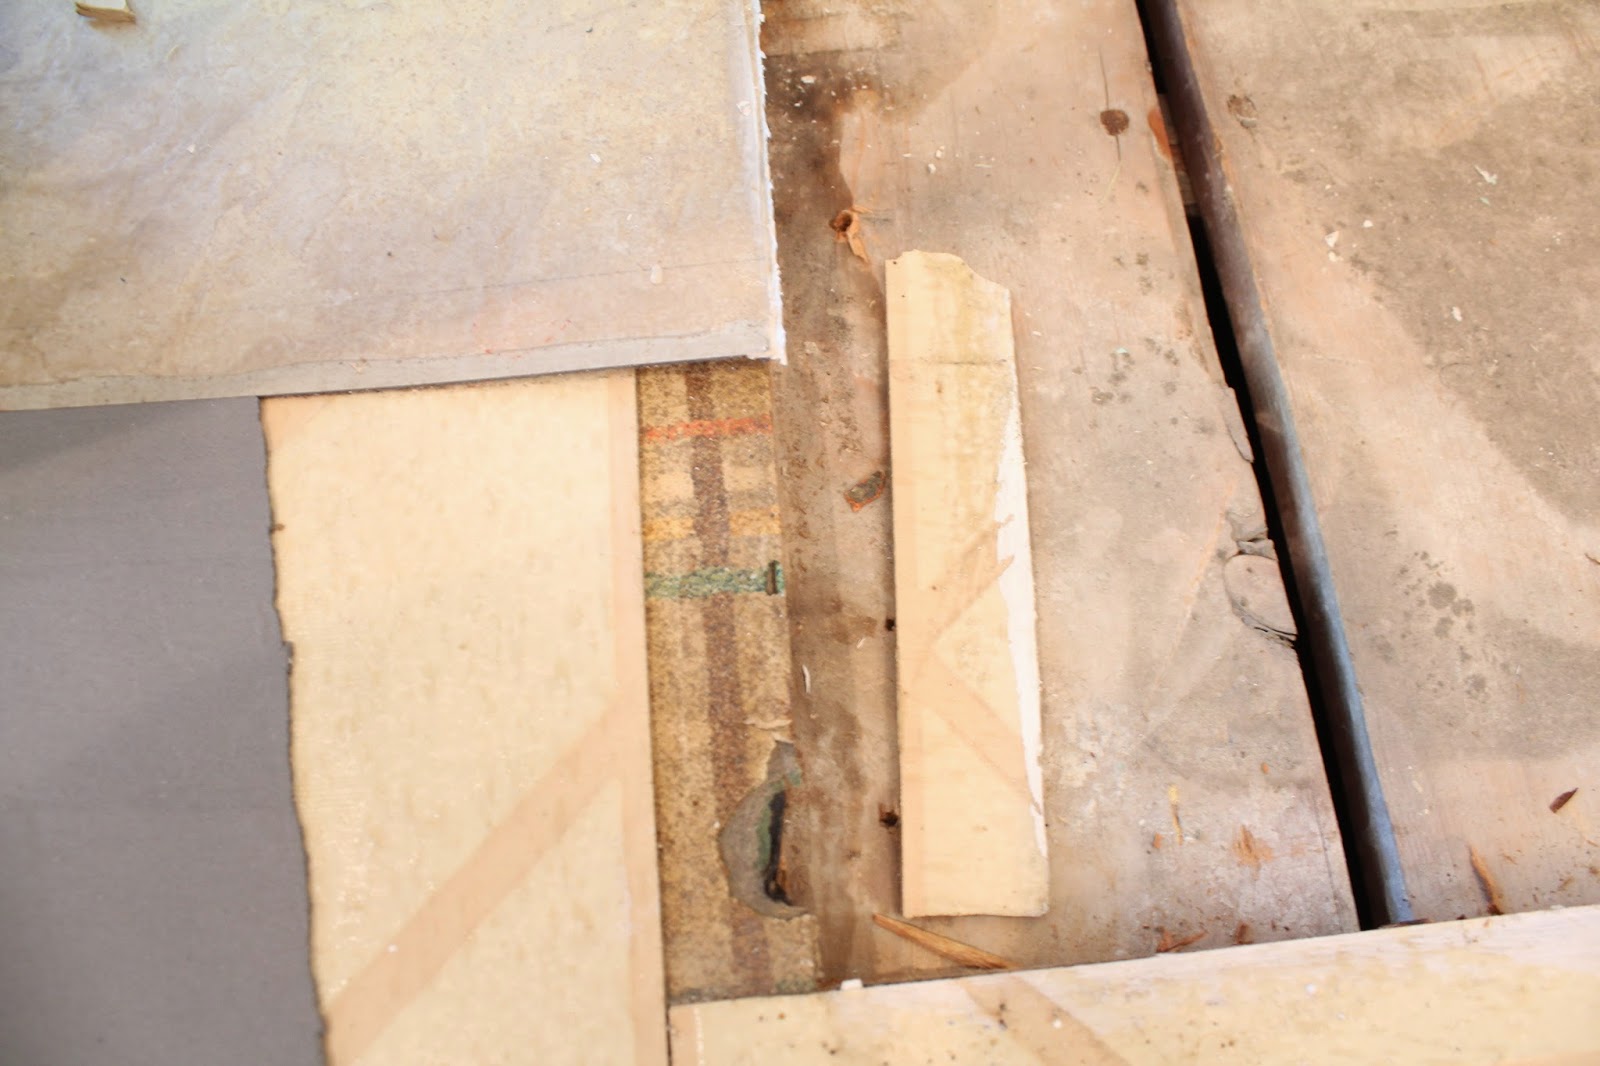
When I removed the base cabinet I got all the way down to the floor boards. I wasn’t sure what I would find and this was the worse case scenario. I had an easy solution though. First I had the cleaning crew come through and clean up.

Once it was all vacuumed up I could actually see three different layers of vinyl flooring. The previous homeowners had done cosmetic finishes on the kitchen which included vinyl tile flooring. They were nice enough to leave a box of leftovers behind for us. I had just enough to finish off the floor. If I hadn’t had enough I was just planning on taking a picture of the tile and finding the best match I could. The tile is the peel and stick vinyl. One day when I redo the kitchen I will replace it all. It is fine for now and actually has been mistaken for ceramic tile.
I measured the space out (width, length and depth of the wood) and set off for Home Depot to have some plywood cut. For future reference always measure the piece after they cut it for you. Sometimes they are off by half and inch or so. As in half an inch too large and you would have had to come back and had them cut it again to fit into the gap left in the flooring. The man was not happy with me. I think I insulted him by measuring it in from of him and then letting him know it was off. Don’t get me wrong, I love Home Depot and most of the time everyone there is very helpful. Every once in a while there is someone who automatically assume you have no idea what you are doing because you are female. Bring a child along and it is even worse. Rant over.

So the plywood was finally cut and then recut and brought home. It now fits perfectly.

I notched out a space for the wire that is there. This wire will be covered up by baseboards later on.

I nailed the plywood into the floor boards to keep it from wobbling around. I then started covering it with the vinyl tiles. They are made by Traffic Master and really do look like ceramic tile. Once you peel the backing off they are extremely sticky but can be repositioned. They don’t bubble or pop up and are a great solution until we manage a kitchen renovation.


I placed the tiles down that were not being cut first. I then measured and cut out the tiles nearest the wall. It was a little tricky to work around the door jambs. I did a lot of measuring and remeasuring to make sure it fit with no gaps.

As you can see I was still removing the upper cabinet at this time. I’m never working on just one project. I have always have at least three going on and then there are the other four I’m planning out in my head!
When all the tile was down the clean up crew came back in just because. I think I’m getting him a vacuum for Christmas. Or maybe a mop.

Share this:


Subscribe to Posts
Featured On...


 |
Blog Policies
For more information on all blog policies regarding comments, advertising, copyright, sponsored links, guest submissions, and other matters, please look here.