mod podge tray tutorial
Today I’m going to show you how I transformed the girly pink tray I bought at Target for $2.50 into something you might need to have around the house.
{supplies needed}
tray of any size (preferably smaller than the paper
you are choosing so you don’t have to tile the paper)
paper or wrapping paper
Mod Podge
brush (I prefer foam brushes)

Begin by cutting your paper to fit the inside of your tray. I use a paper cutter to get straight even lines.

The next step is to paint over your tray. I used Benjamin Moore paint left over from the paint sample. Normal acrylic paint would work as well. I painted 3 coats to make sure no pink showed through. Since I was putting paper on the inside I didn’t bother painting that. A small trick I use to paint and dry the bottom is to place 4 thumb tacks on the bottom corners of the tray. The tray then rests on these and dries.


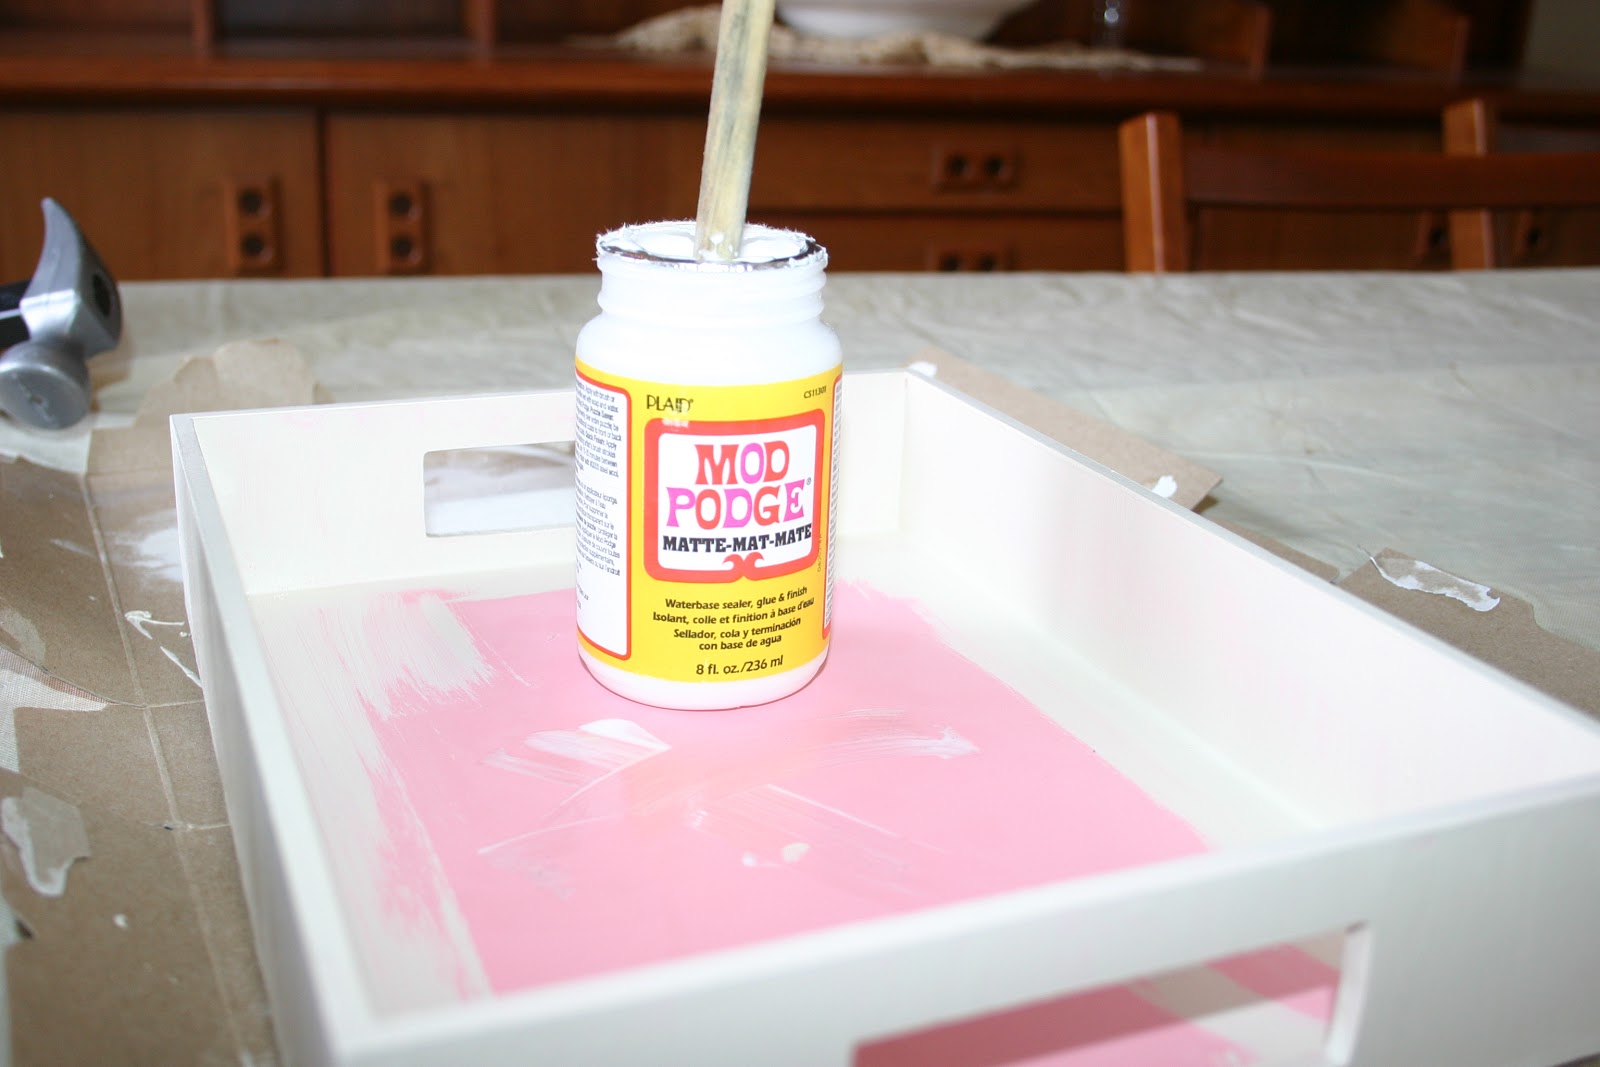
Once the box is painted and dry, paint the inside with a layer of Mod Podge and carefully add your paper. Start at one side and slowly flatten it to get out all the air pockets. Once you are happy with the positioning you are ready to Mod Podge the top of the paper and the box itself. I applied 3 coats at this point. The more the glossier!

Let it dry overnight and you are done!


This tray is not only great for a desk area. Use if near your front door for your incoming mail. Have one in your mudroom for your keys. Even one in your bedroom for jewelry. Make one a little more masculine for your husbands’ money clip and wallet. It is a great project for kids to do as well and give as gifts. Enjoy!
Share this:


Subscribe to Posts
Featured On...


 |
Blog Policies
For more information on all blog policies regarding comments, advertising, copyright, sponsored links, guest submissions, and other matters, please look here.