master bedroom closet; construction day
Disclosure: This post is sponsored by ClosetMaid®. I received a free sample of the product for the purpose of this review. All opinions are my own.
When I decided to make some changes in my master bedroom closet I was a little overwhelmed by the choices out there. I didn’t want to create the entire thing from scratch but I did want to be able to create a unique look. When ClosetMaid® offered to send me a complete closet system for both sides of my closet I was positive I had found the perfect way to go about it. I would be getting a classy looking closet with nice finishes and details. At the same time I could inject enough of my own style into that space to make it something I will love for years to come!
After measuring, remeasuring and then measuring again I was able to come up with a layout using the Impressions line. I went with the warm wood tones in the Walnut finish. I even put together a plan of what I was picturing in my head. This makes it easier to add in finishing touches as I go along.
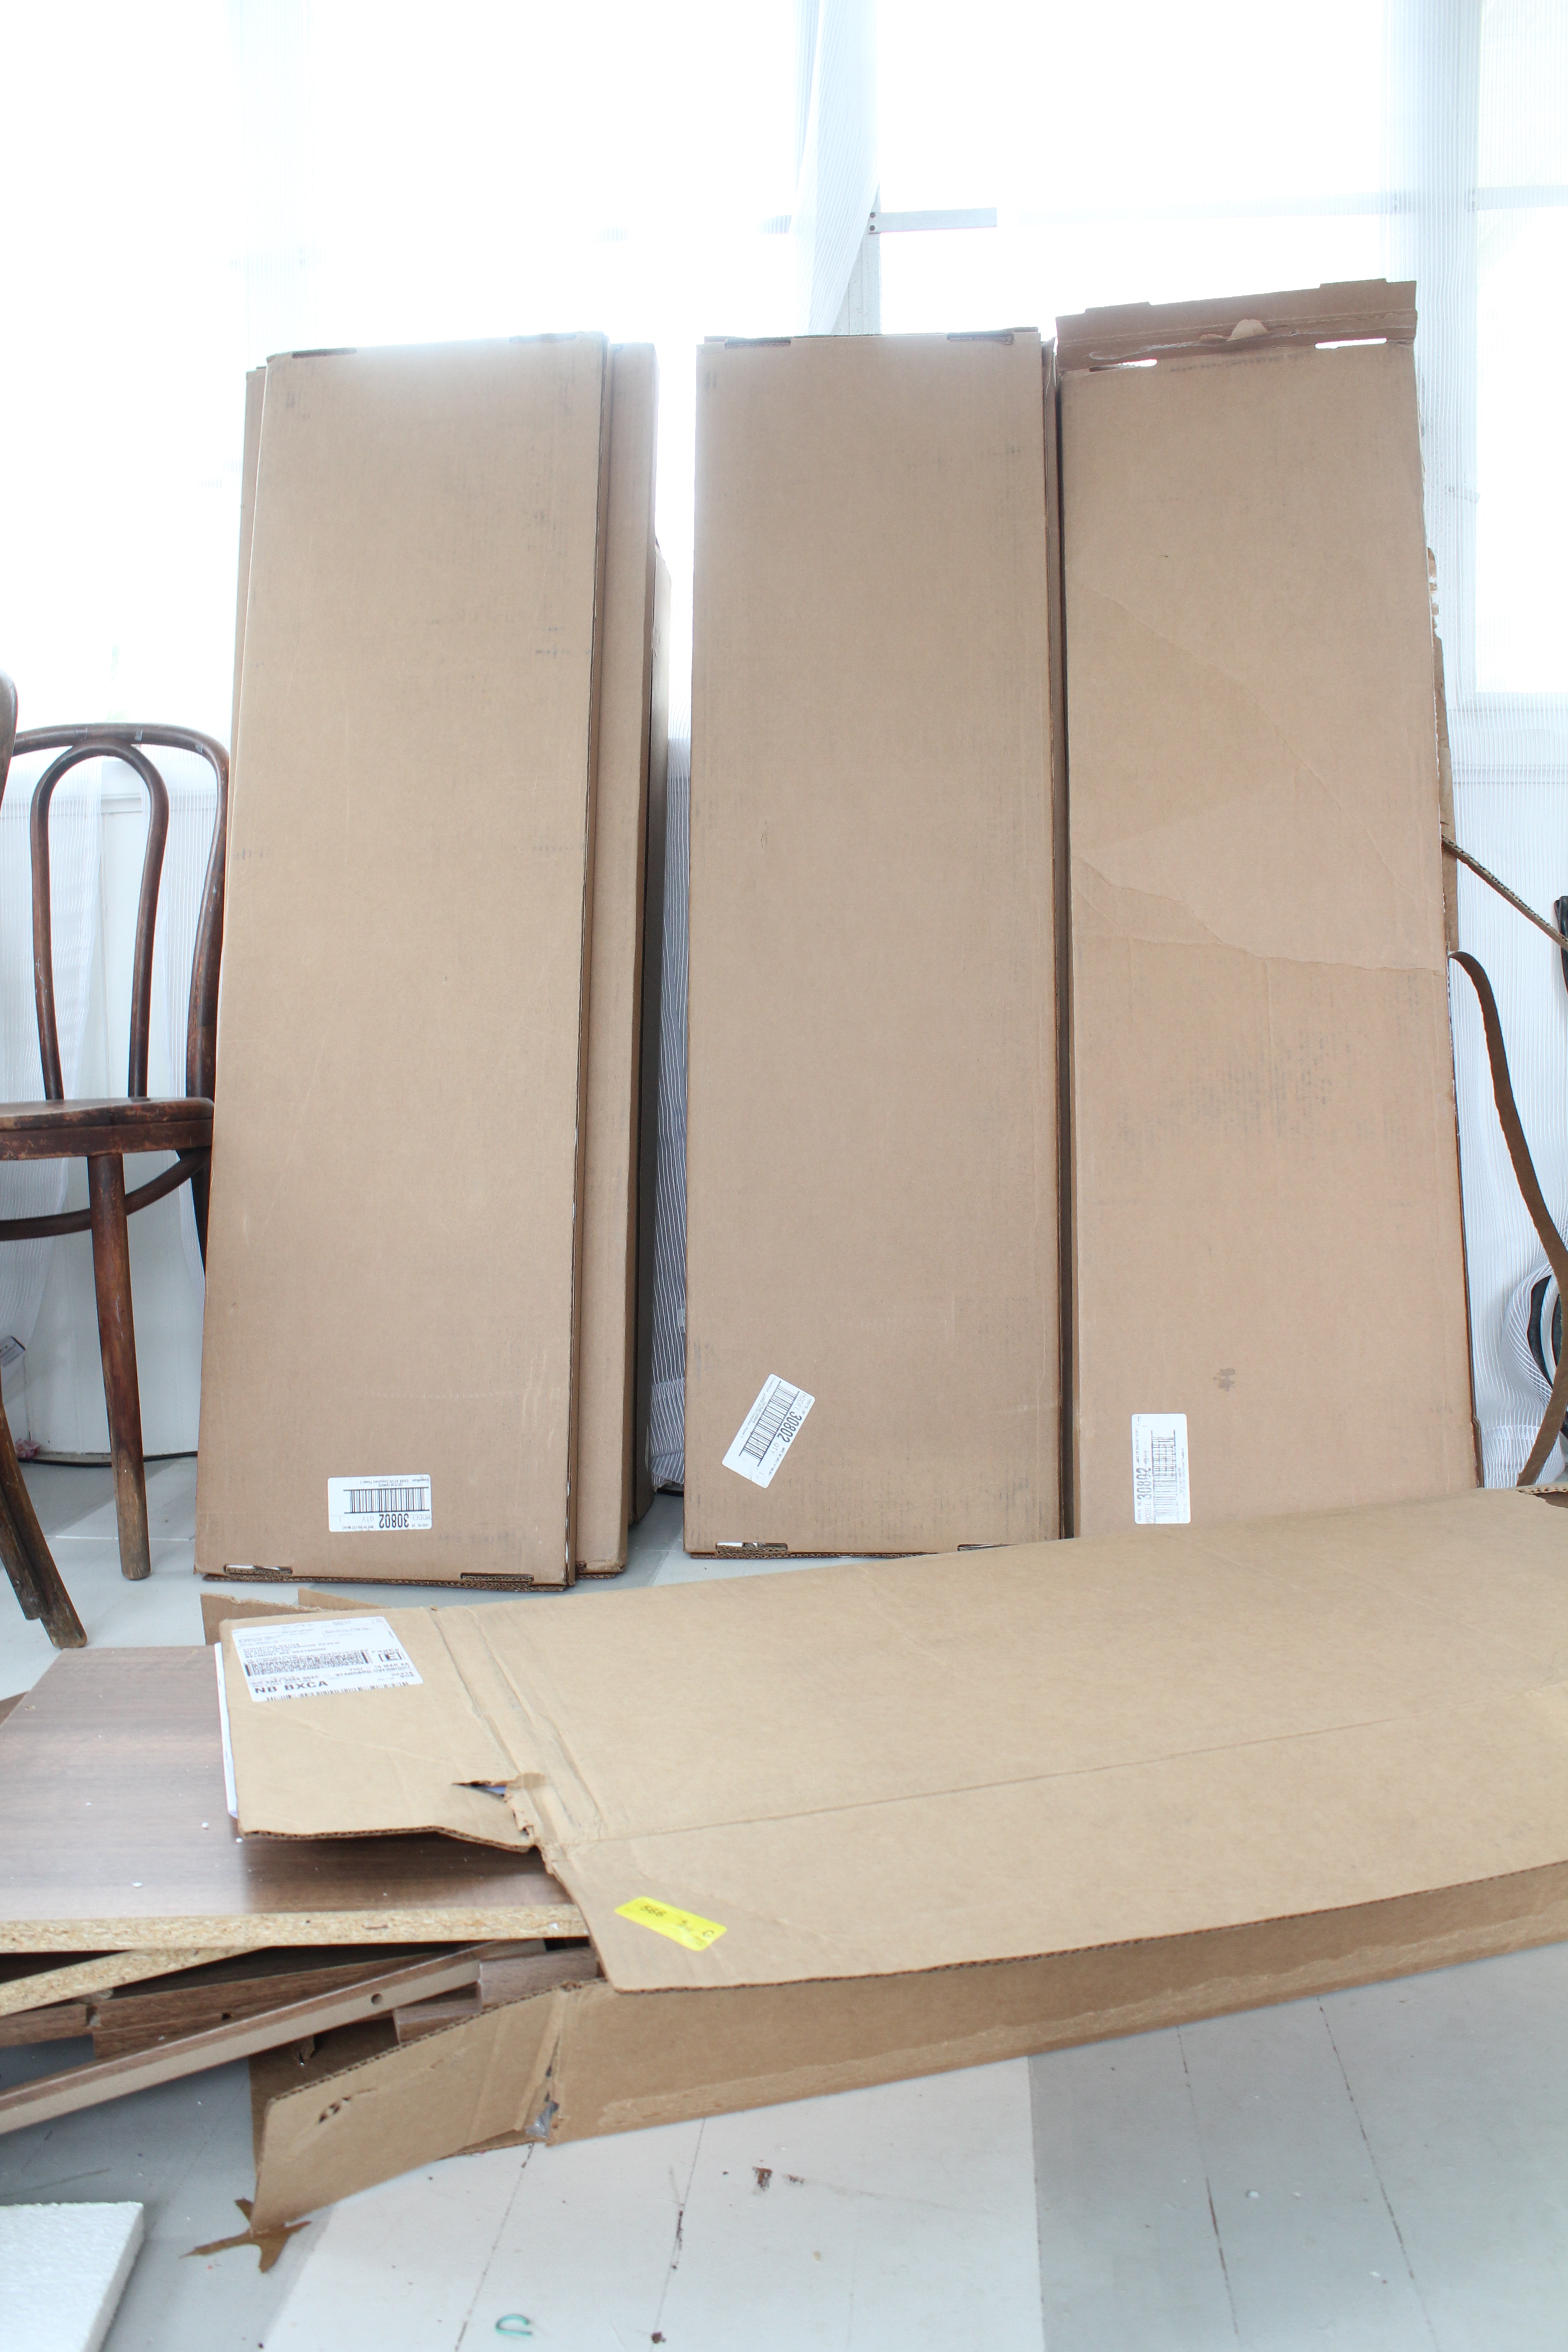
Within a couple of days everything was ordered and at my house. My back porch became a warehouse/workroom for a couple of days. The poor porch was neglected all winter anyways!
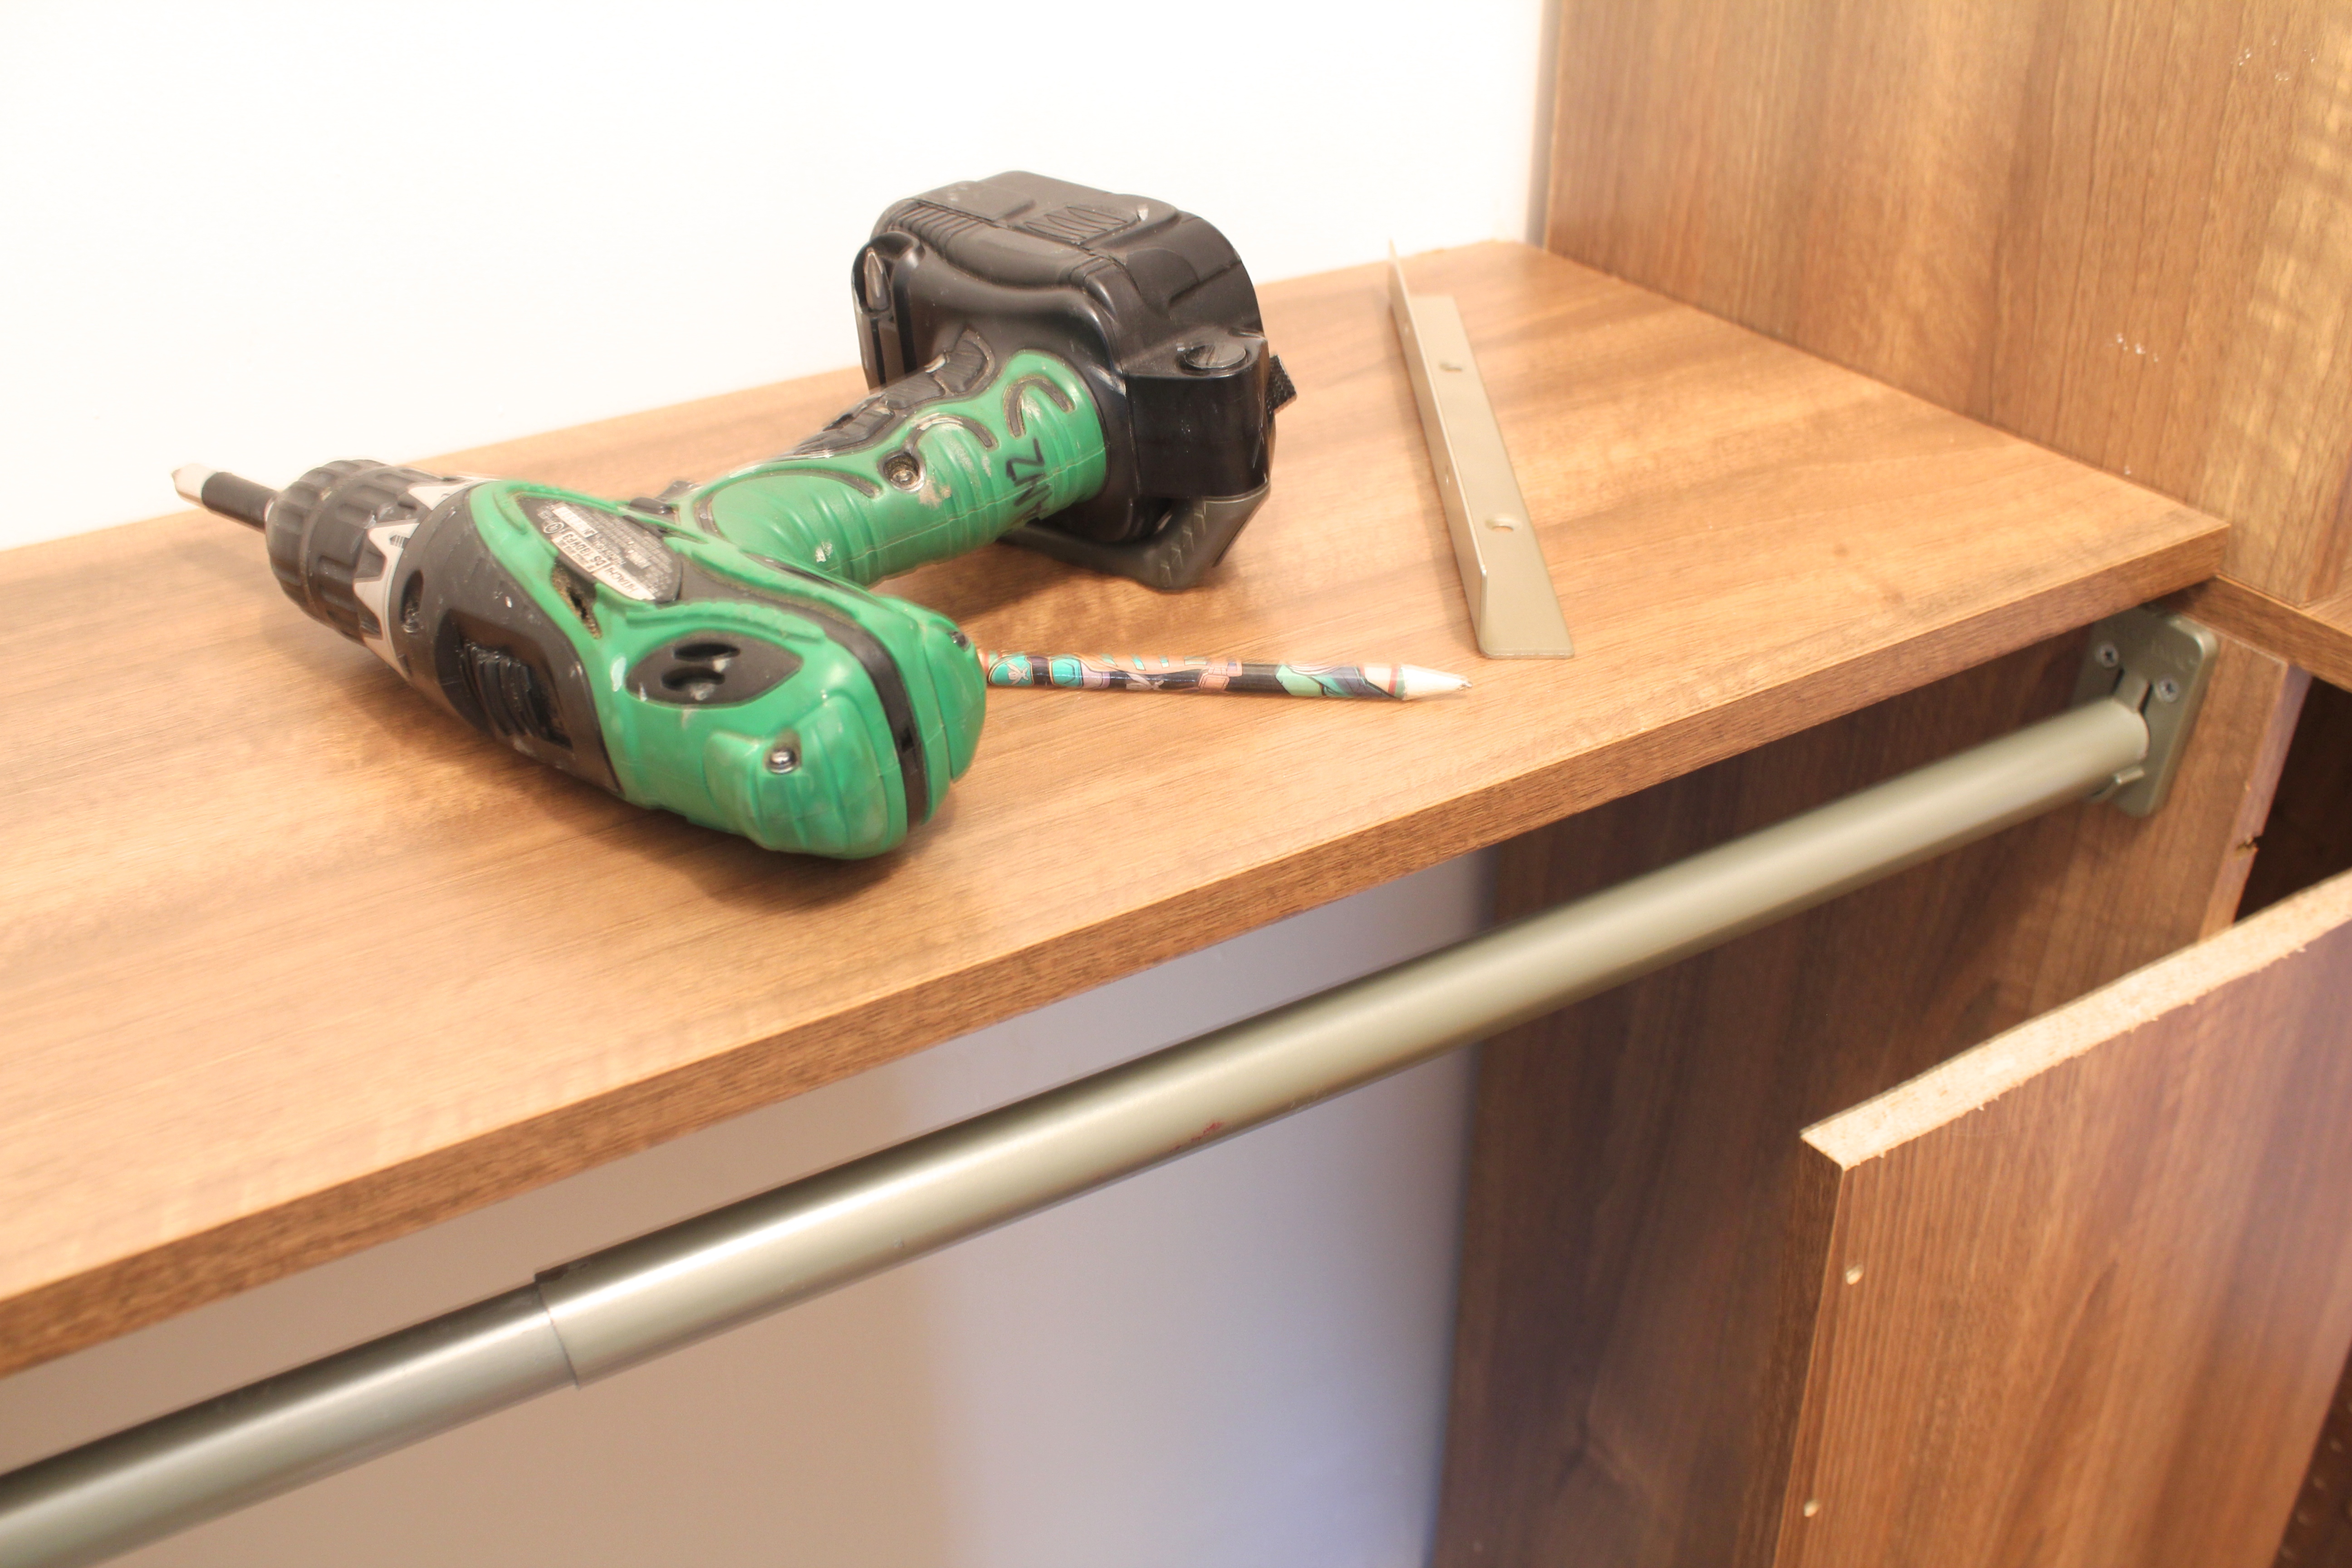
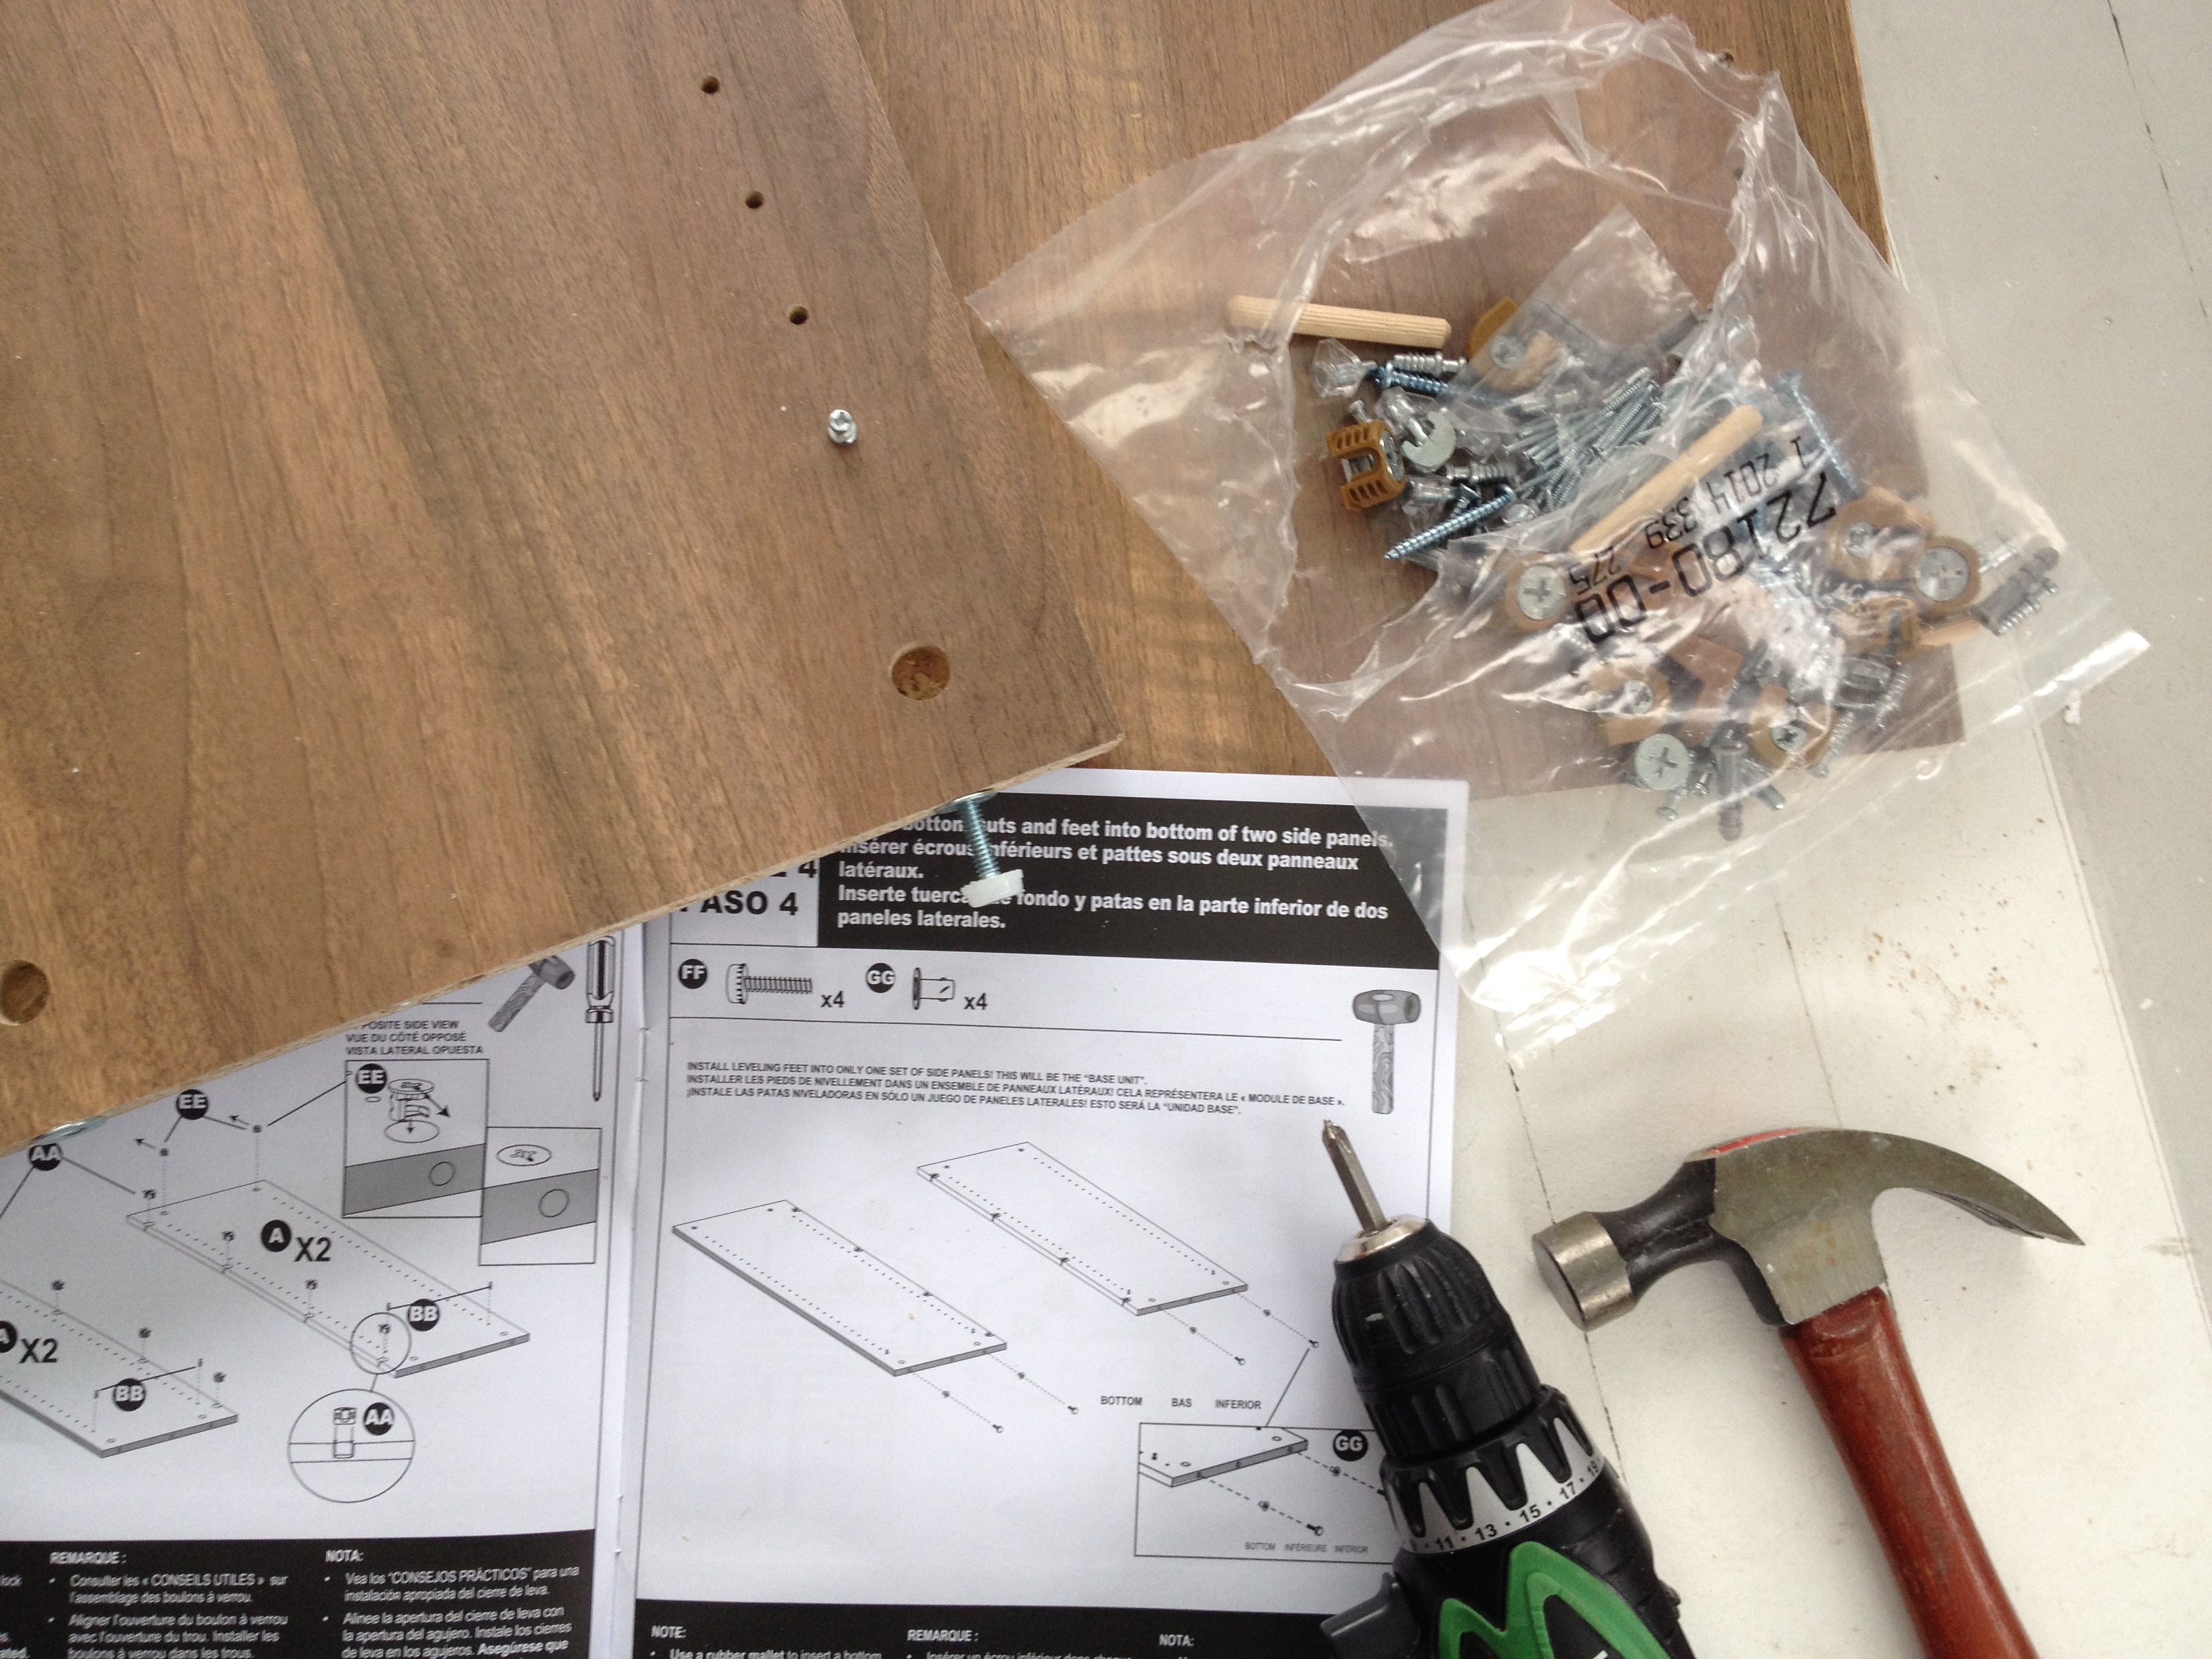
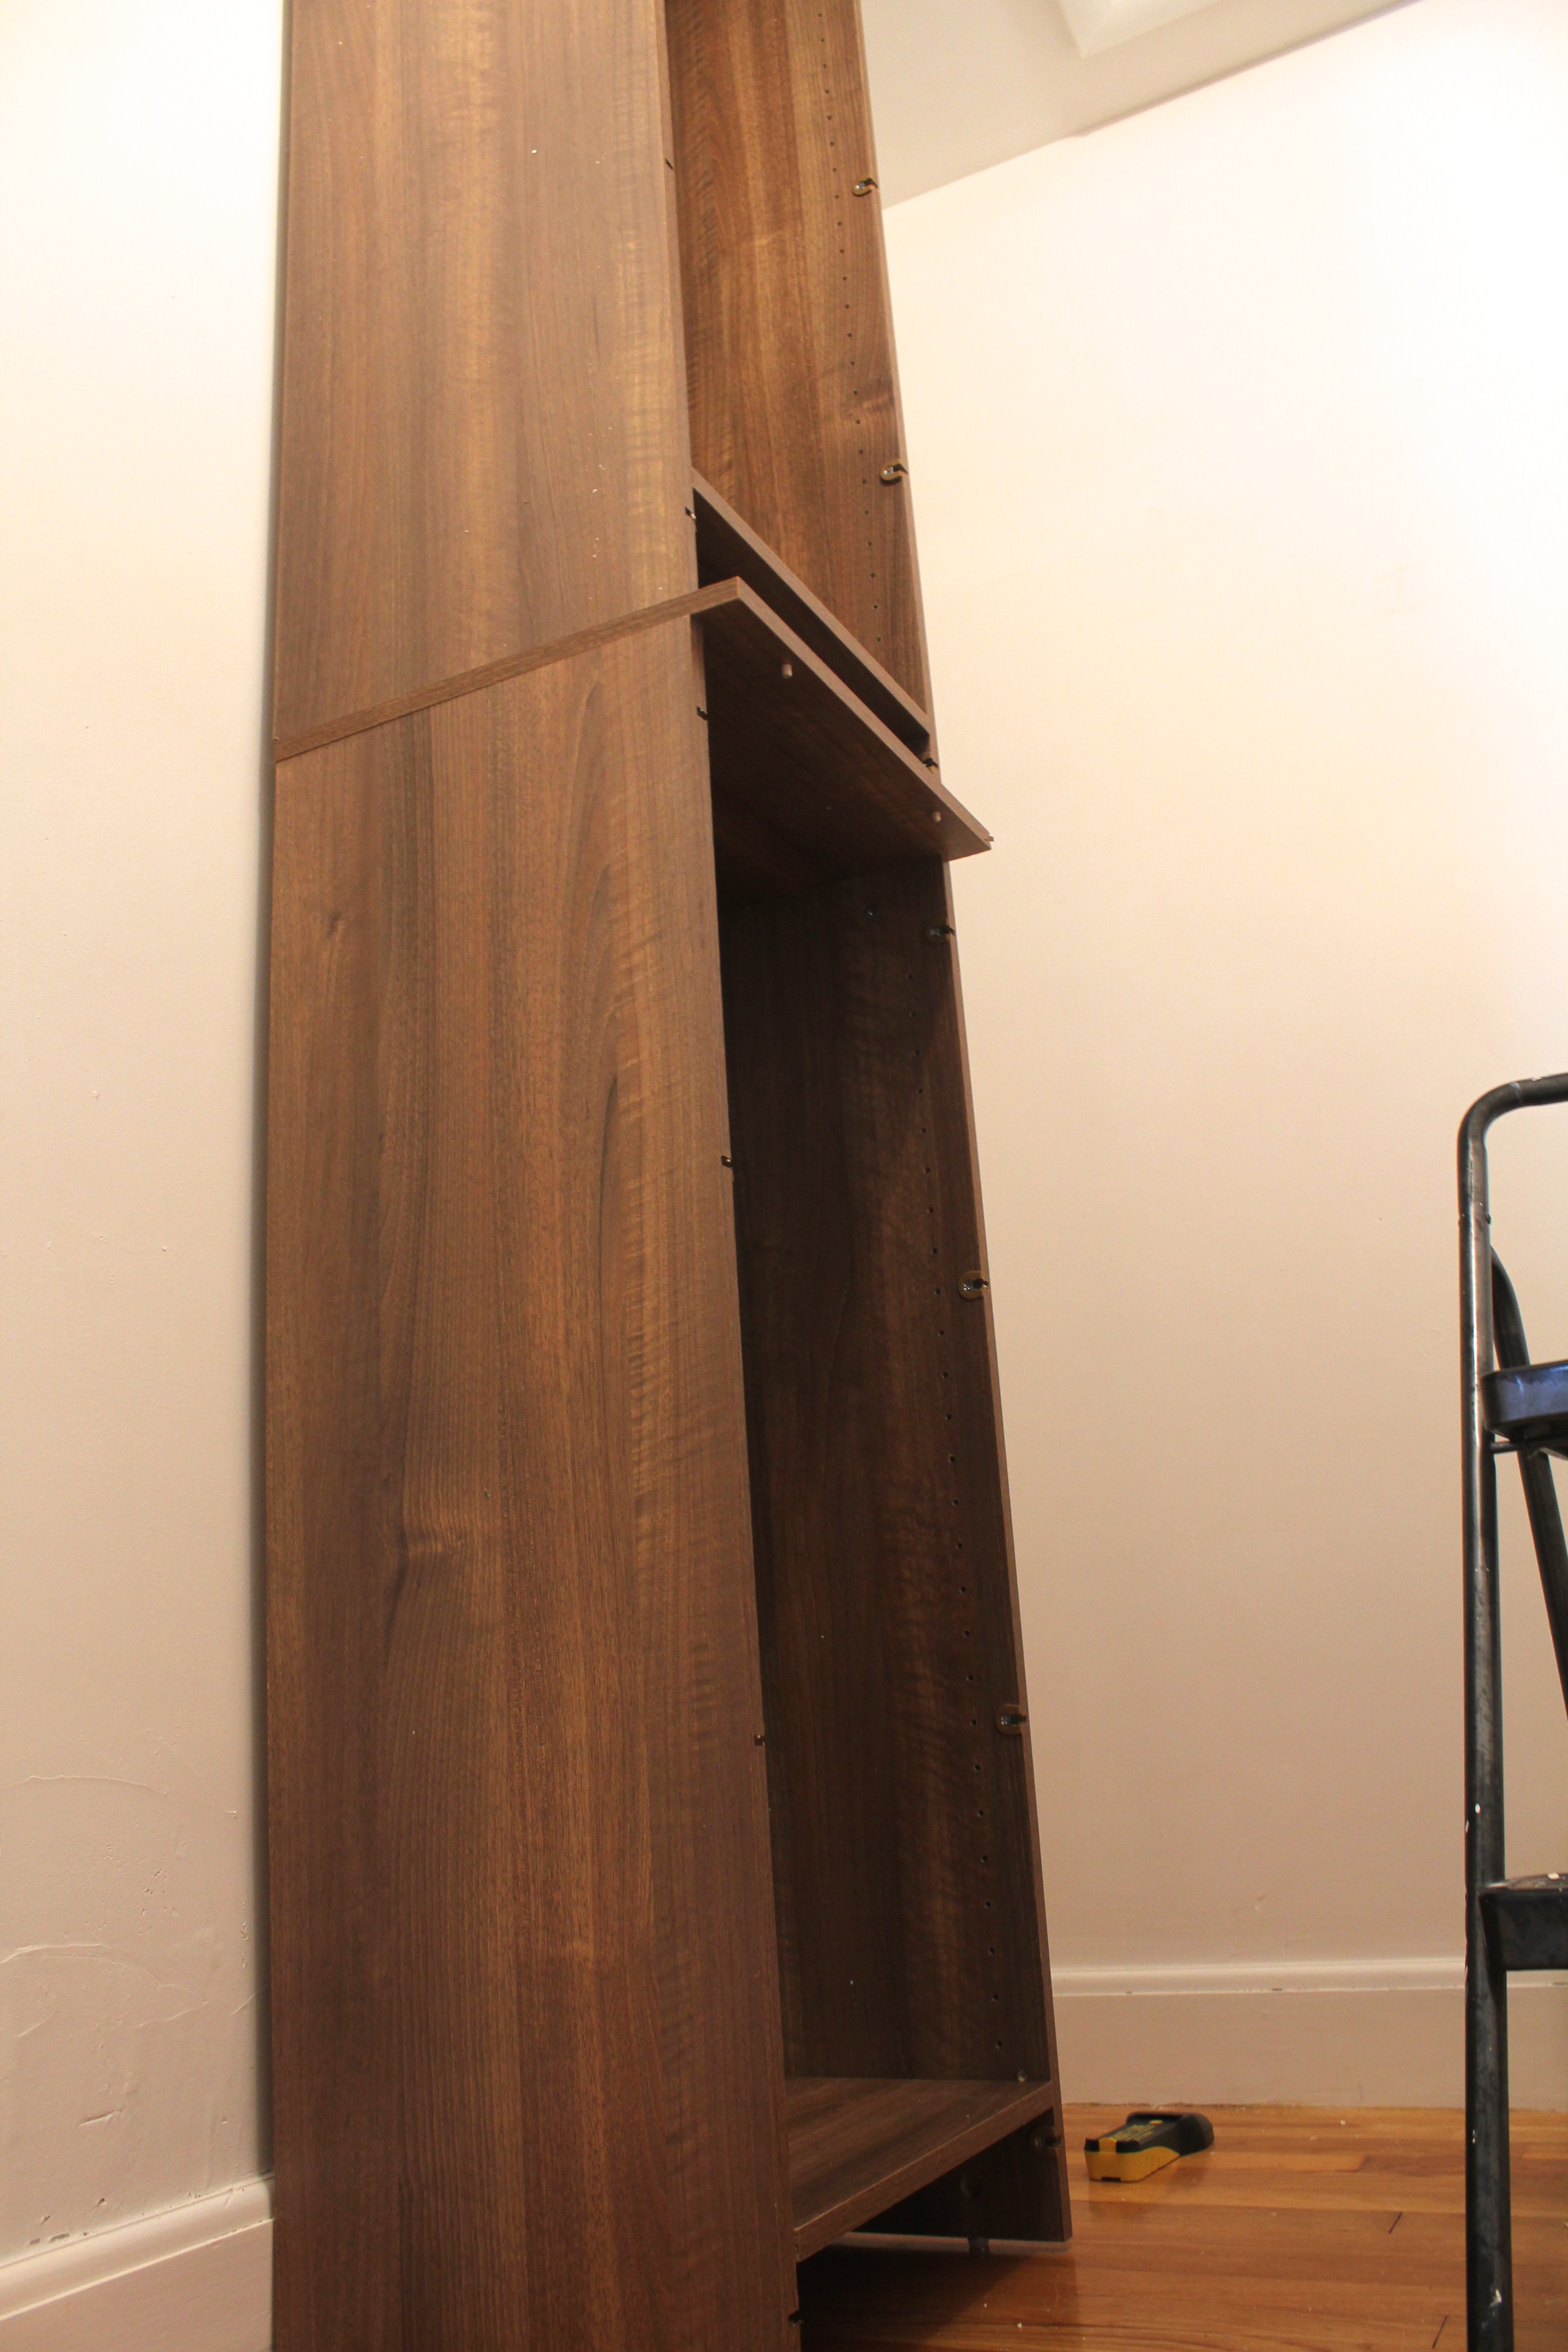
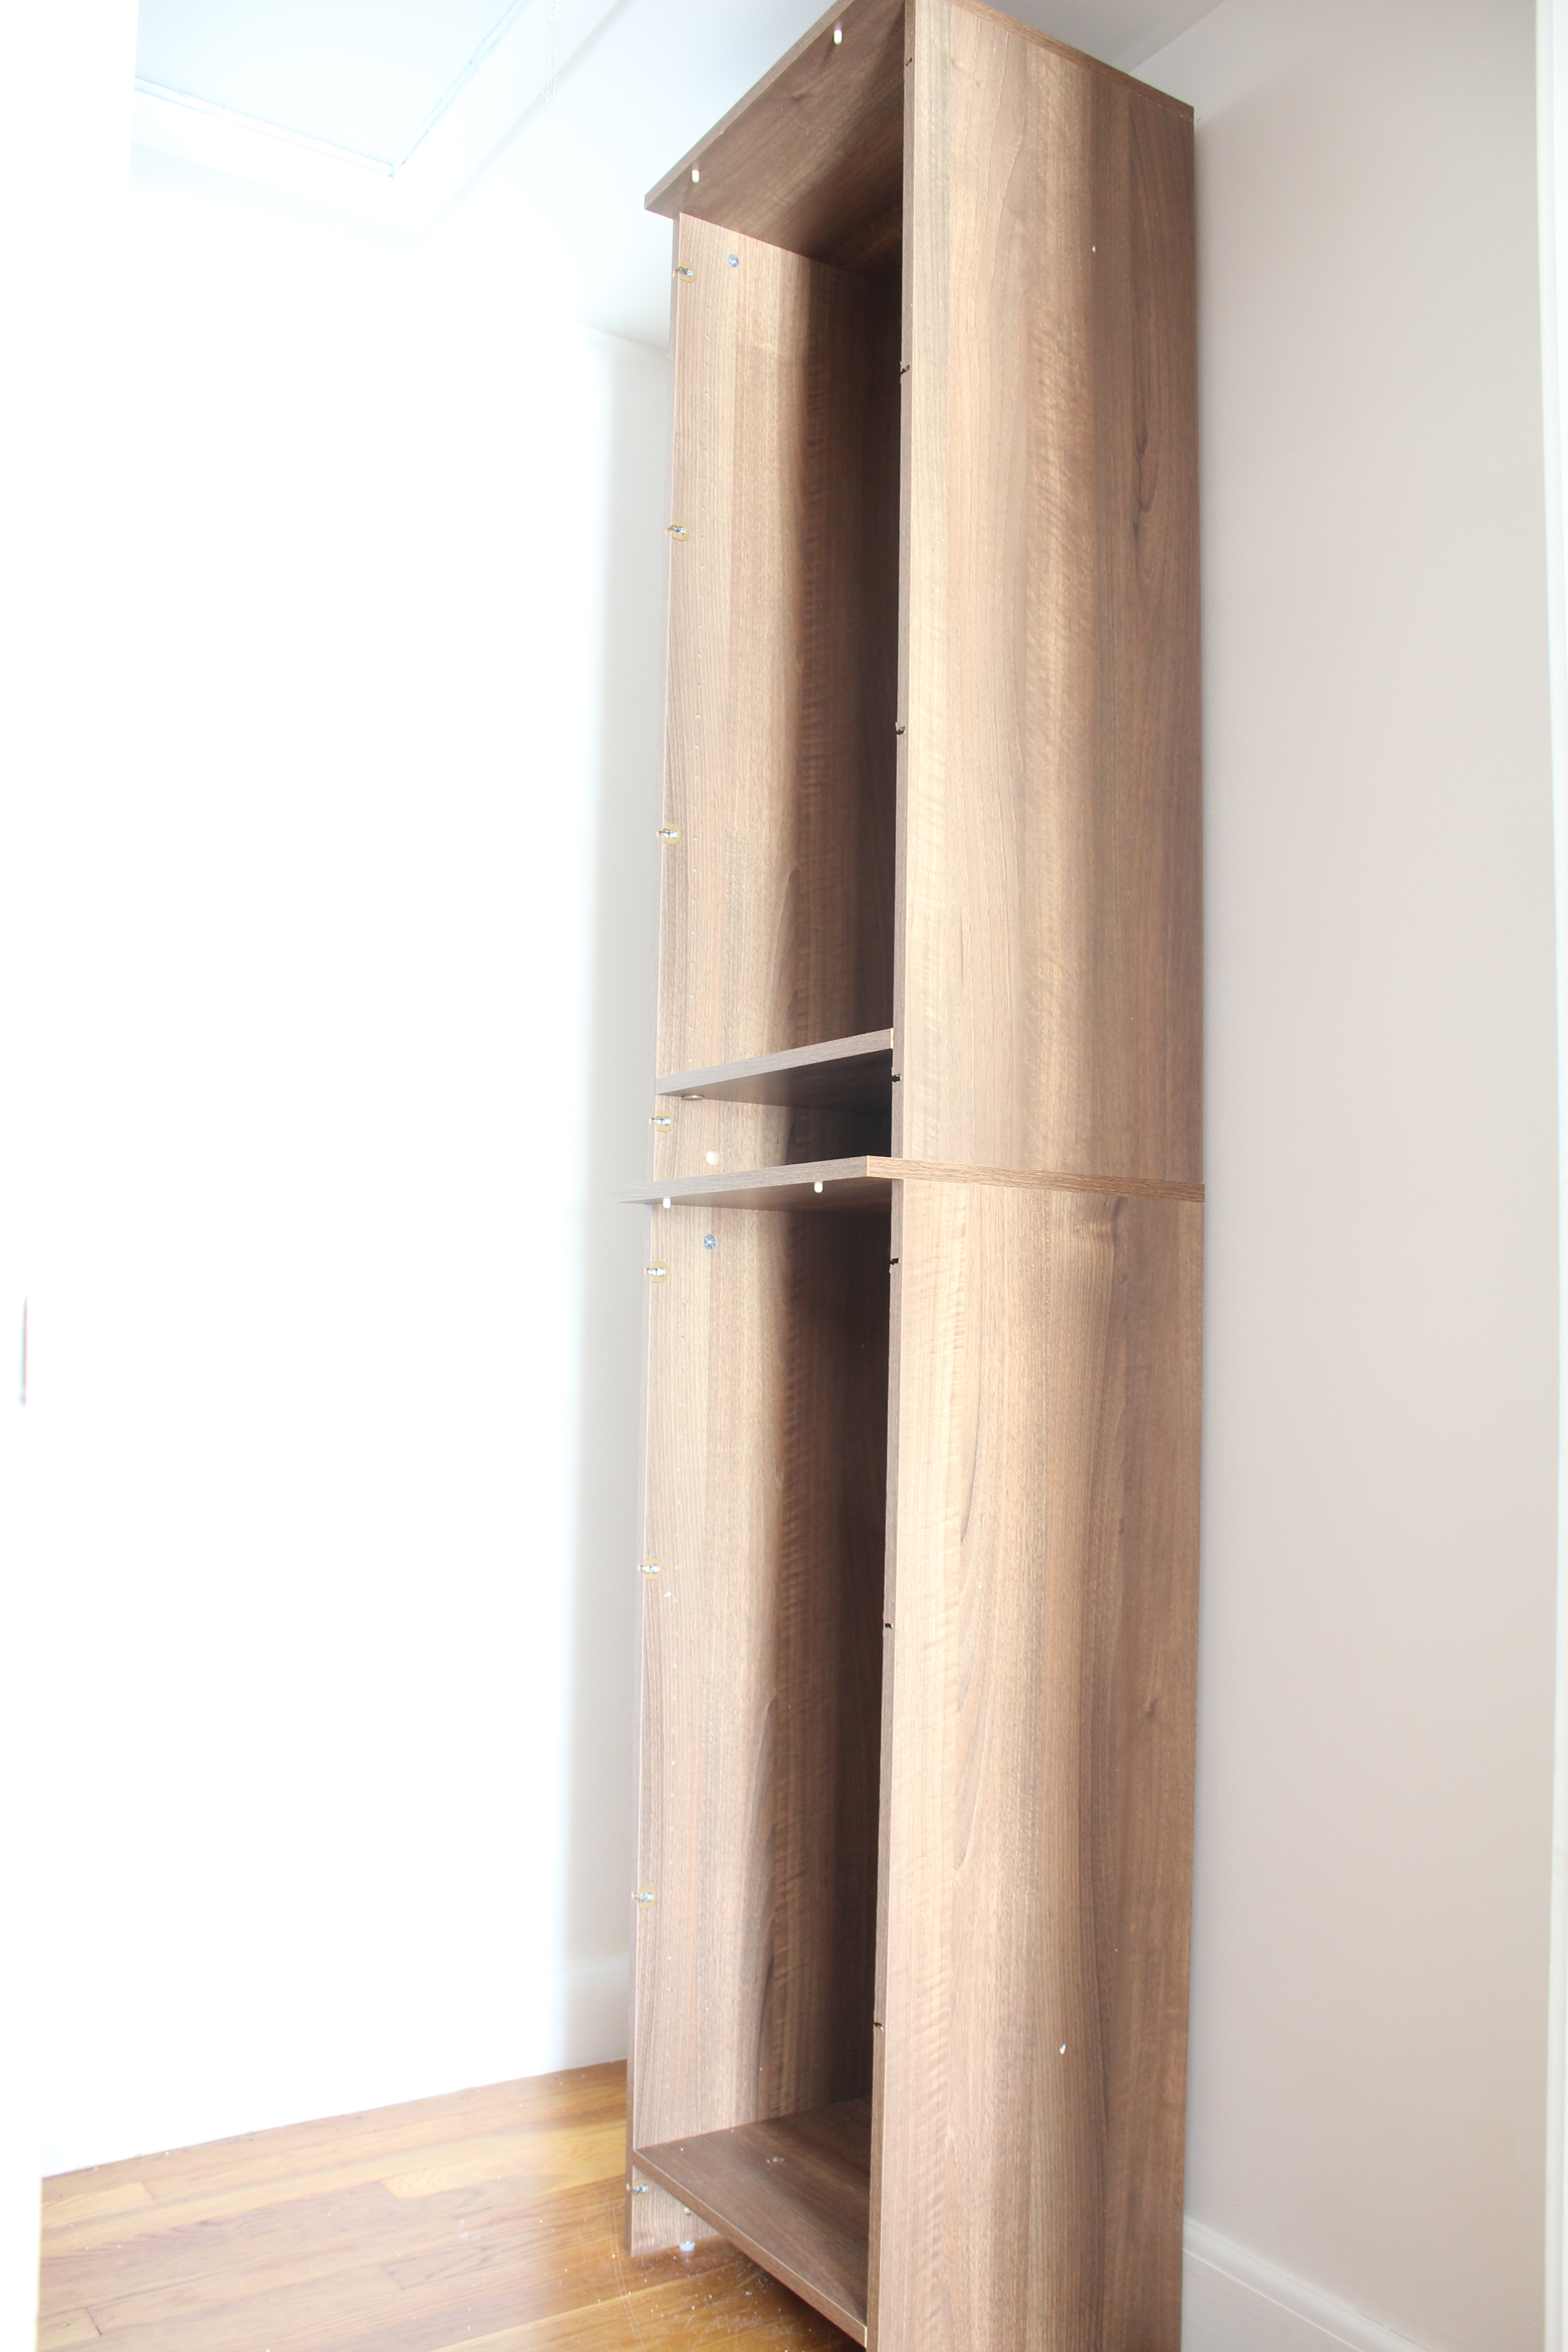
With the help of my drill, hammer and screwdriver I got to work. It was a very simple job to follow the directions and build the tower units. All the supplies were included and within about three hours I had everything completed.
The units were then brought upstairs and mounted to the walls on studs. I loved the fact that I could mount it to the wall without removing the baseboards. The hardware included allows either option, meaning you decide how you want to go about this. If you are good at following directions and have ever successfully put together furniture from a certain company where all the instructions contain only images, this will be a piece of cake. I promise.

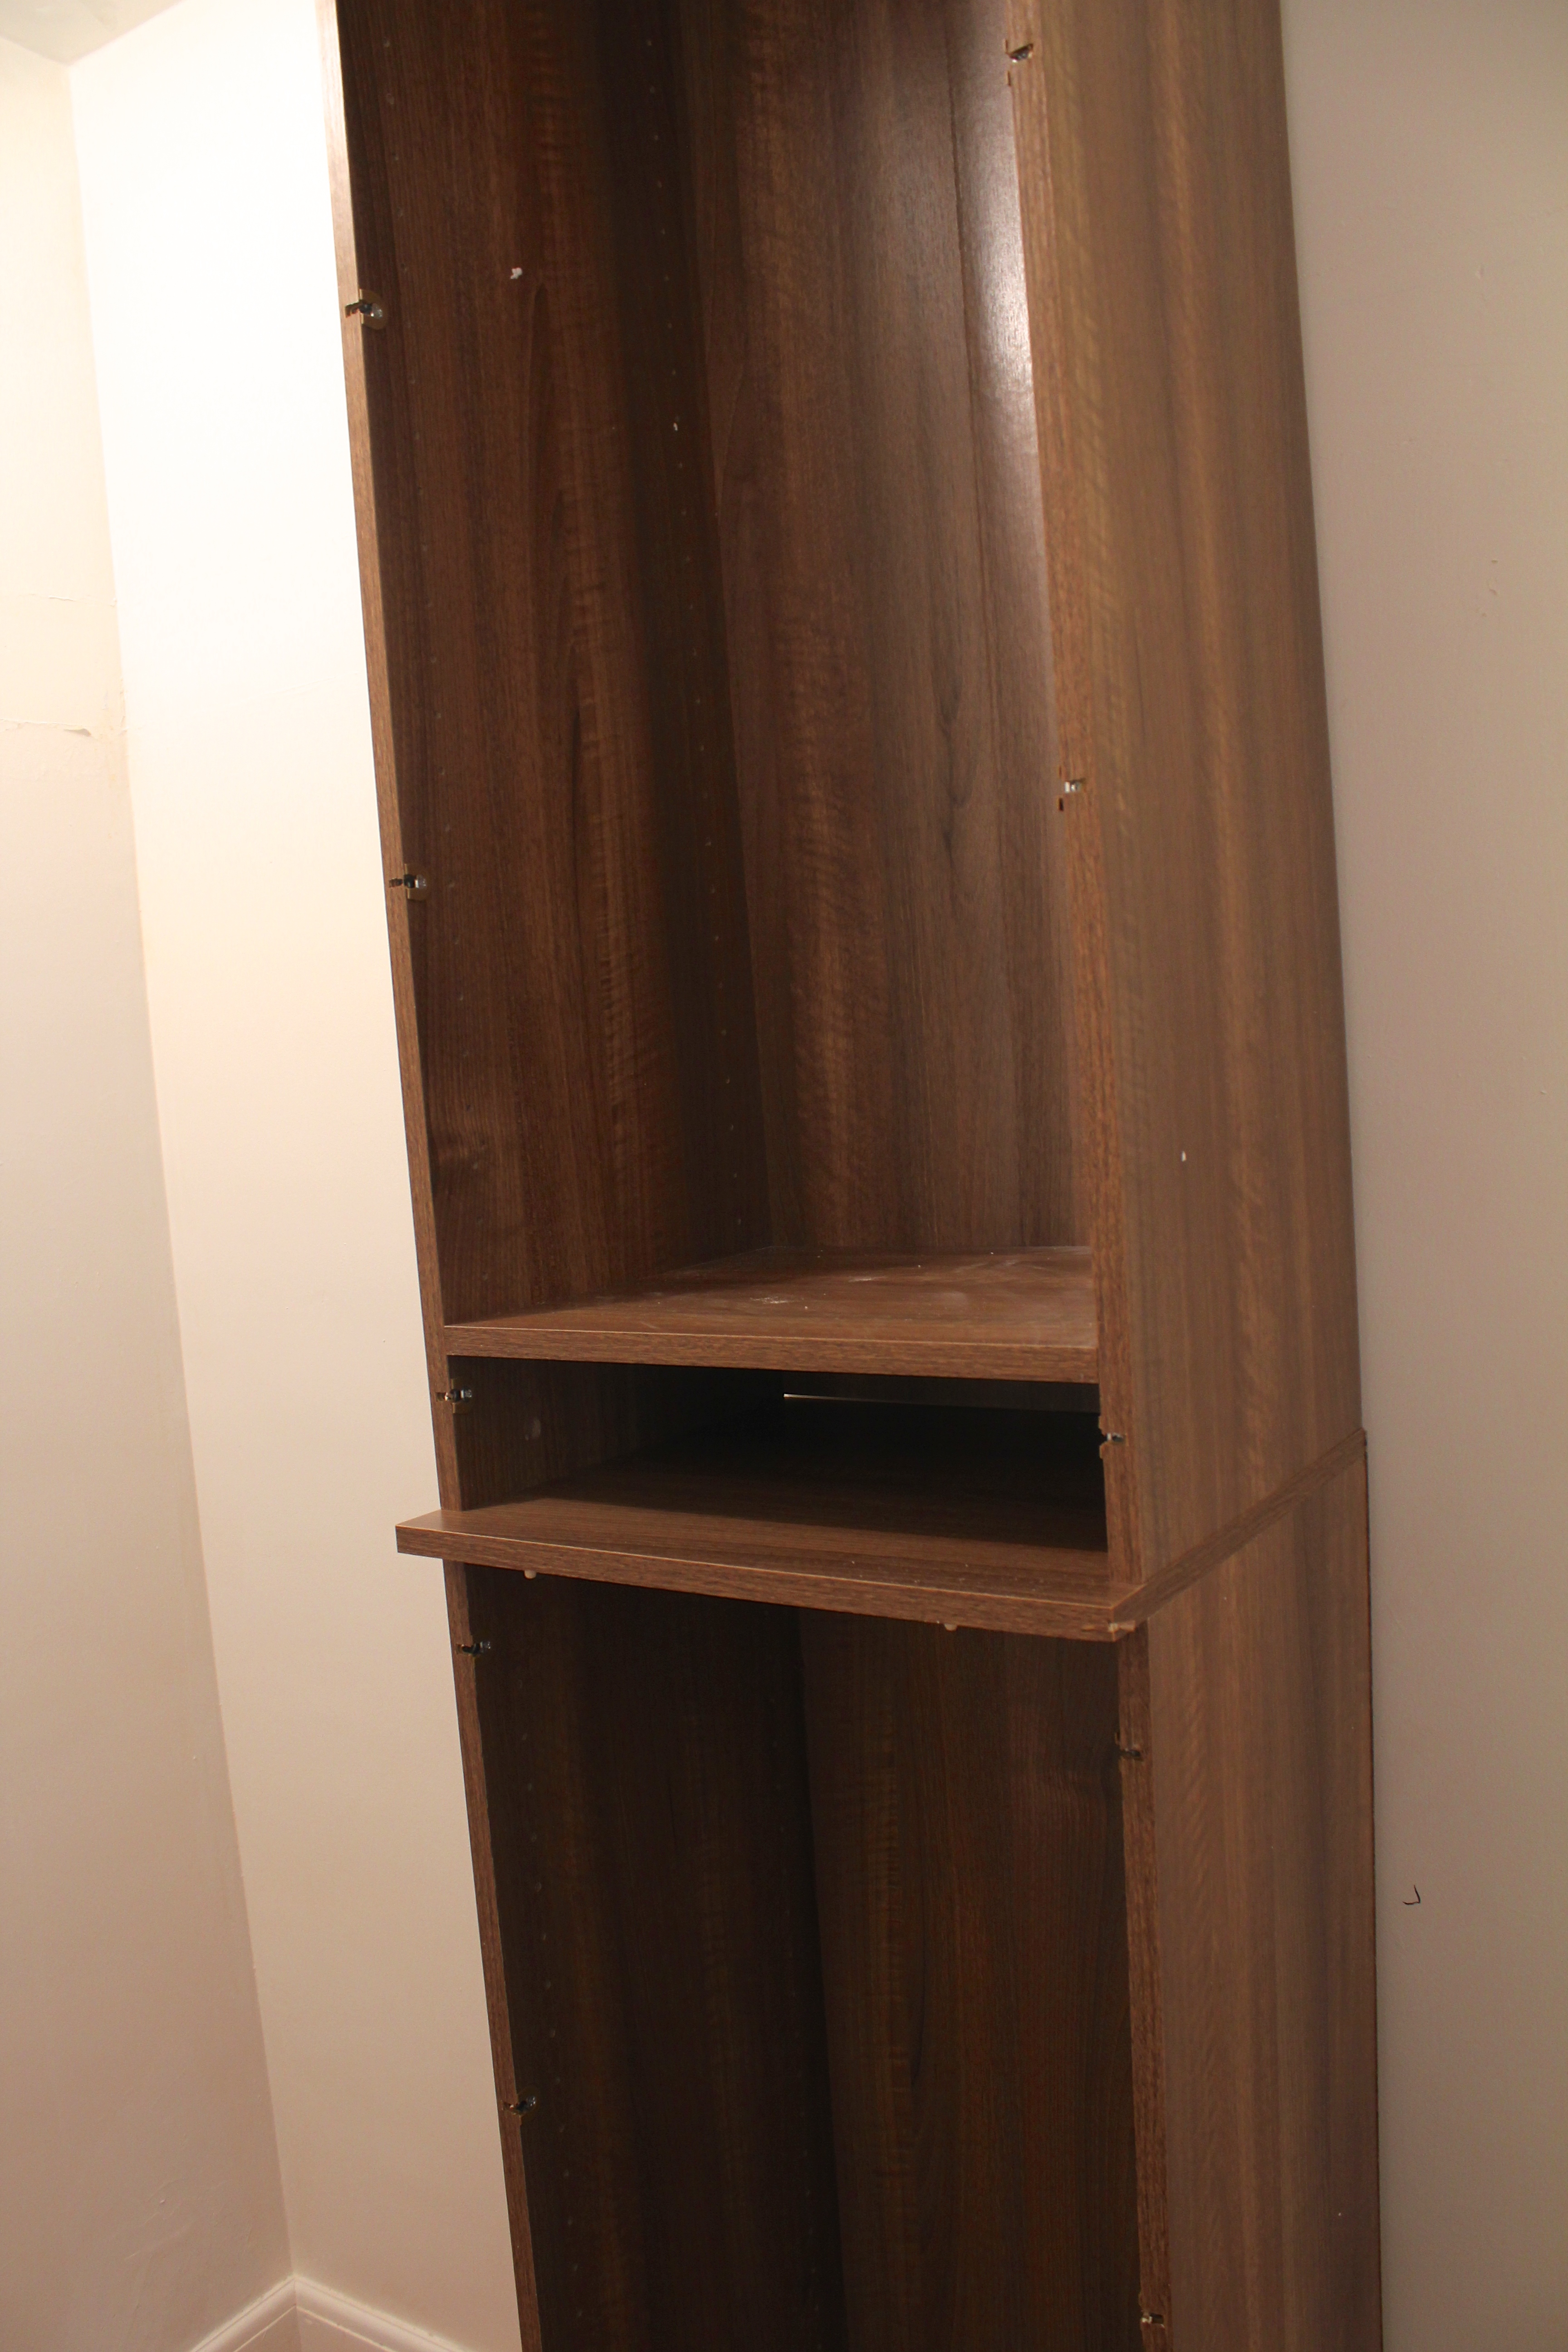
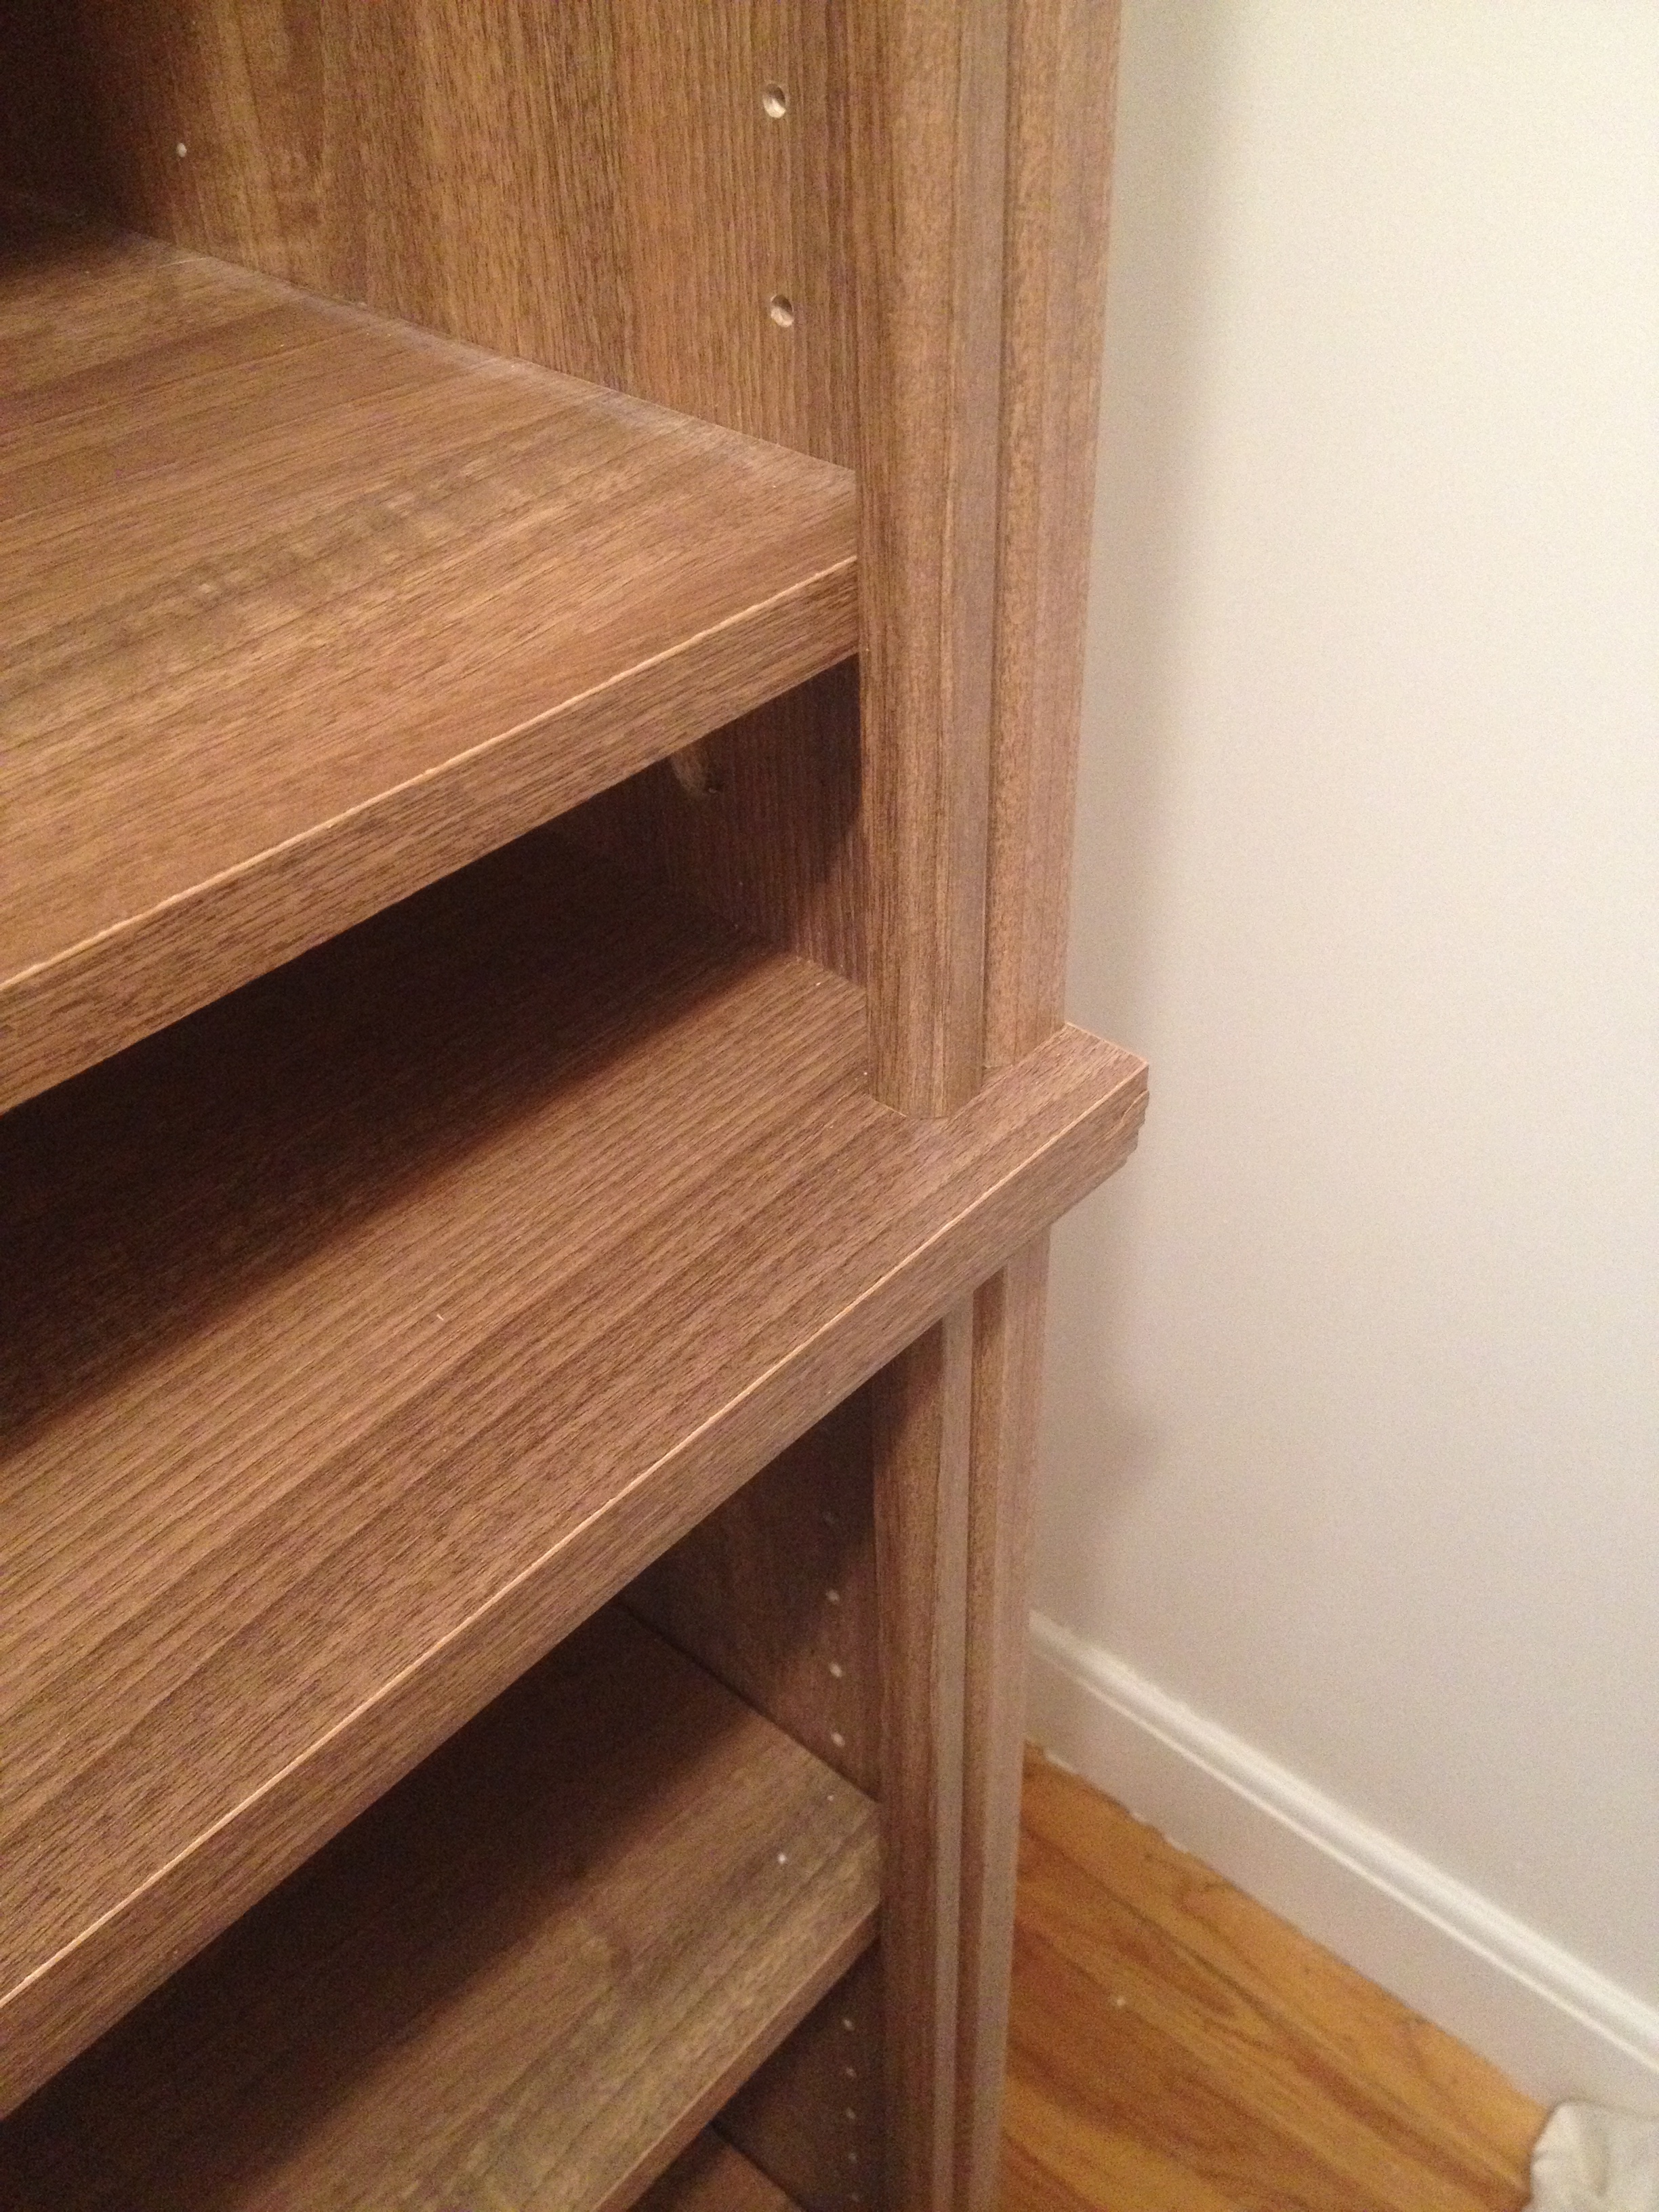
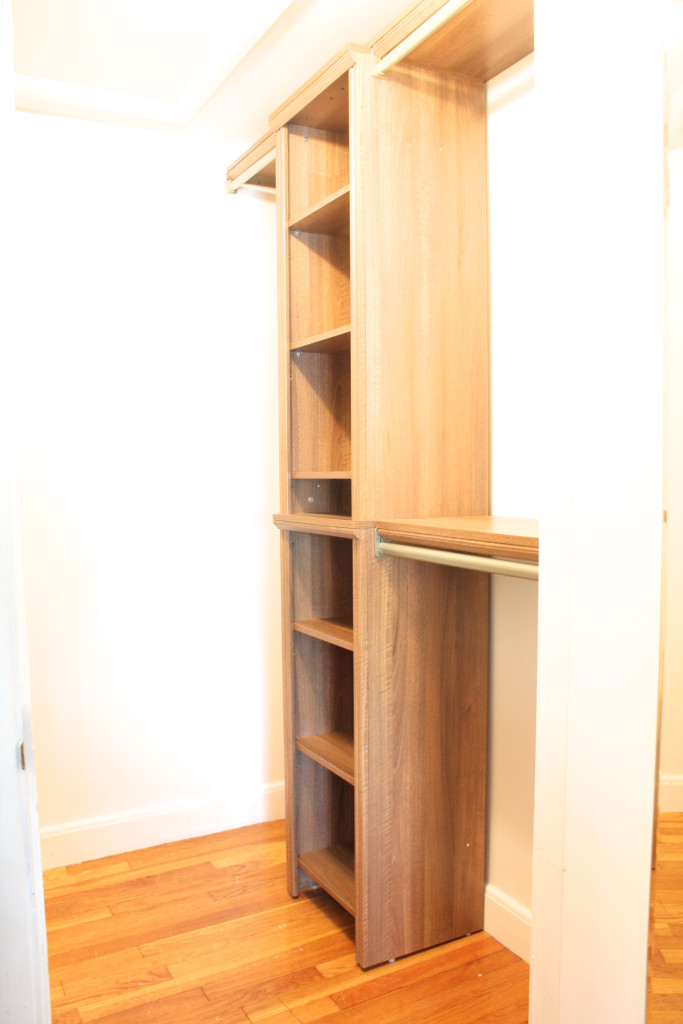
Once the towers were installed it was time to install the shelves and rods. For each side of the closet I have a tower. For each tower I have one side with one bar (Longer items, dresses, etc) and the other side with two bars (shirts, pants, skirts…). I measured the distance from the tower to the wall and cut each shelf to size using an electric hand saw. The shelves were then installed using the brackets that are supplied. The closet rods were sized and installed as well. I needed to cut a couple of them down which was simple to do with my jig saw. This all could have been a one person job but would have taken me much longer to do on my own. Luckily my father likes this sort of stuff and came to help out.
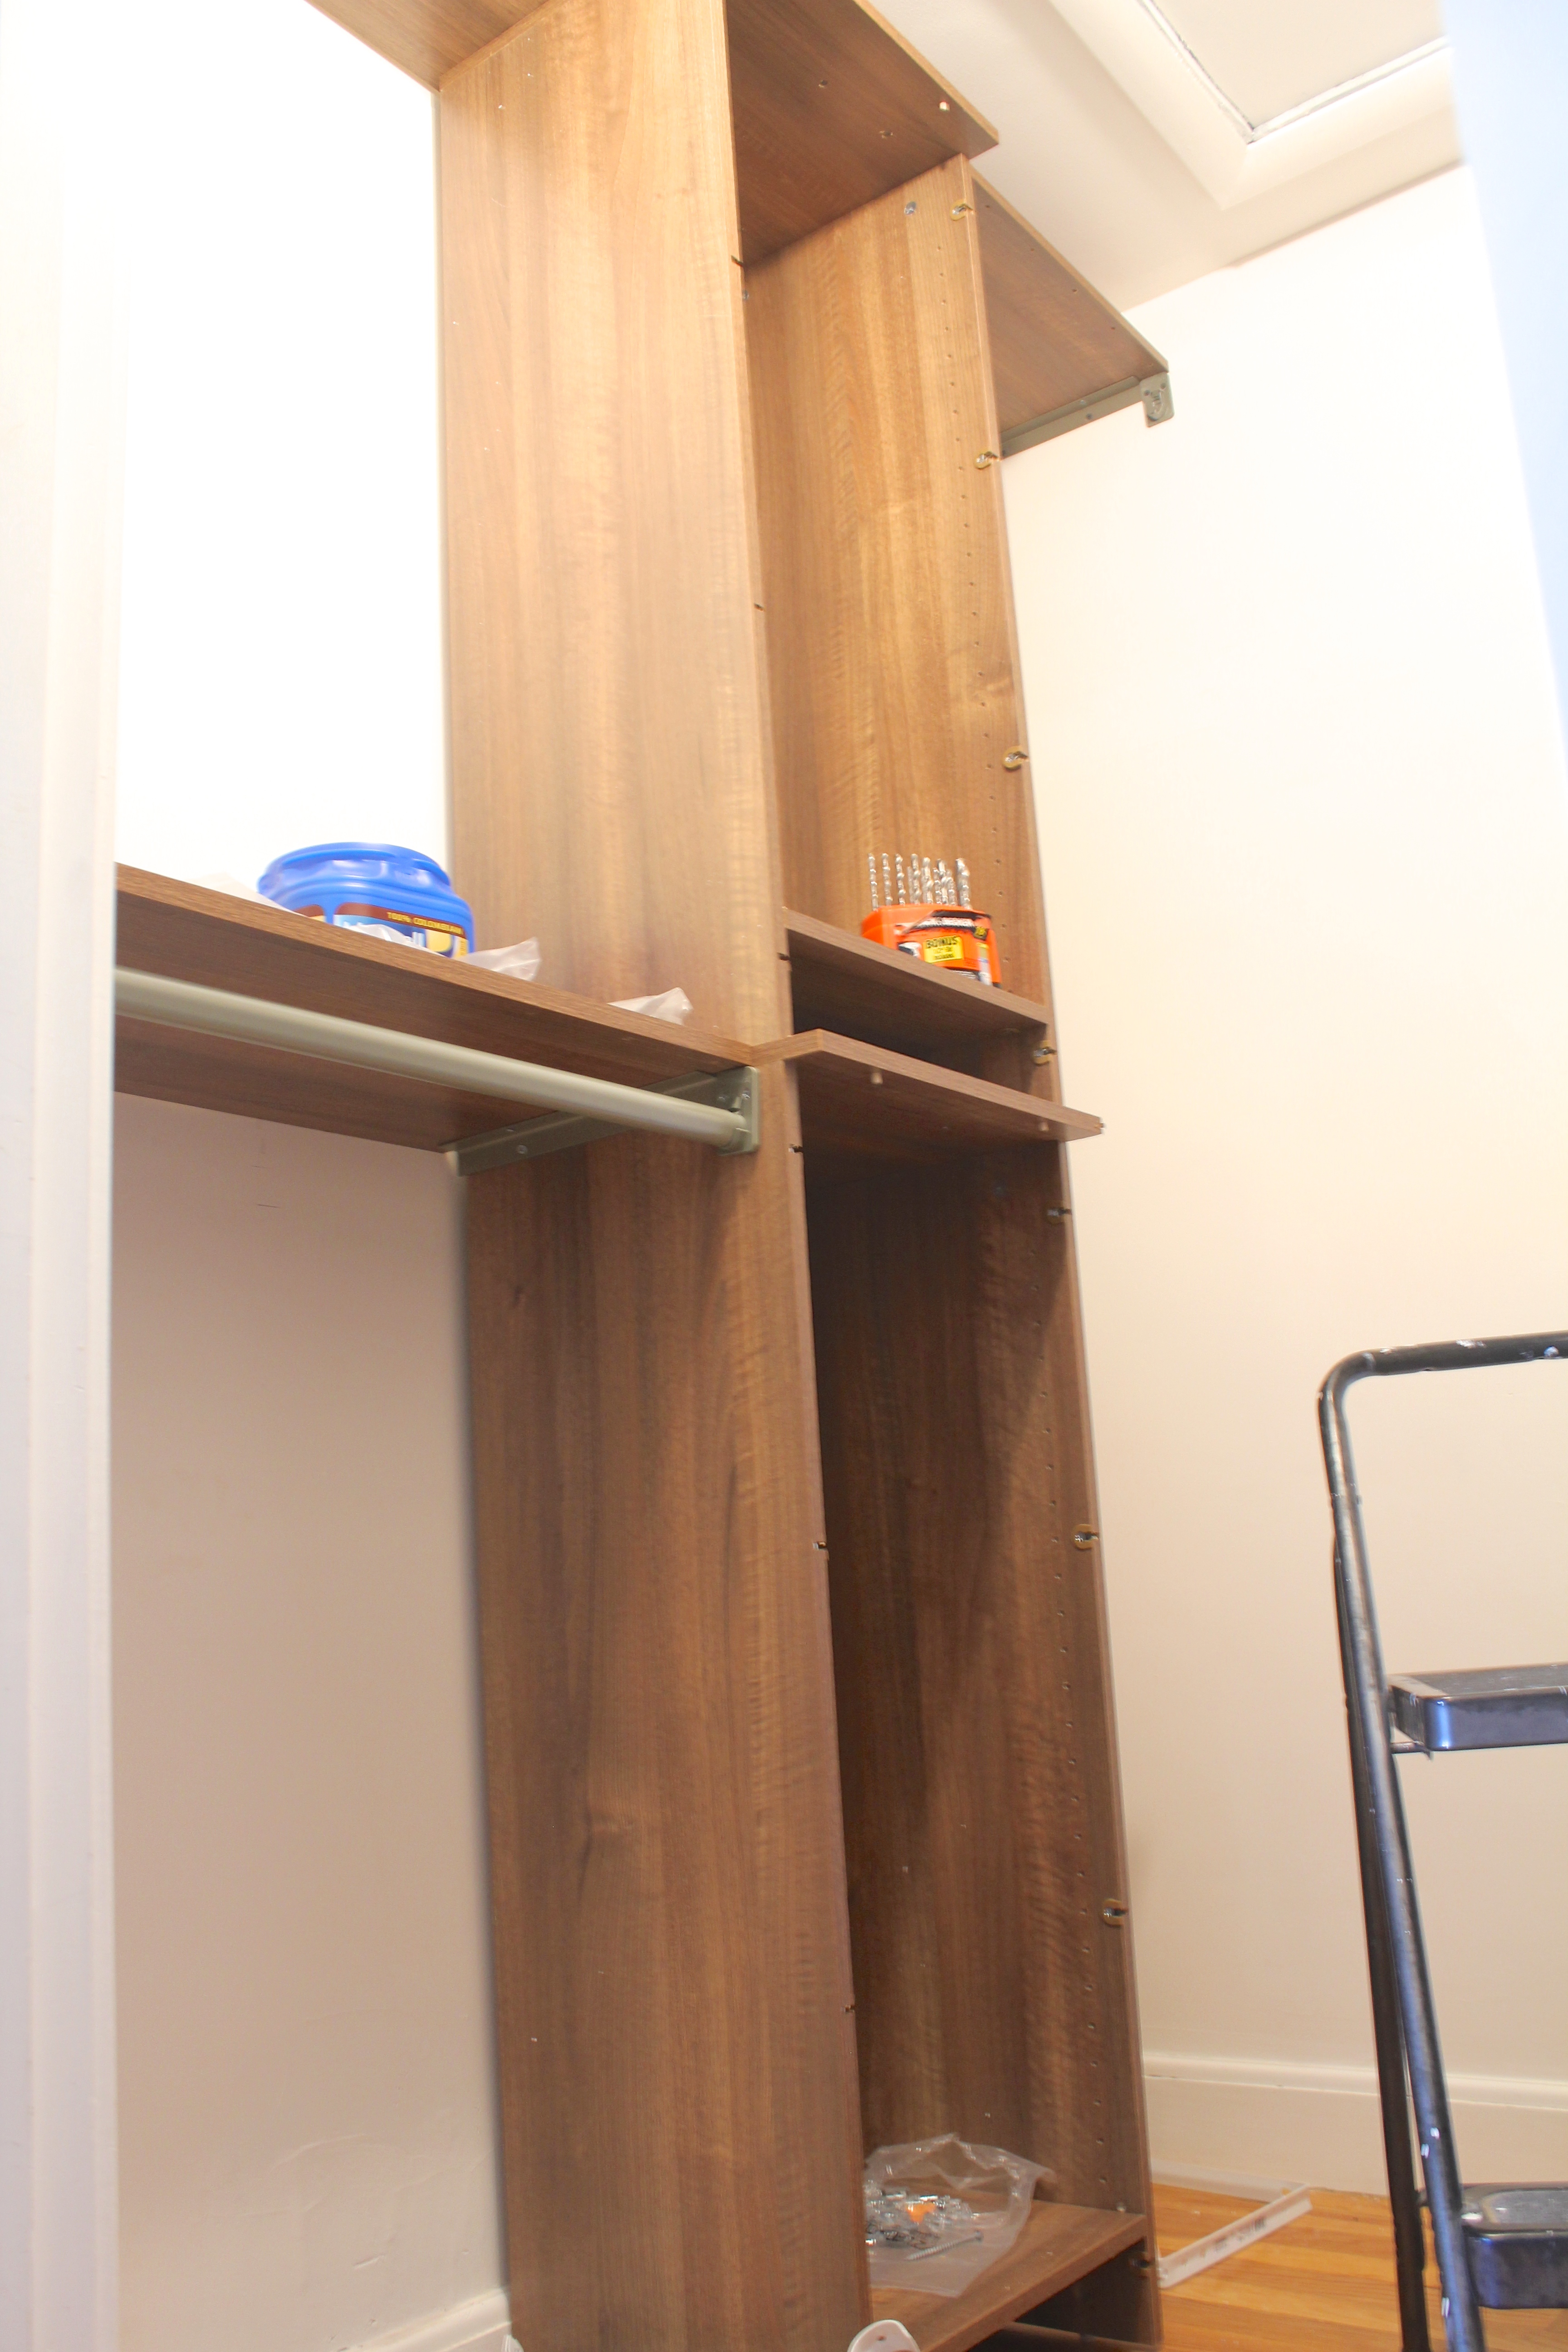
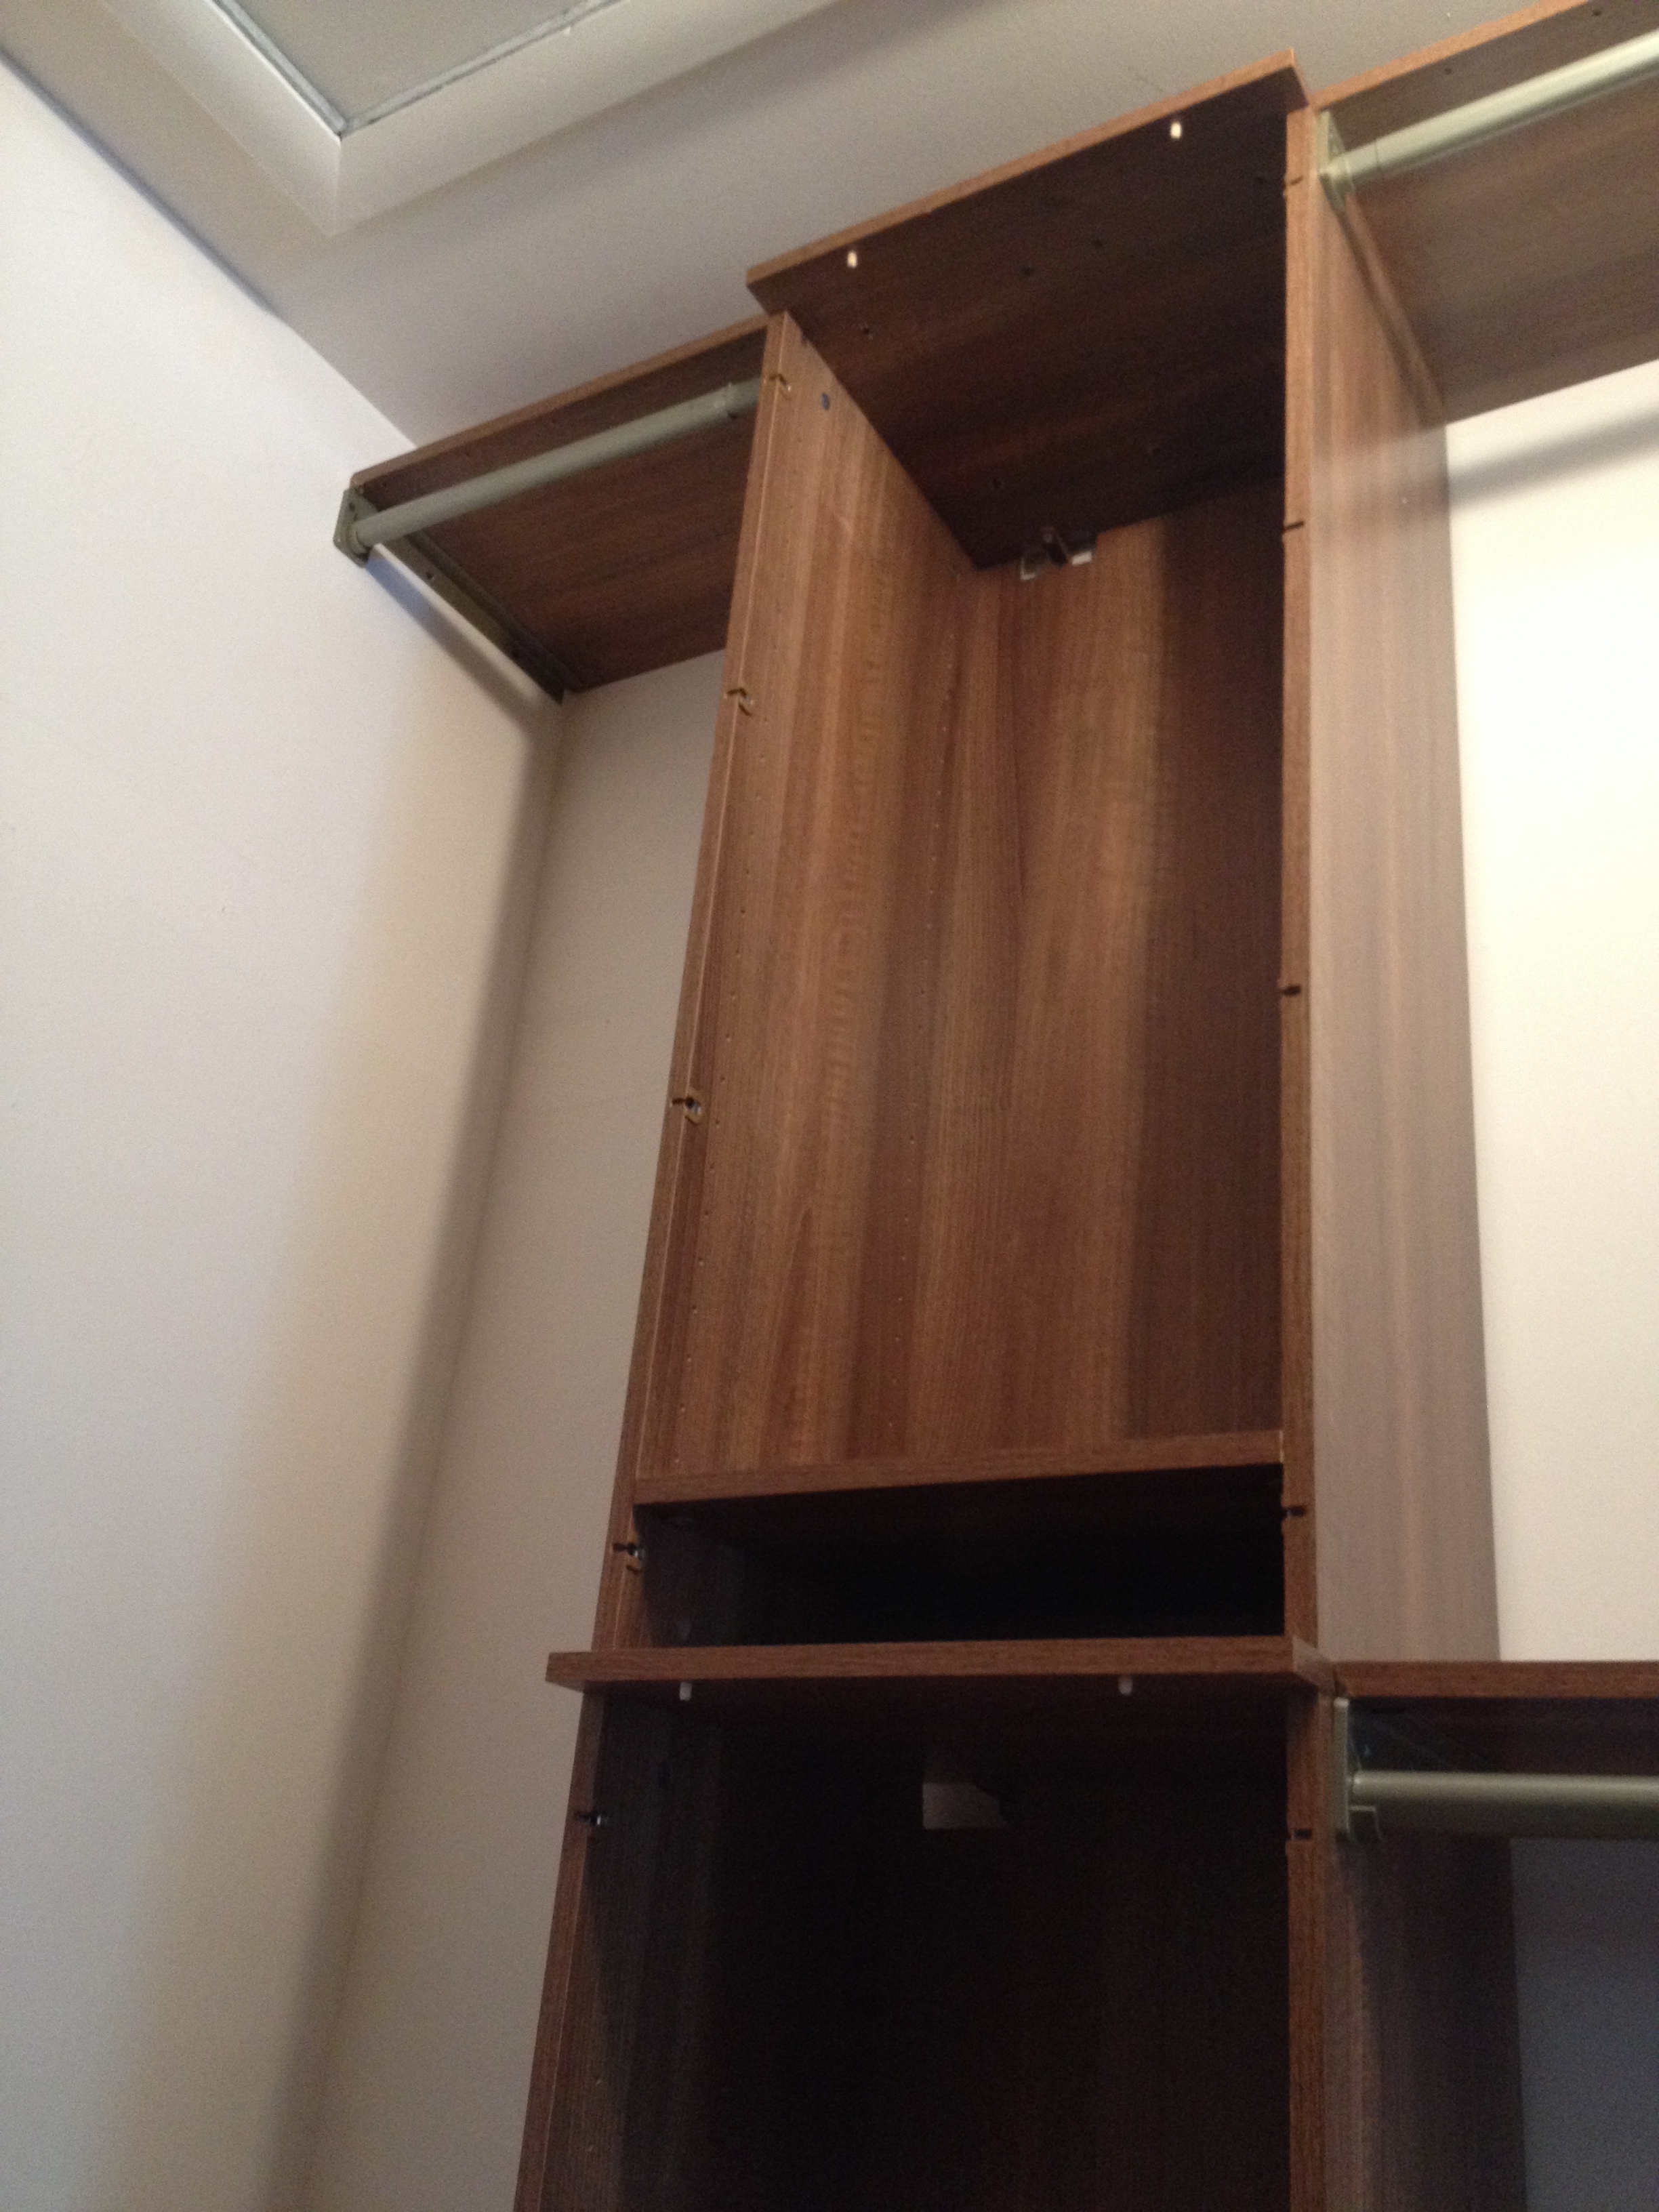
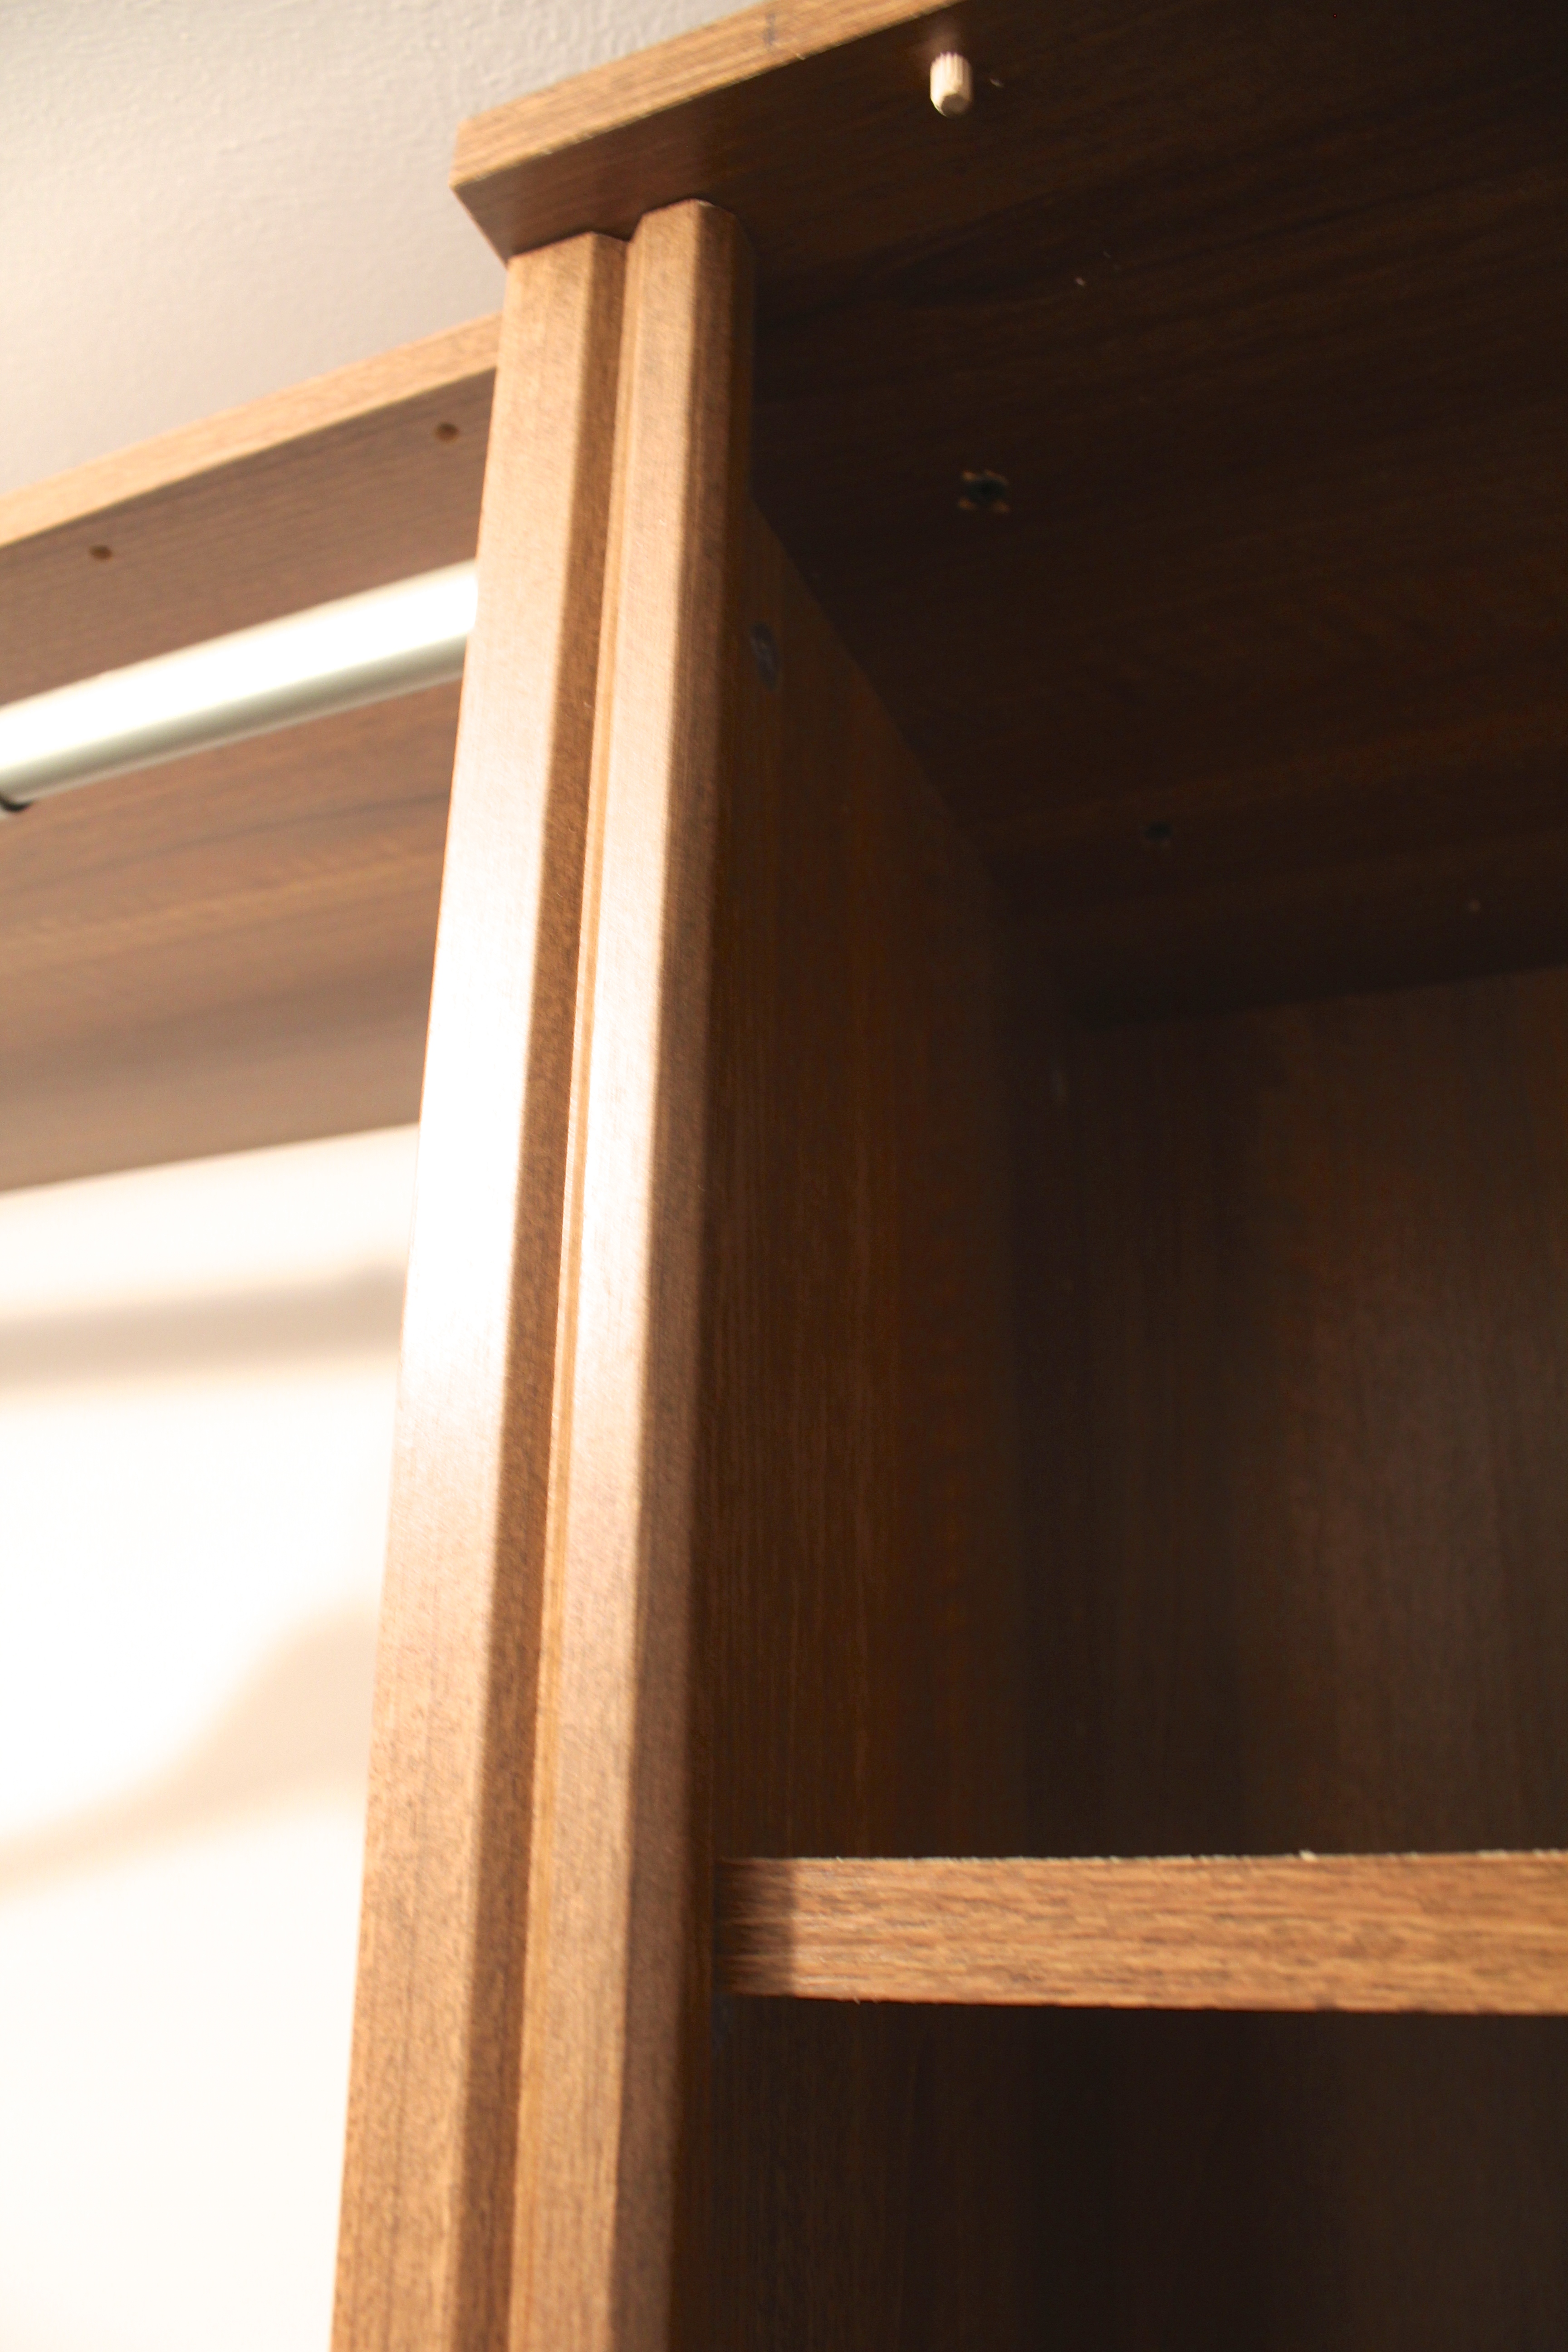
Once everything was sized, cut and installed I finished it off with the supplied trim. I love this detail on the Impressions line. It takes what could just be a run of the mill closet system and bumps it up a notch or two. The finish detail adds a high-end look to my little old closet reno!
This closet has added an insane amount of storage to my closet! I haven’t quite figured out what is going on the shelves just yet. I’d like to put some baskets to contain items so that is next on my shopping list. The shelves are adjustable so I’ll wait to see how I’d like them placed before going out and purchasing anything. This is one of those form over function decisions though. I do like them to be symmetrical so that might be the deciding factor. Nothing to do with function at all!
There is one more big scale project in here before I share the finished product. I’ll be adding fabric along the blank wall in the back. I’d like it to have a wallpapered look without the work of permanent wallpaper. I’ve never done this before and have done quite a bit of research on the various ways to go about this. If you have had your own experience with this method I’d love some input!
Thank you to ClosetMaid® for partnering with me on this project!
Share this:


Subscribe to Posts
Featured On...


 |
Blog Policies
For more information on all blog policies regarding comments, advertising, copyright, sponsored links, guest submissions, and other matters, please look here.