envelope pillow cover tutorial
I’m going to show you my easy method for pillow covers, the envelope method. They take me less than 15 minutes to make but hold up so well. With a total of four rows of seams it is a quick and easy solution for when you want a change. I’ve used in many times in my living room, guest room, kids bedrooms and now my porch. No measuring tape is used whatsoever during this entire process. I prefer the “eyeball” method.
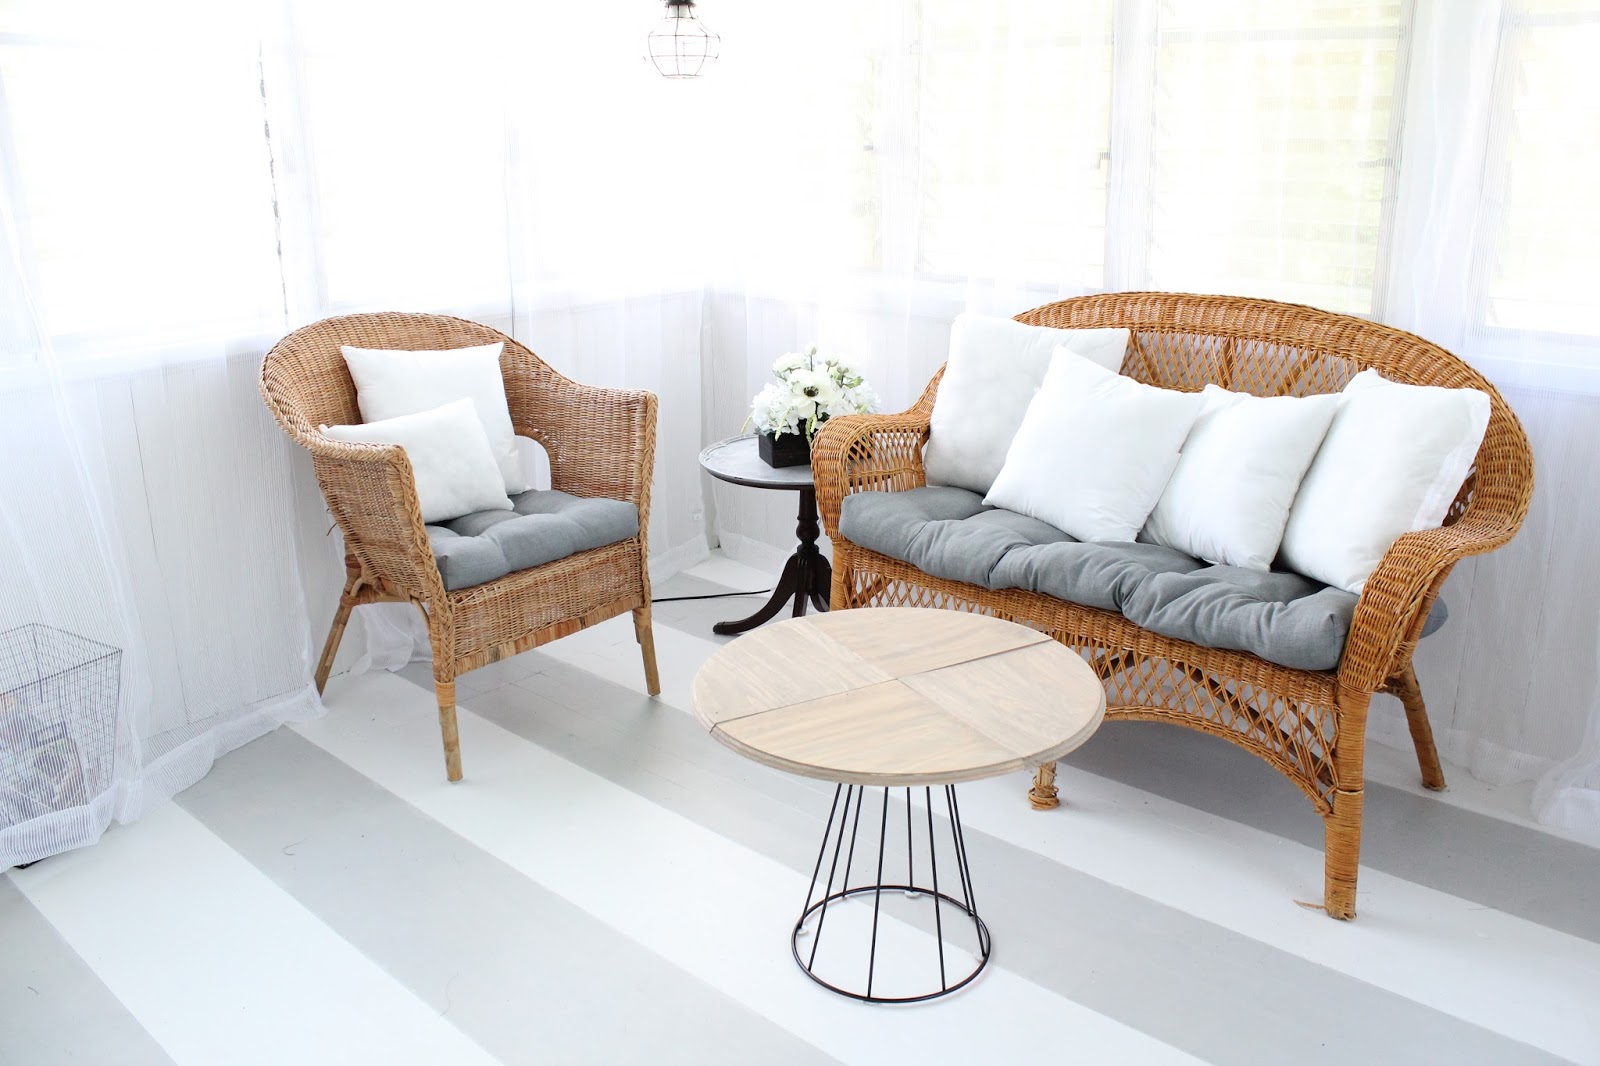
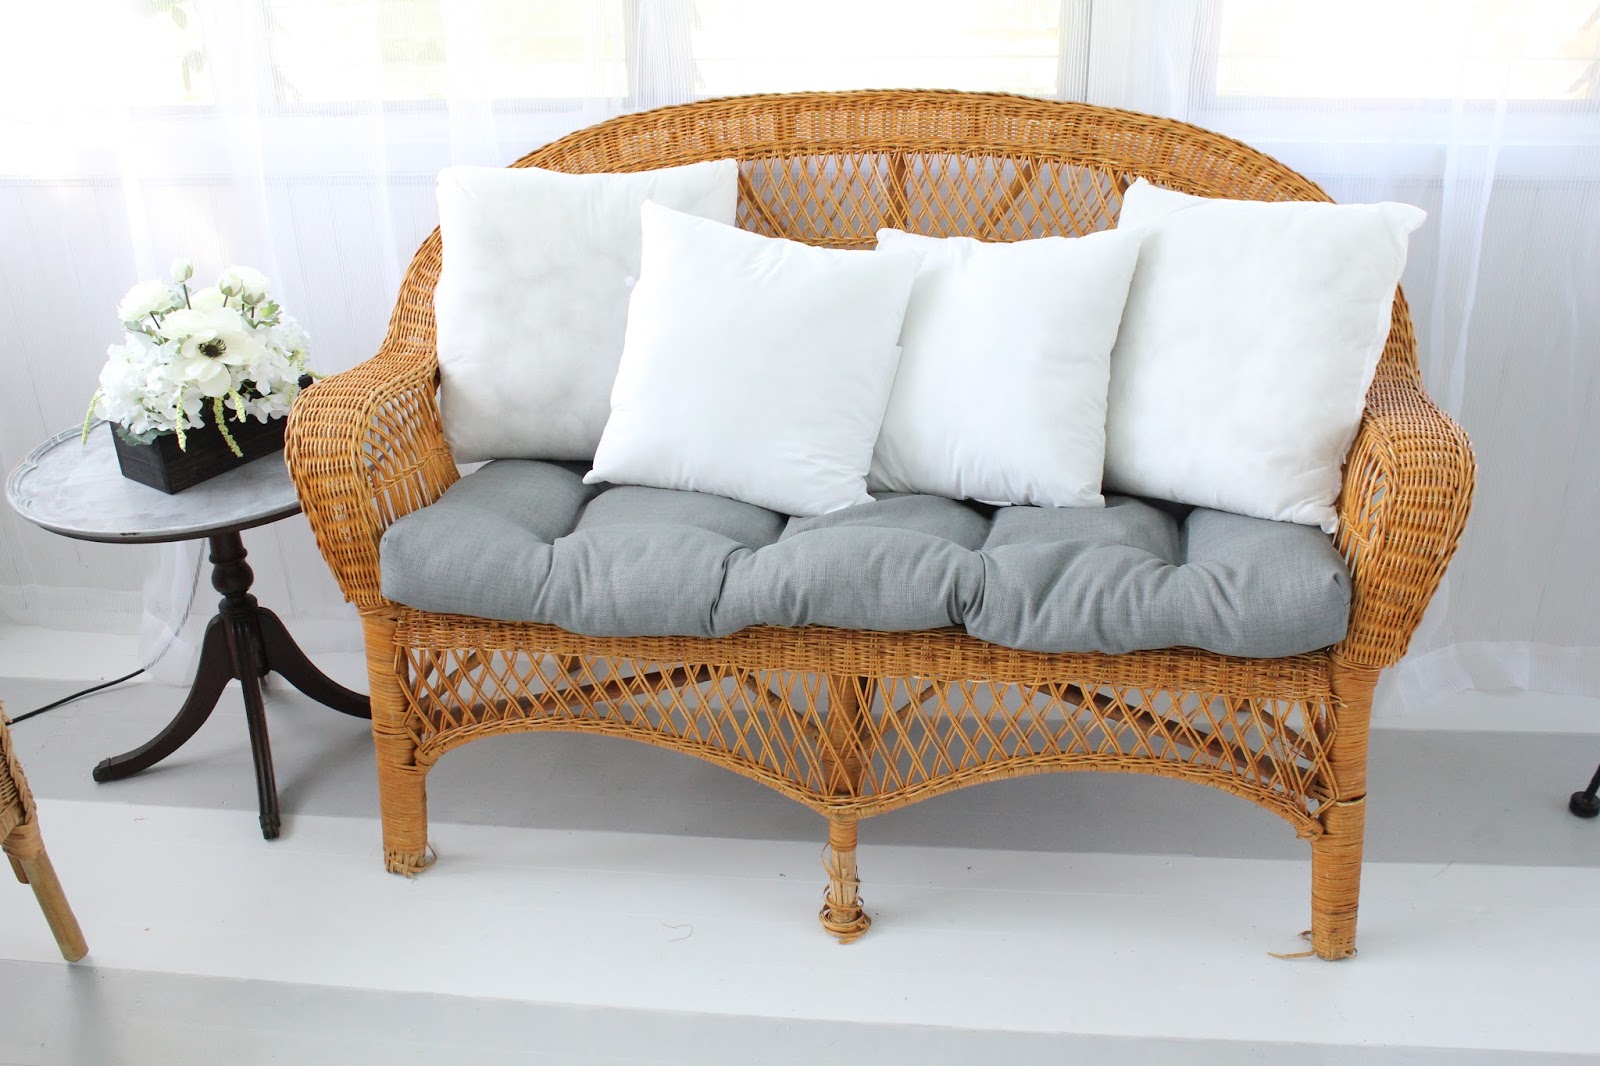
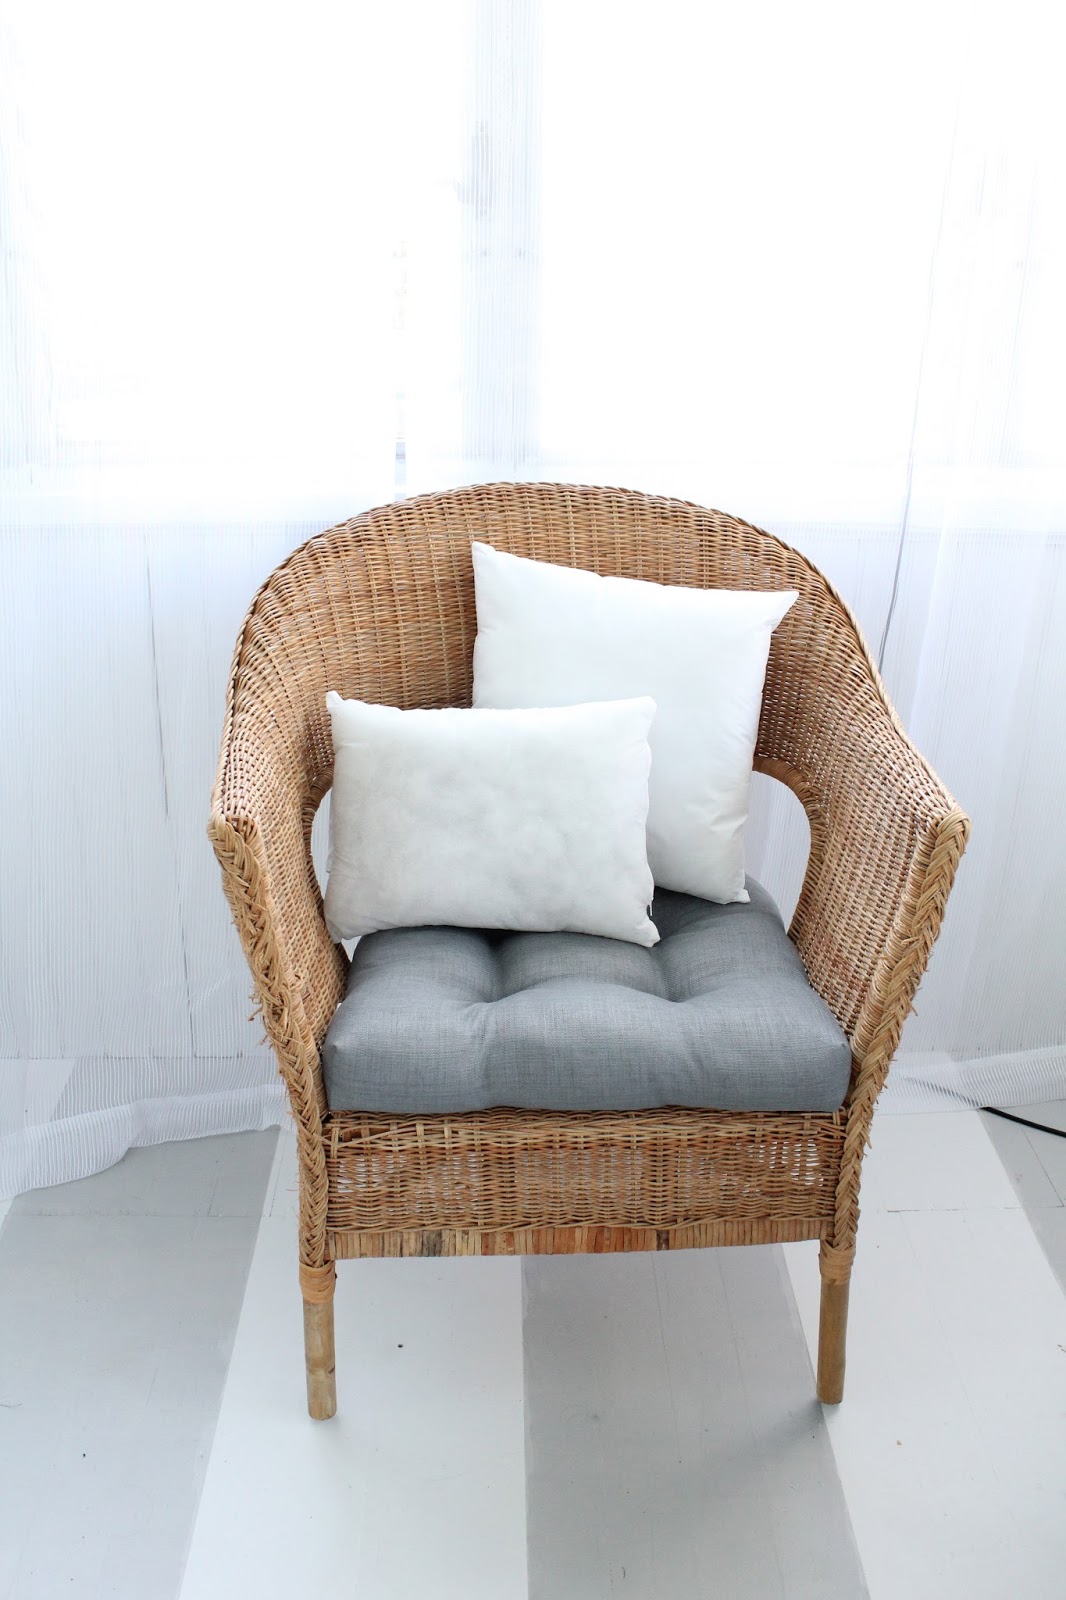
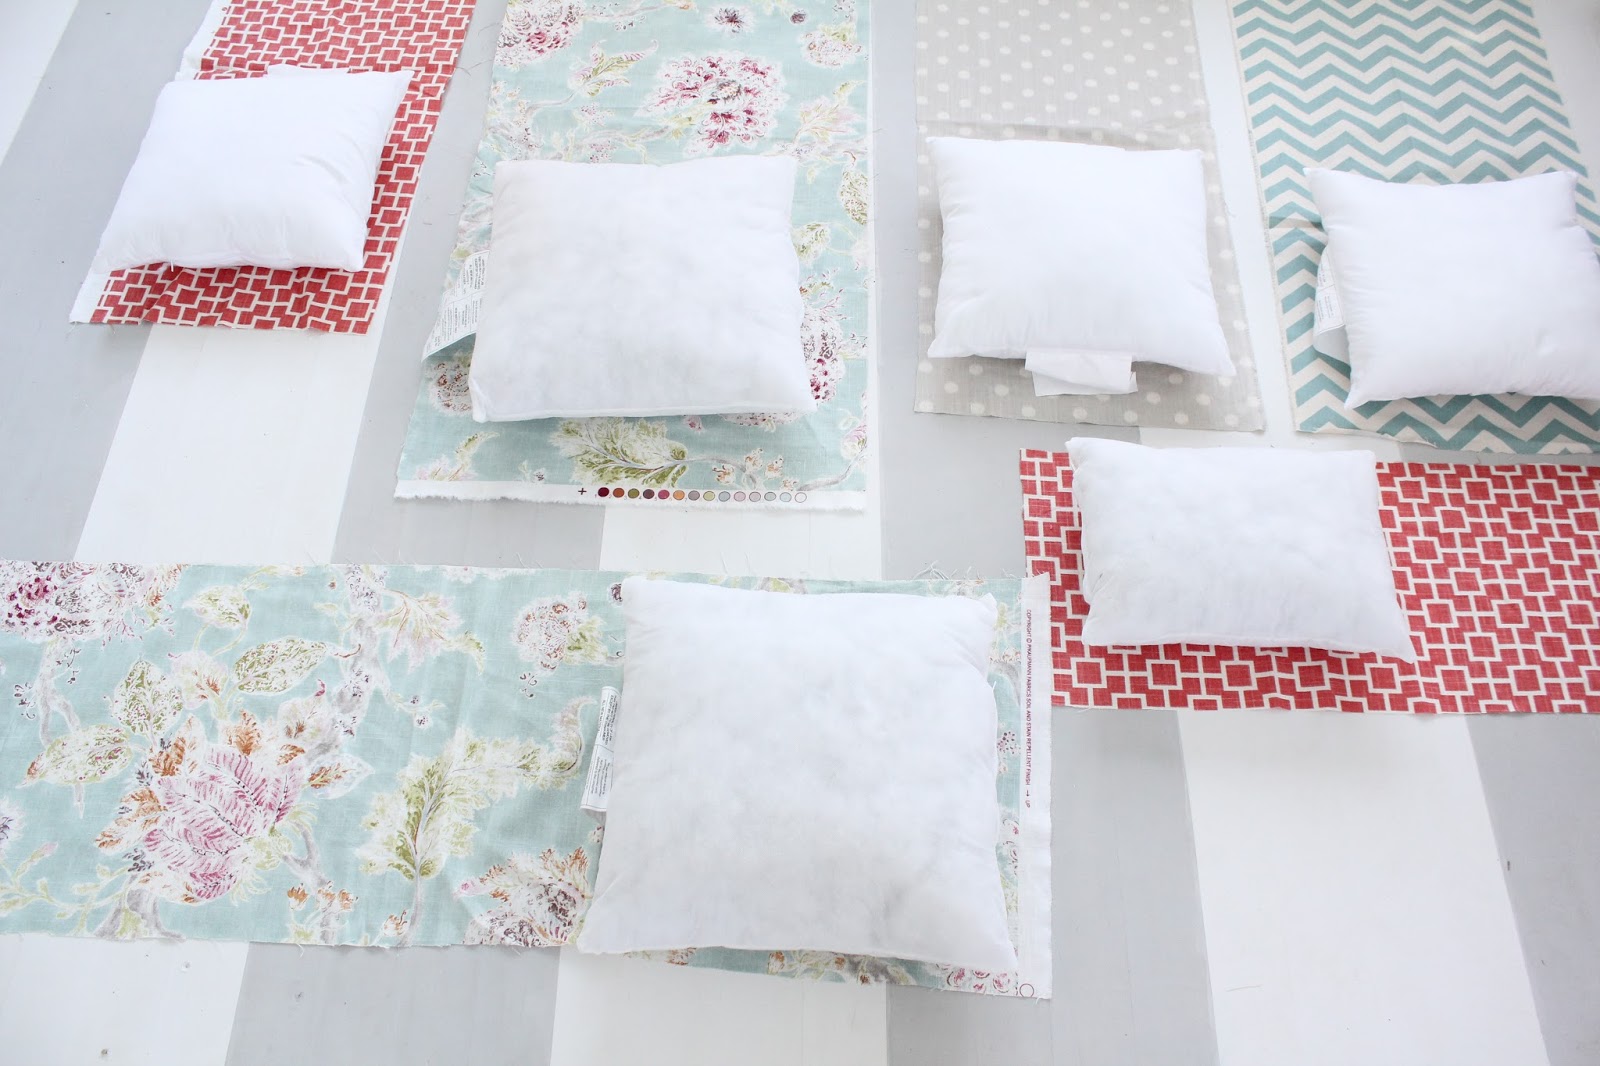
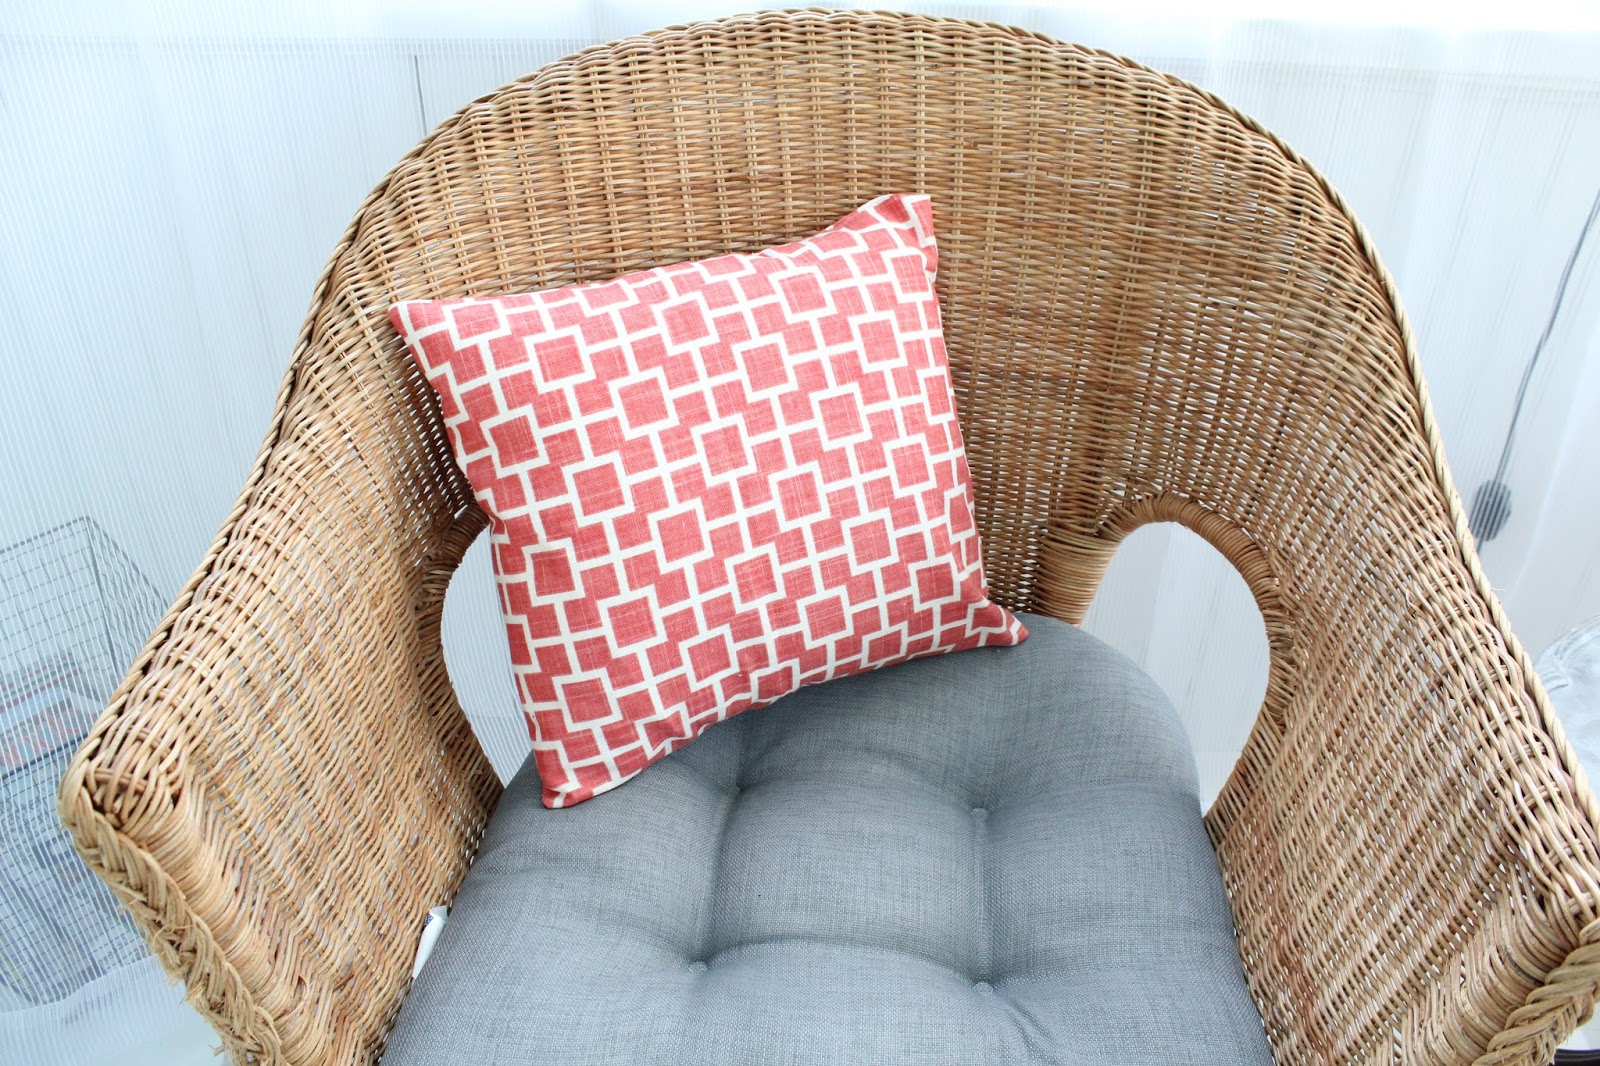
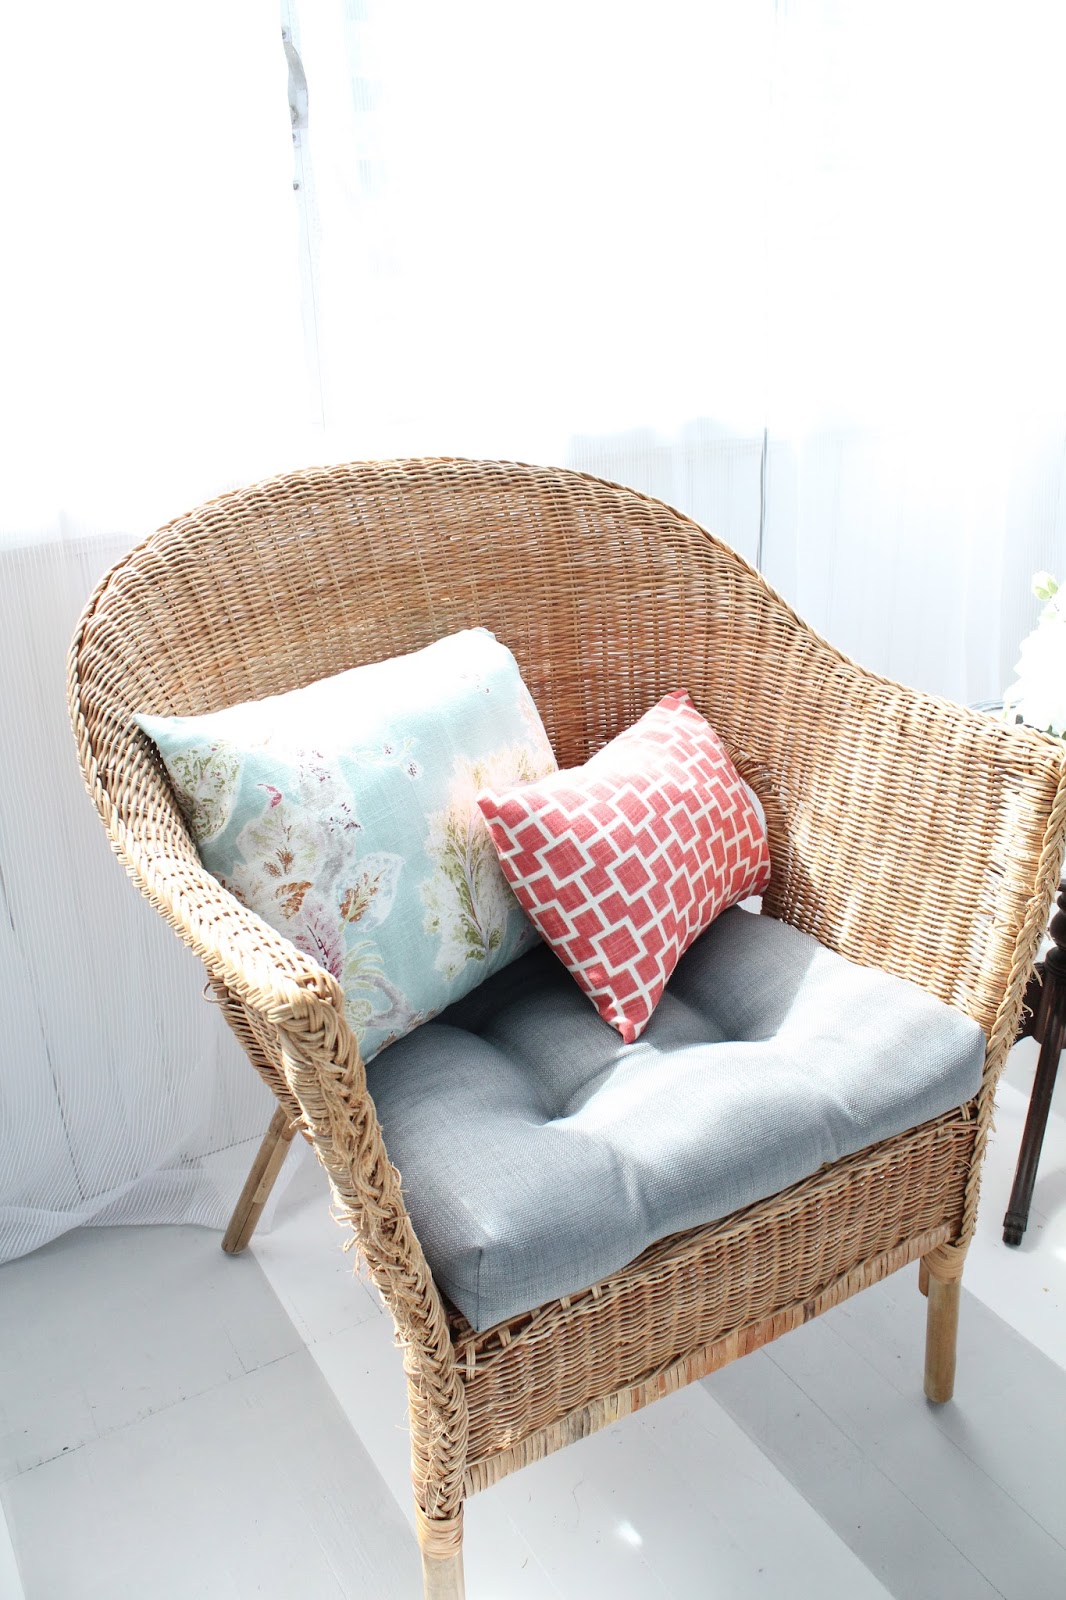
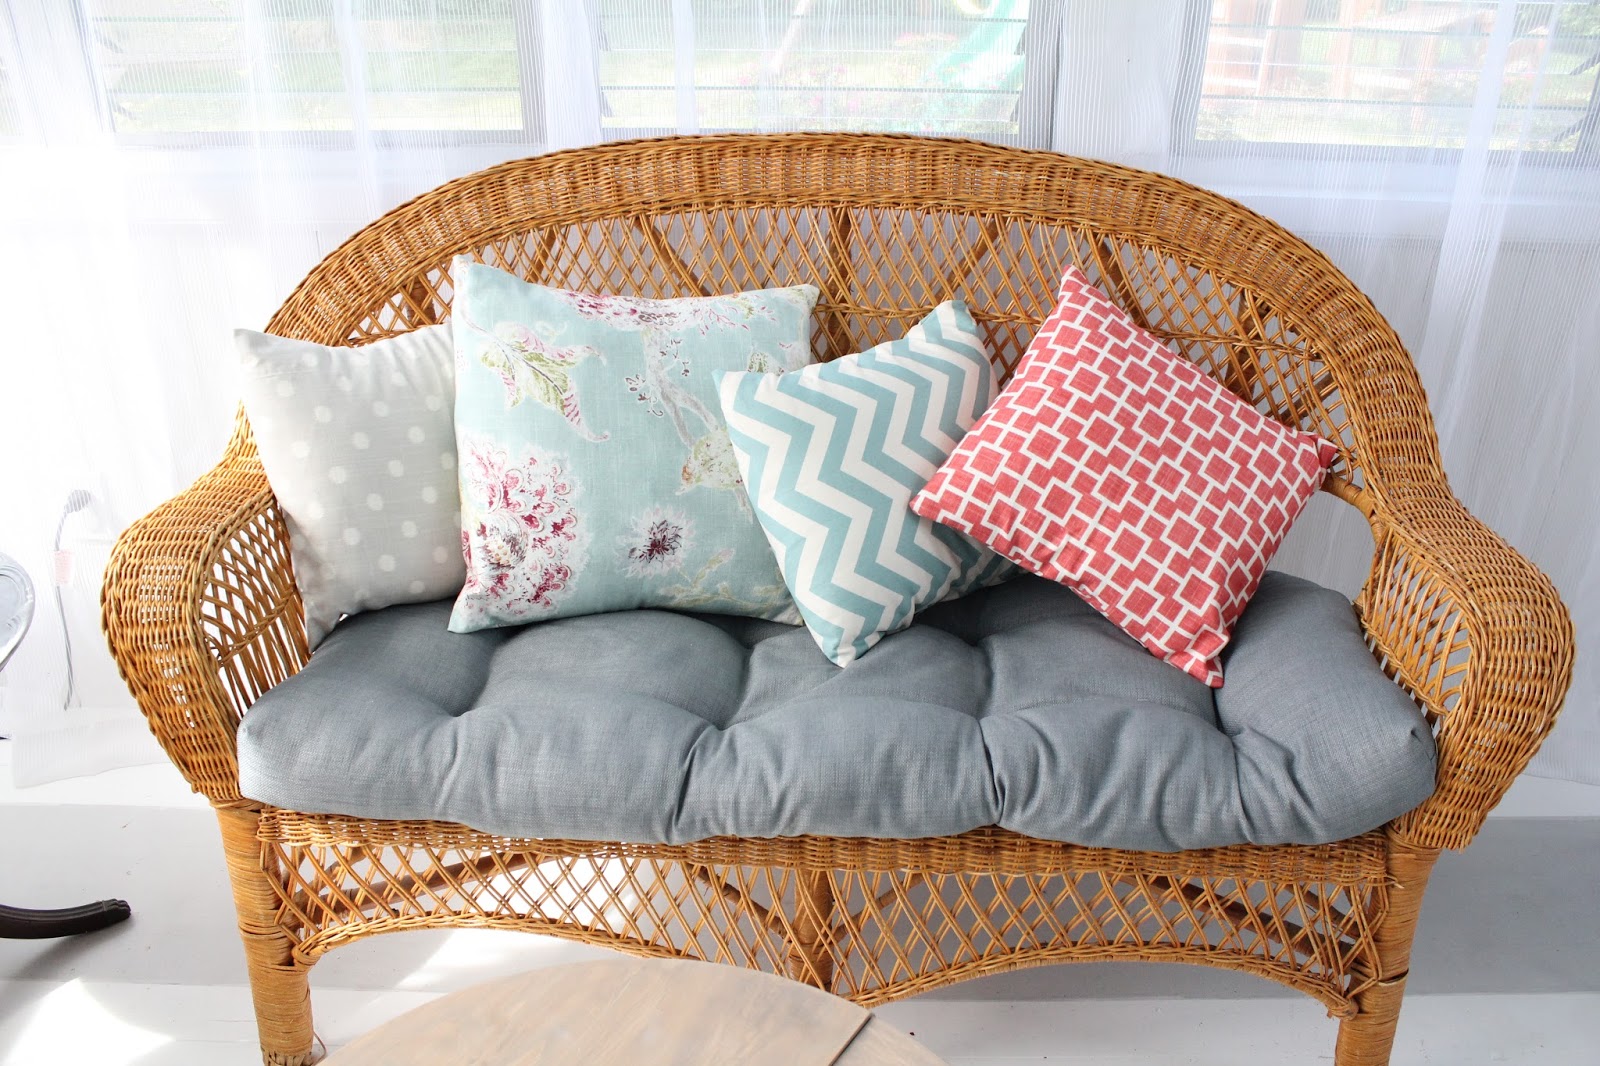
I started by purchasing pillow forms from Joann Fabrics and figuring out my arrangement. I didn’t want the pillows to take over the sofa or chair, just to add some comfort along the back. I had a variety of sizes to add support as well as some color when all is said and done.
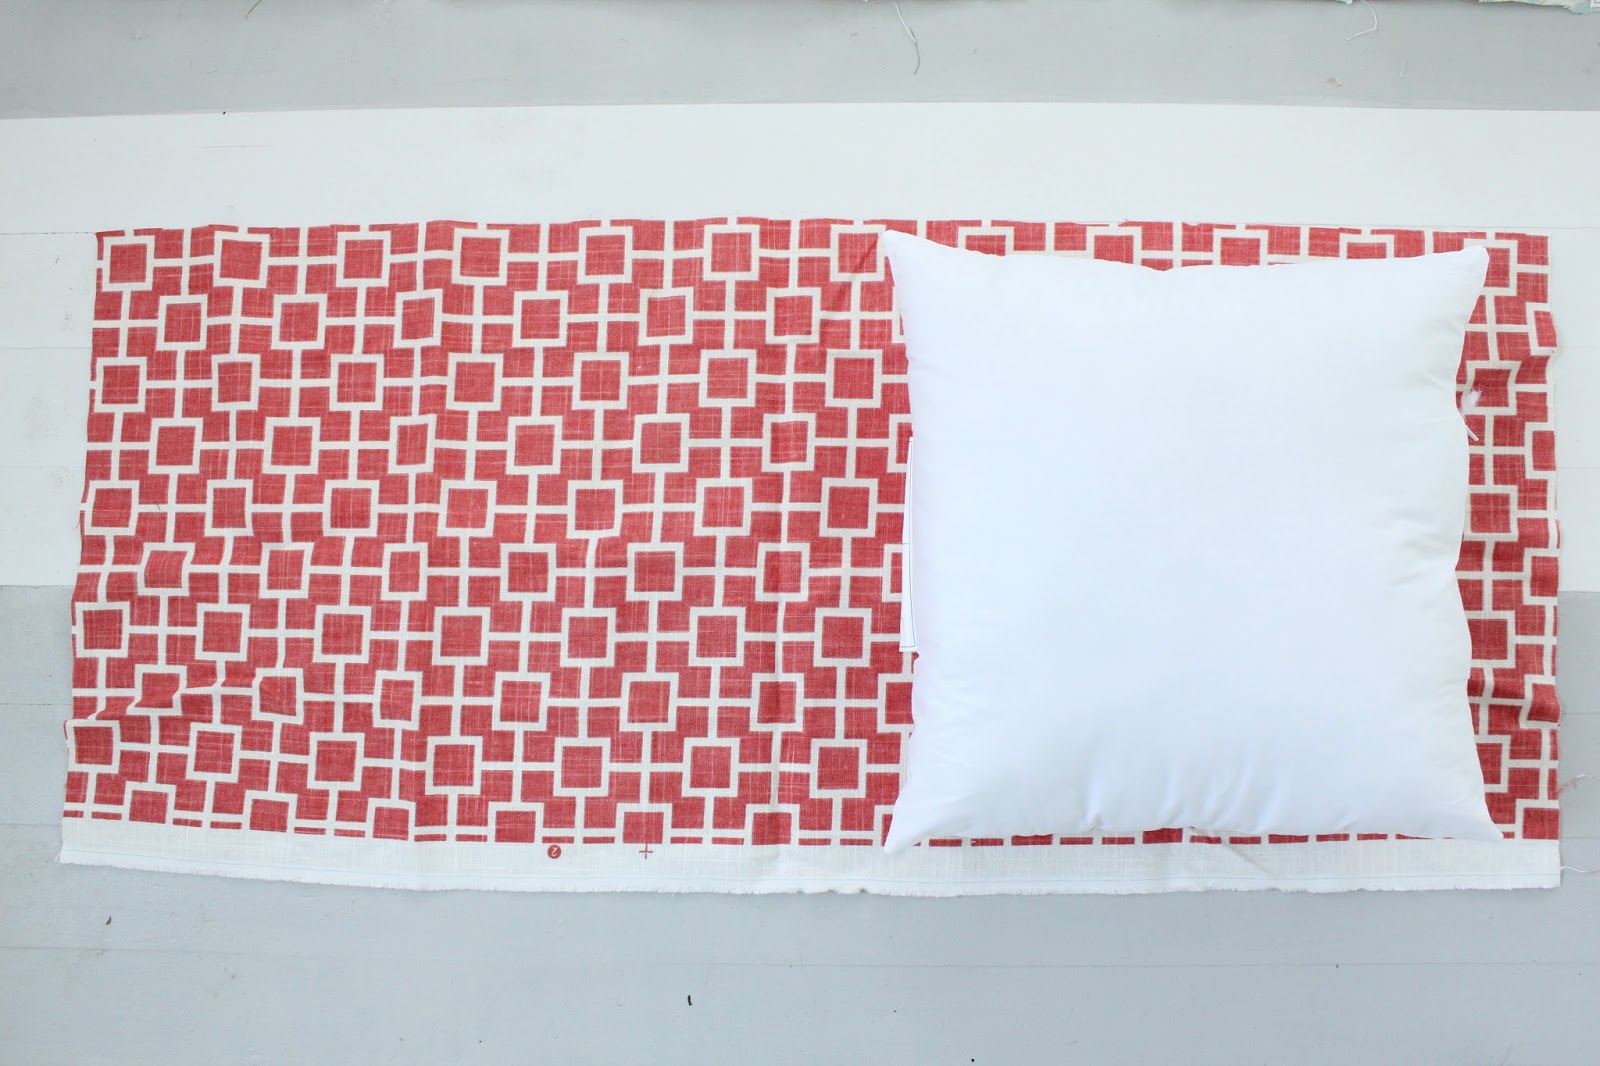
I took my gorgeous fabric from Tonic Living and first cut a piece that was just a bit wider than each pillow yet long enough to wrap all the way around. I am not creating a separate front and back piece for the pillow. Just one long piece that wraps around.
Here’s an aerial shot to show you what I mean. Make sure there is enough fabric on each long side to have a seam. {Am I the only one that thinks of a sleepover when they see this picture?}
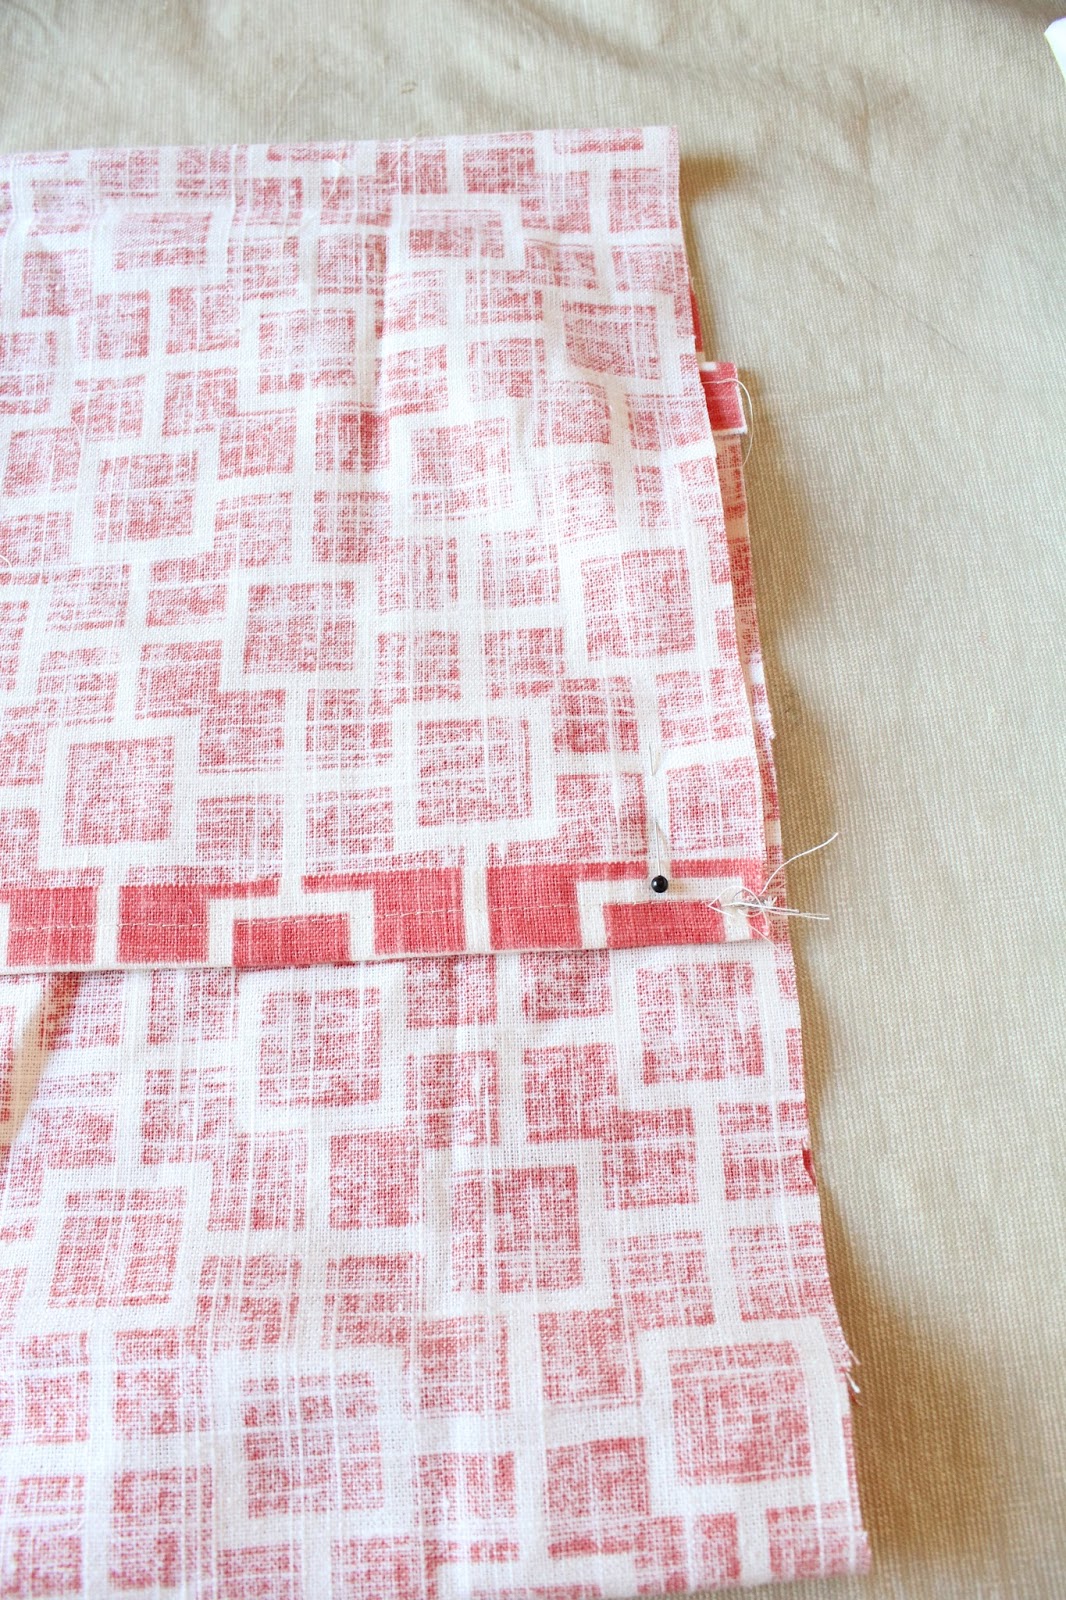
I then pinned the two small sides over and sewed each one. One of these finished edges will be visible once my pillow envelope is completed.

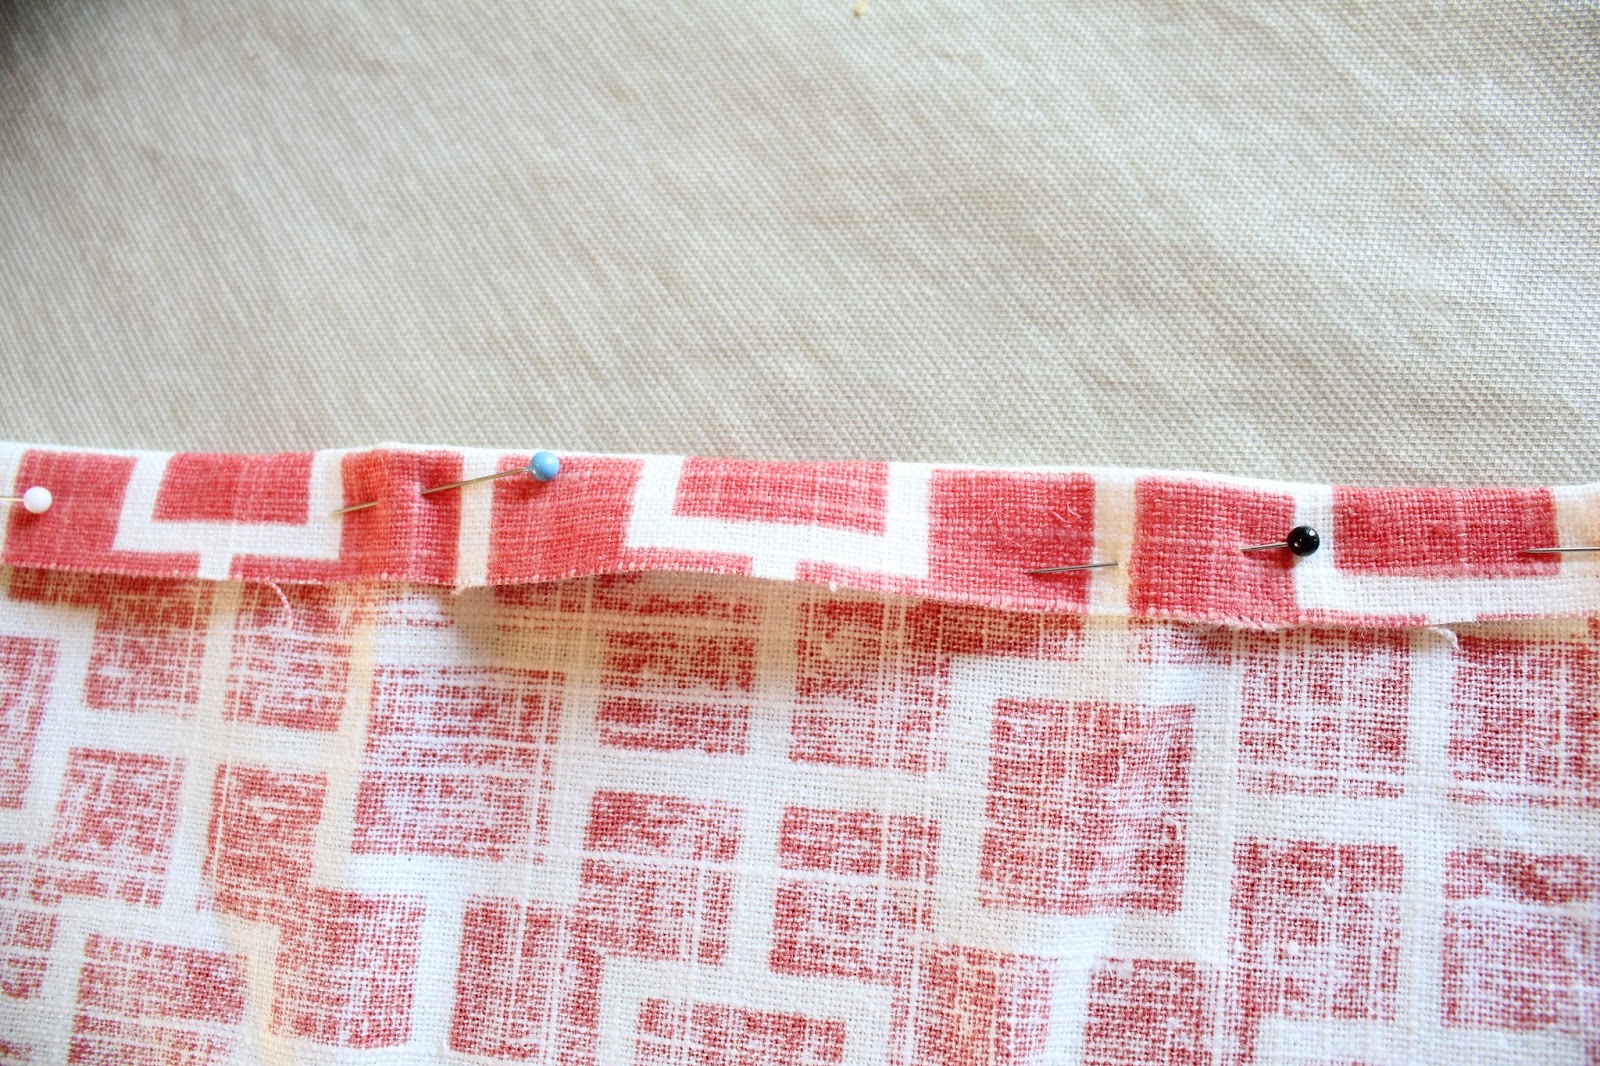
Again, I didn’t take any specific measurements since I cut the fabric to wrap all the way around. These two new seams will overlap.
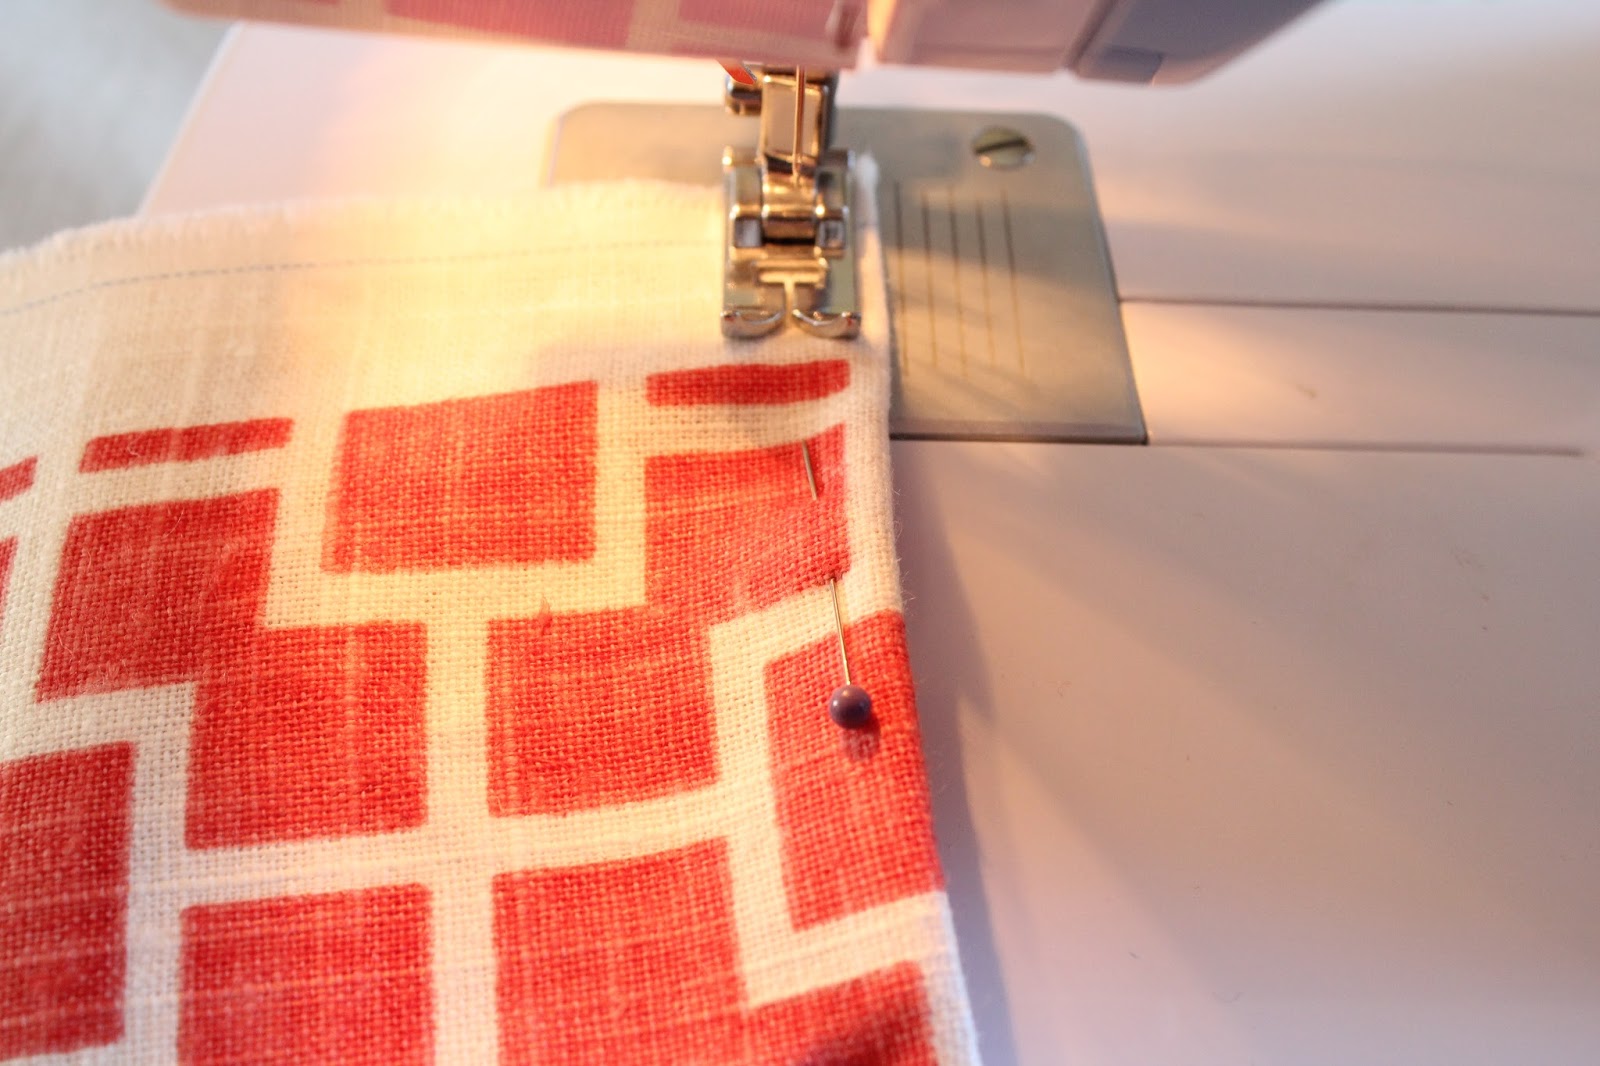
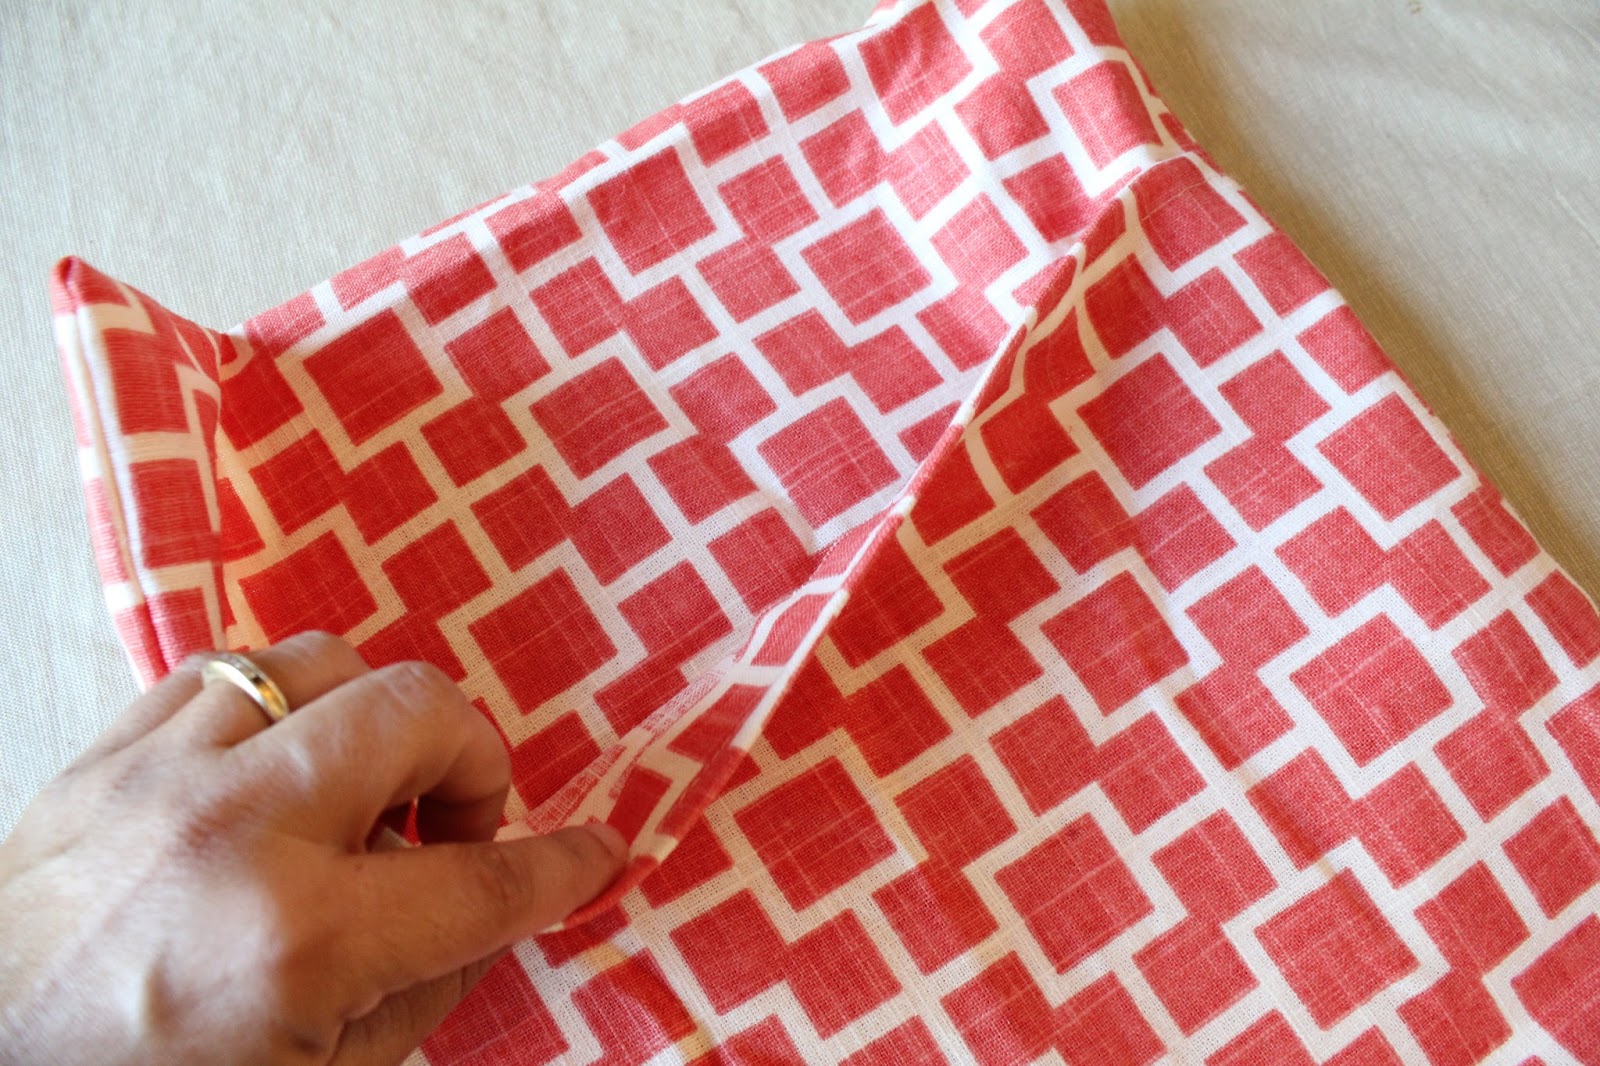
The next step is to measure out the size of the pillow envelope. Since I already cut my fabric to match the width of my pillow form (with enough room for a seam on each side) I already have the width measured out. I figure out the next part by laying my fabric down and folding each finished edge over so they slightly overlap in the middle. The fabric is now laid out inside out, which is how I’ll be sewing the next two seams. I arrange the fabric until it matches the dimensions of the pillow exactly.

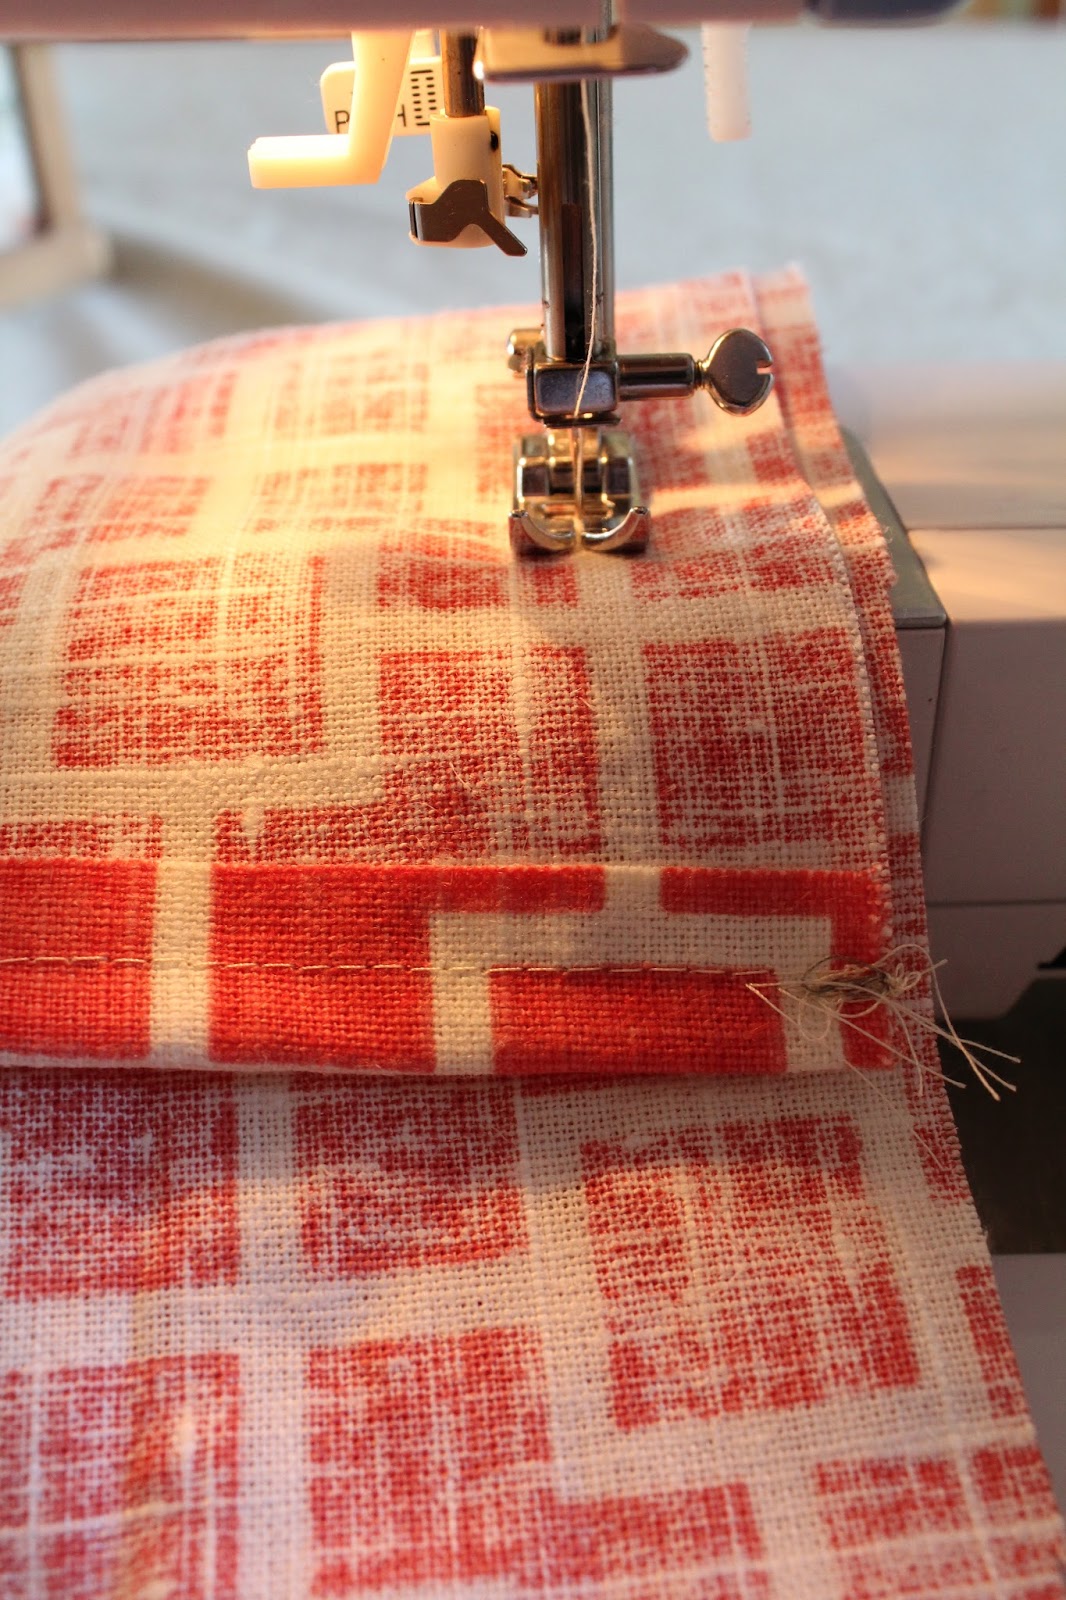
I place a pin on each side to mark when my new seams will go. These seams will be sewn with the pillow inside out. Again, I don’t measure, I just match the pin exactly with the side of the pillow form.
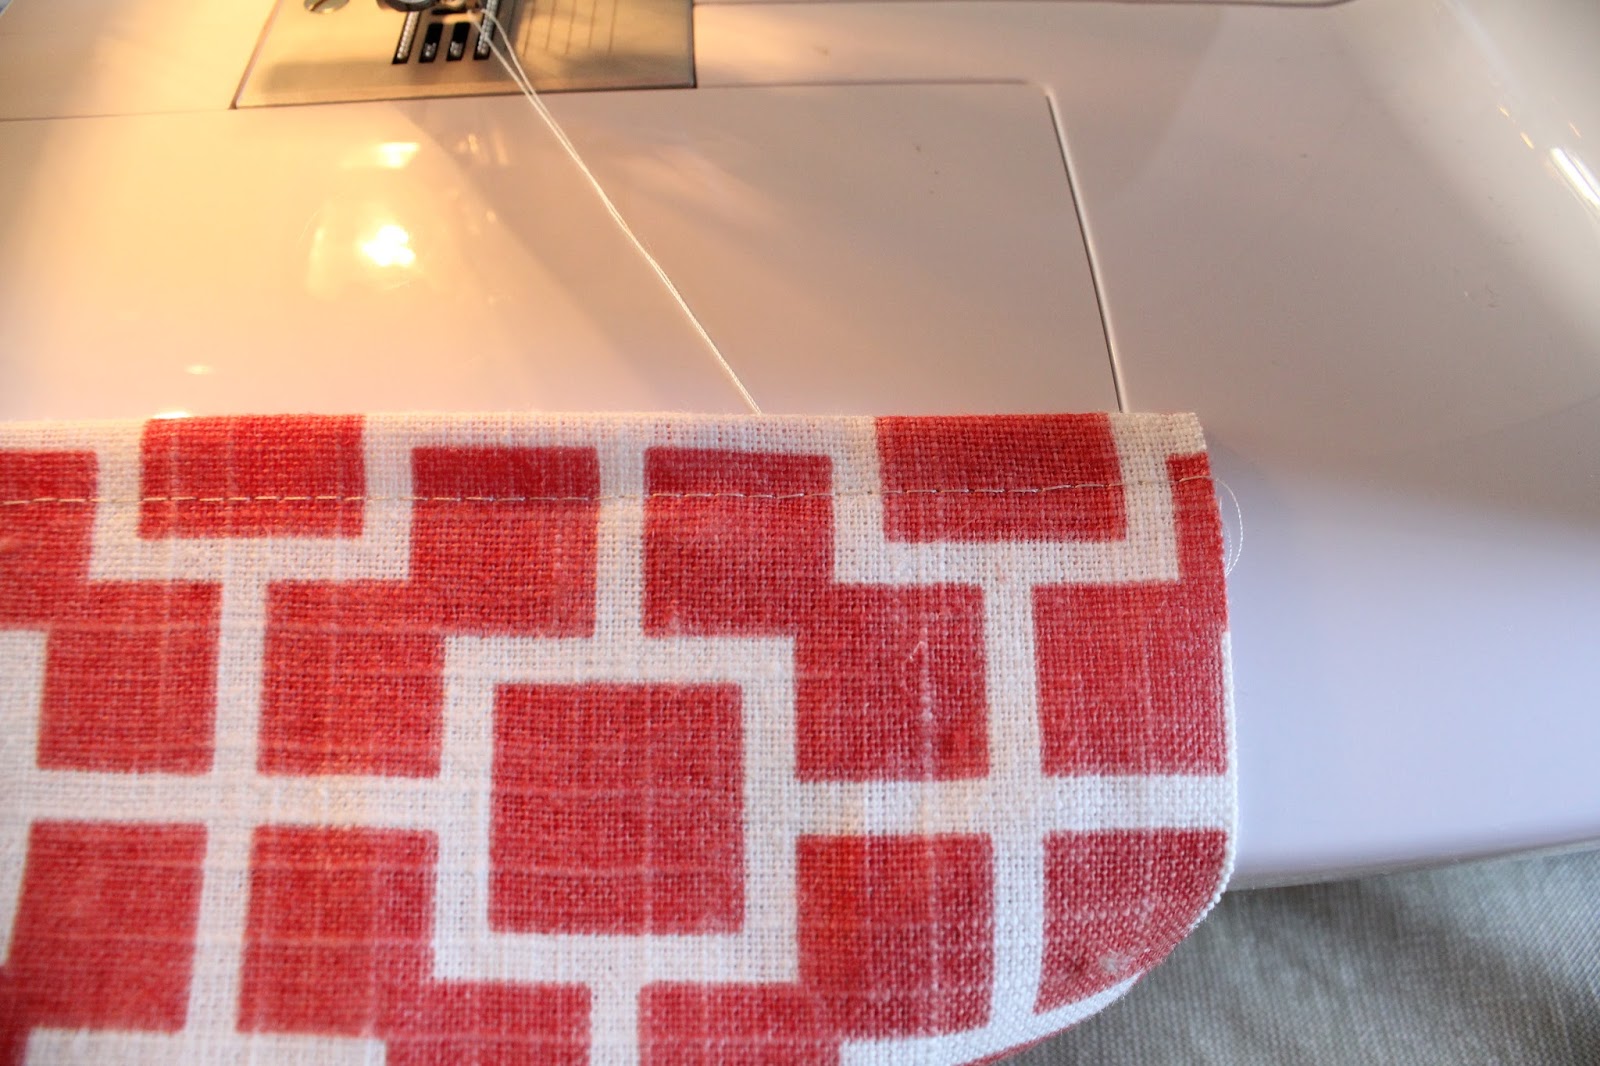
I then sew a new seam all the way down the length of the pillow cover. As long as it is a straight line it is perfect.
I then turn the pillow cover inside out. I make sure the corners are pushed out all the way and that is it!
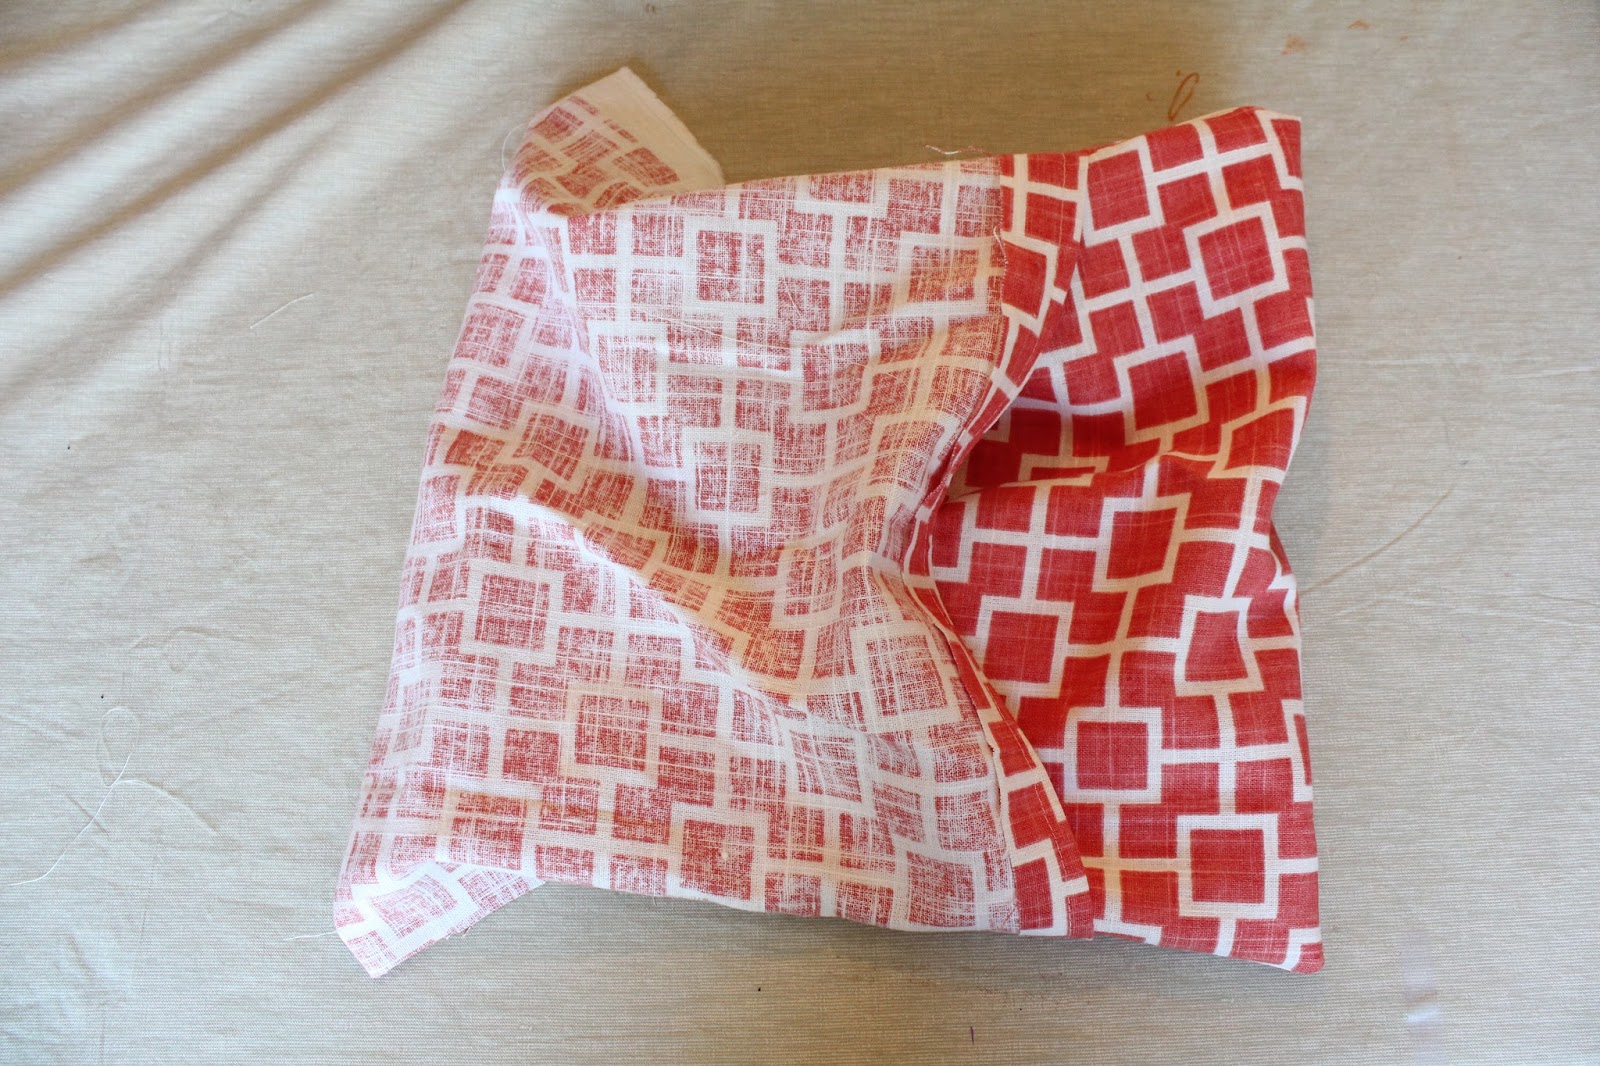
I have one visible seam which was the shorter seam along the top of the fabric. The other shorter seam was overlapped so it is underneath. The two long sides were sewn inside out so no stitch marks are visible. One long piece of fabric, four stitches and no measuring!
Place the pillow form inside the pillow cover and you are done. It took me about 15 minutes for the first pillow, mostly because I was taking pictures. The next five took me about 5 to 10 minutes each. I’ve done these a couple times so once you get the hang of it you can fly through these!
I’ve used this method on many pillows. I’ve covered up old pillow that I’m tired of. I’ve also covered up pillows that I’m still surprised I purchased in the first place. I’ve used fabric, tablecloths and even shower curtains to make envelope pillow covers. You can change your pillow covers with the seasons, holidays, or your mood!

Share this:


Subscribe to Posts
Featured On...


 |
Blog Policies
For more information on all blog policies regarding comments, advertising, copyright, sponsored links, guest submissions, and other matters, please look here.