I can now look at my shutters…

The exterior of our home had a couple problems. Vinyl siding in a murky shade of beige/yellow, a burgundy front door, vinyl shutters in an even murkier shade of dark green/brown, and no curb appeal. After a couple projects, painting the front door, and painting all the hardware, I was ready to move on to the shutters.
I bought some Rust-Oleums Painters Touch Ultra Cover 2X in glossy black. I then removed all the shutters and spread them out with cardboard underneath in order to spray them.

I didn’t take any shots while I was working. The spray is sticky and very quick-drying. I was able to put two coats on each shutter within one day. Here they are before…
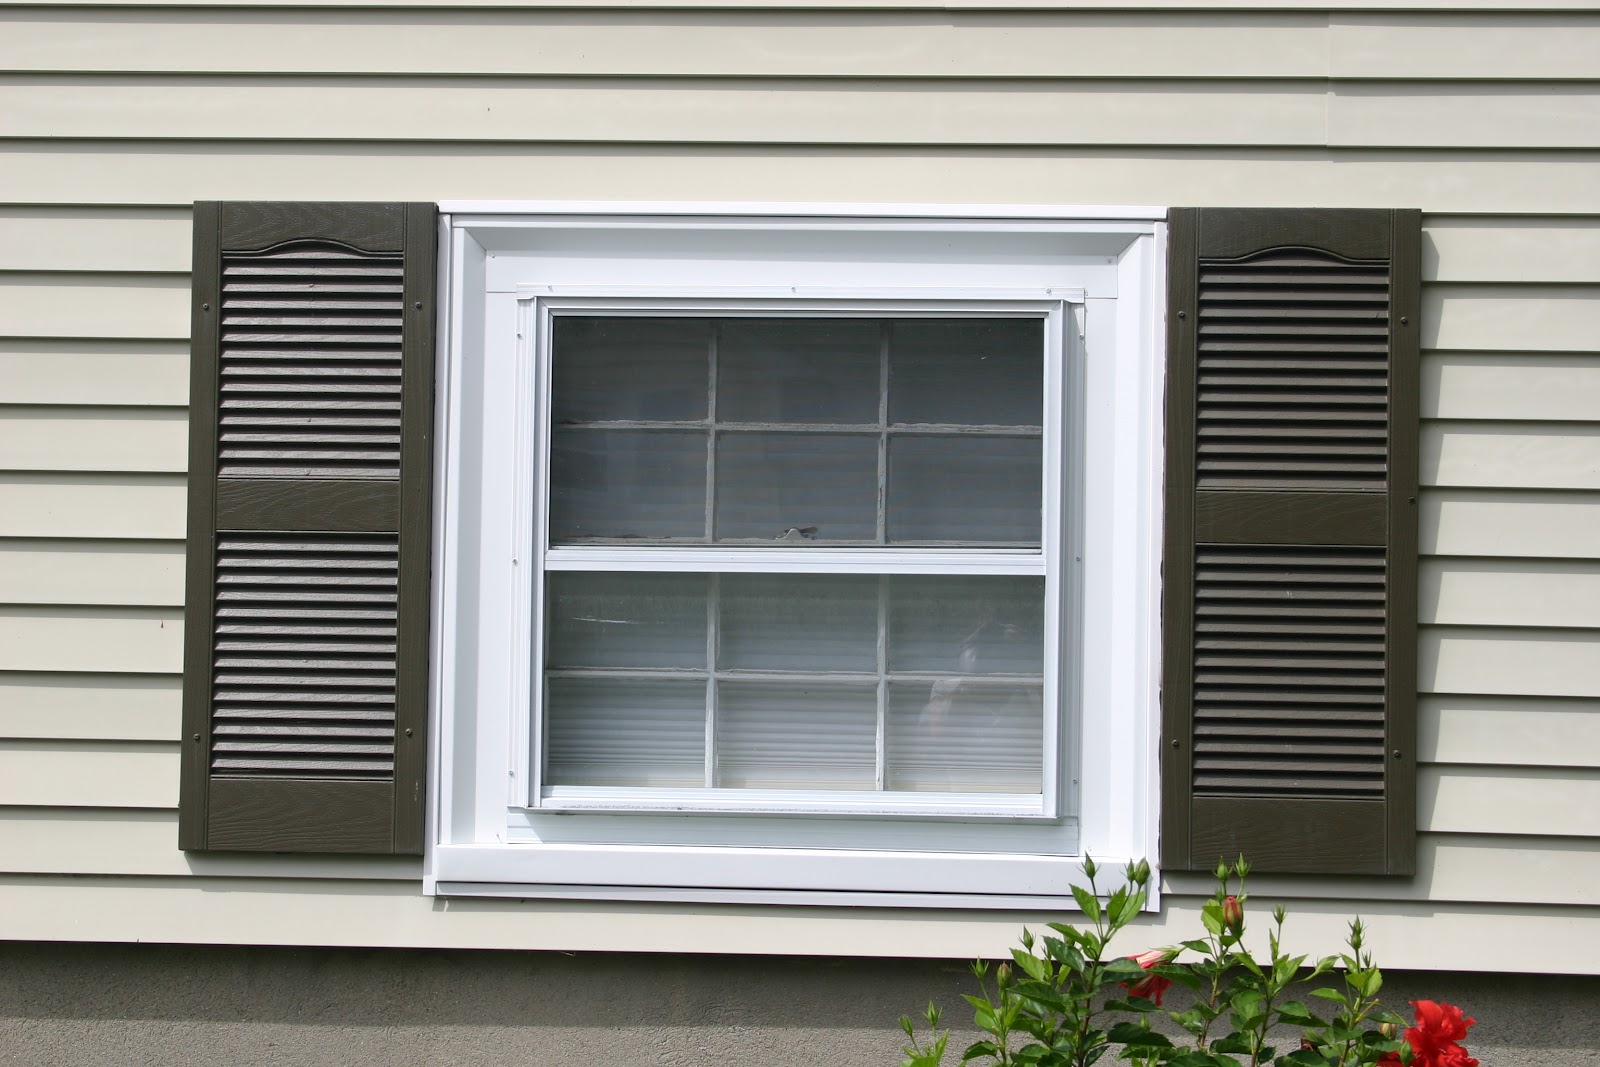
We had an issue with a hornets nest behind our last shutter. We had to spray and remove the hornets before we could remove the shutter. They weren’t too happy with us and I wasn’t too happy with them! My house looked like this for a couple days. The left shutter is the new color, the right shutter is the original. I felt like it was winking at me.

Eventually the hornets were gone and we could move on. I had purchased new screws since the original ones were extremely rusty. Here’s a quick tip for anyone doing this project. When screwing the screws back in, have the spray paint on hand in order to cover the head of the screw.


Finally all the shutters are back on. I love the way the black shutters, the newly painted hardware and blue front door go so well together. And yes, I’m only showing you part of the front of my house for a reason. Any guesses?
Share this:


Subscribe to Posts
Featured On...


 |
Blog Policies
For more information on all blog policies regarding comments, advertising, copyright, sponsored links, guest submissions, and other matters, please look here.